
Mastering AWS VPC: A Hands-On Guide to Building Your Virtual Private Cloud
Explore AWS VPC Concepts, Configuration, and Best Practices Through Practical Examples and Use Cases


VPC - Virtual Private Cloud
A VPC is a virtual network in the cloud, akin to creating a private network in the cloud. Within a VPC, users can create and manage resources like servers, databases, and storage. VPCs are completely isolated from other networks, ensuring the security of resources within the VPC.
In the previous blog, We have seen the VPC and its working in theory. This blogs is all about Hands on VPC.
1. Creating VPC
1.1 Go to aws console -> search VPC -> Open VPC
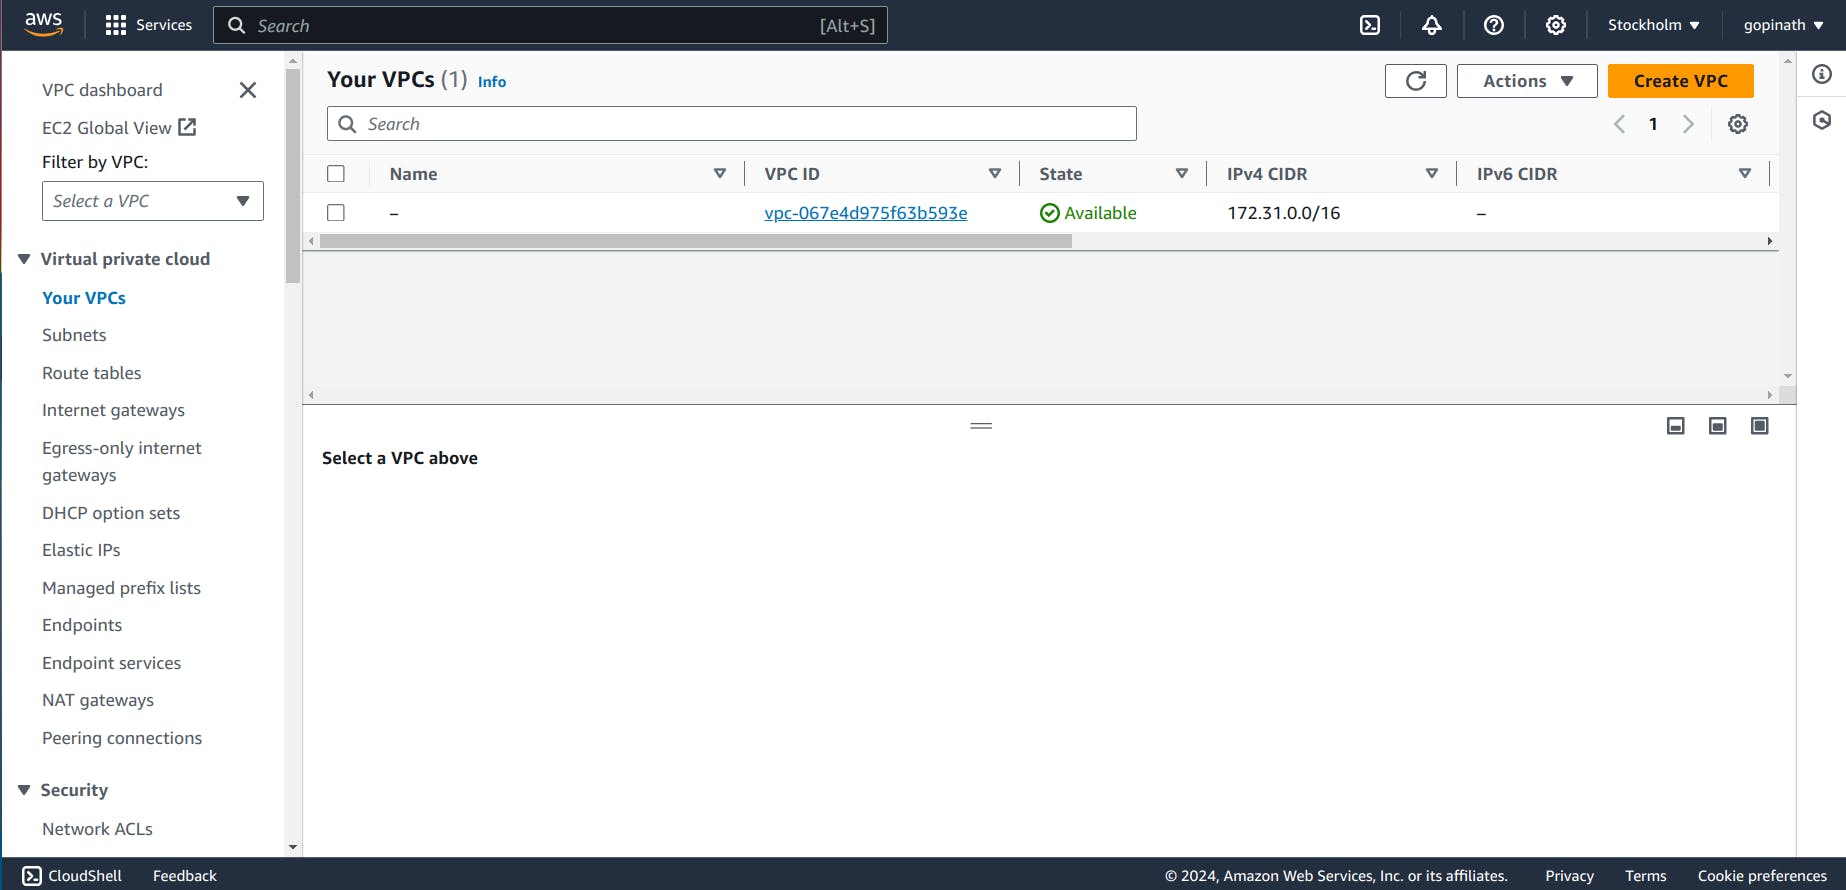
1.2 Click create VPC
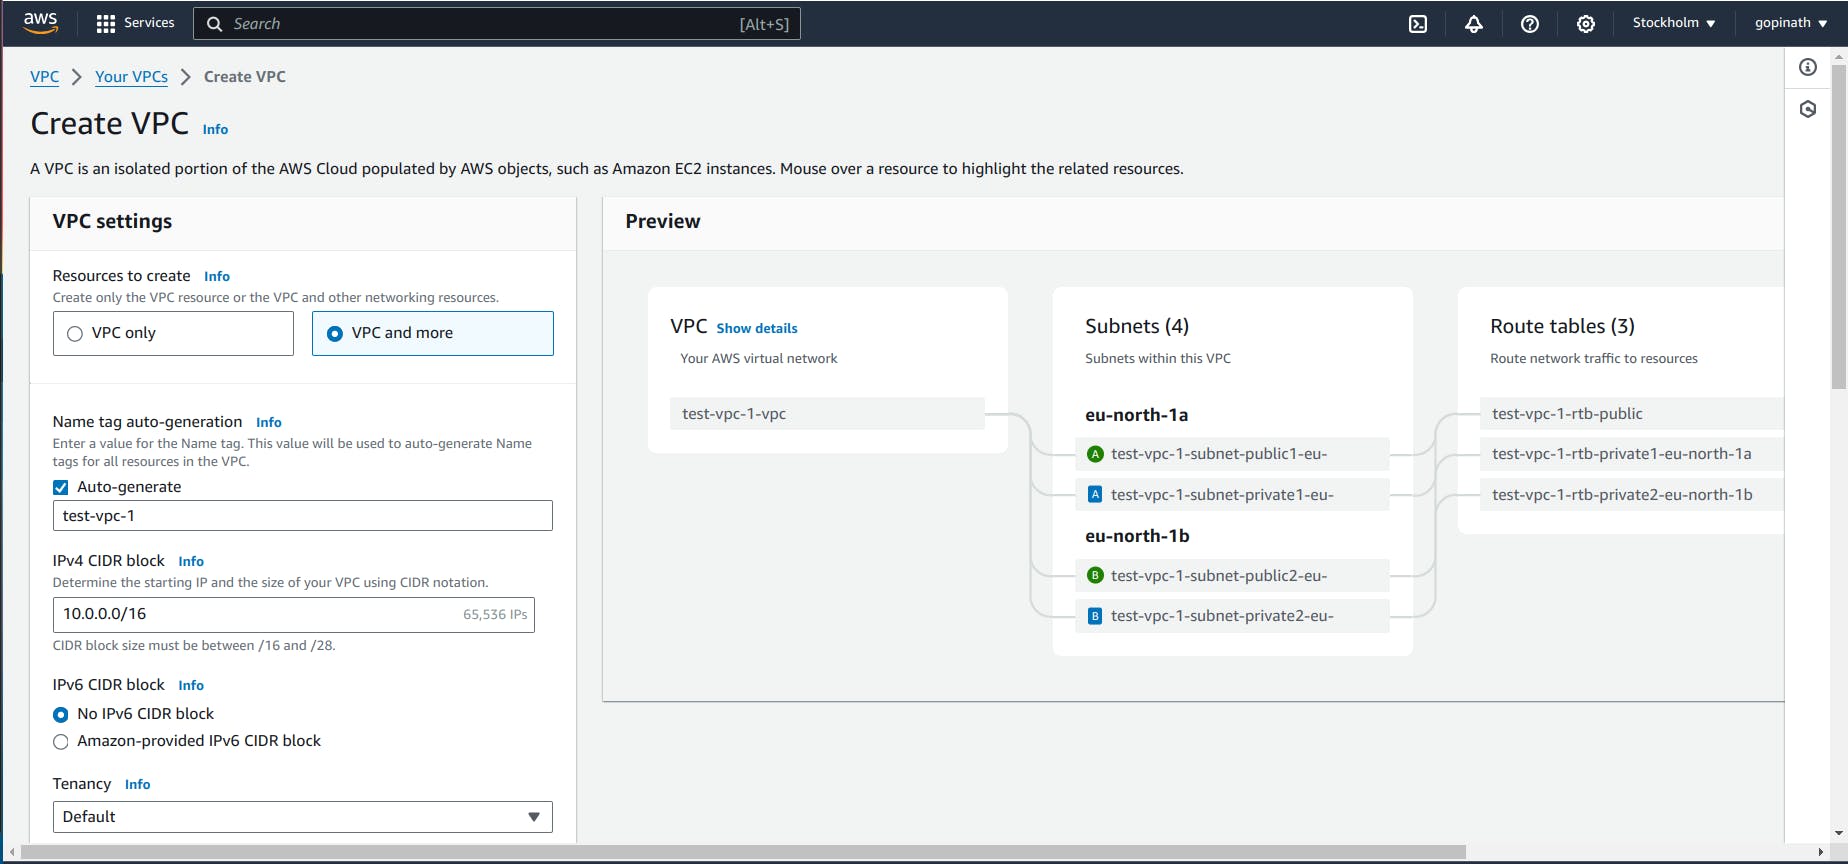
i) Select VPC and more - It will automatically create all the components we specified.
ii) VPC only - In this, we need to create all the components manually.
iii) Give the required CIDR block based on the required IP address range.
iv) Tenancy - It defines whether to share the hardware with other AWS users or only for me.
Default will share the resources with others.
Dedicated will give hardware to single AWS user.
1.3 Choose the Availability Zone and Subnets
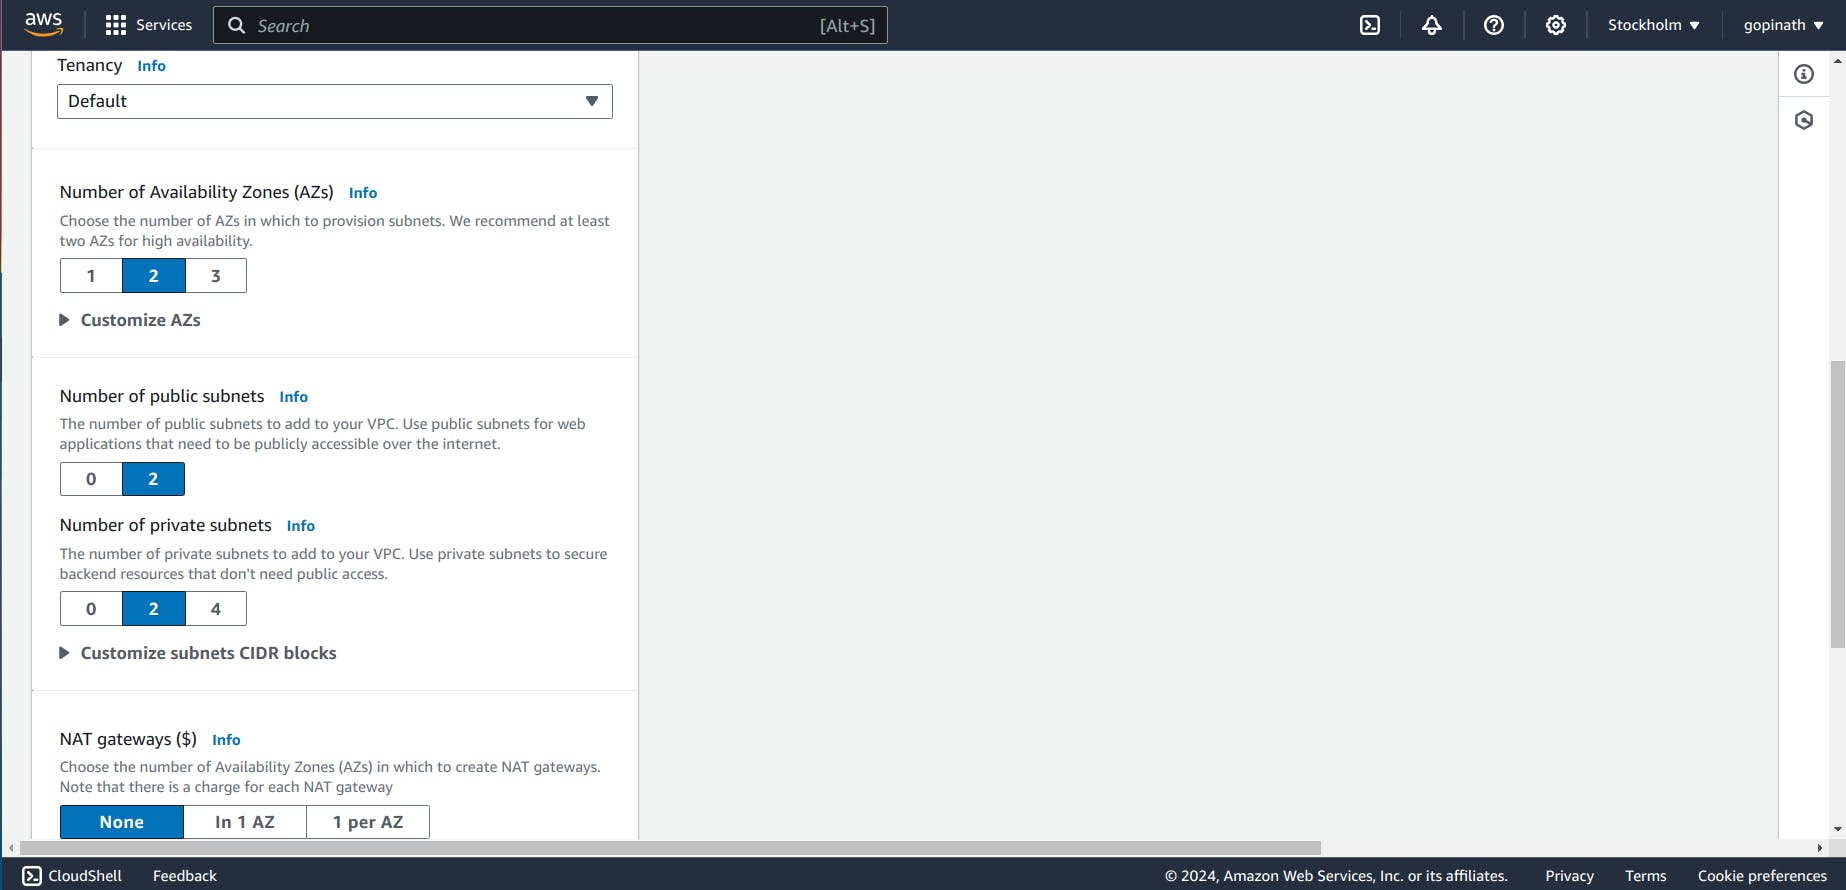
Specify NAT gateway if required. NAT gateway is used to hide the IP address of private resources.
1.4 Now VPC will start creating all the components

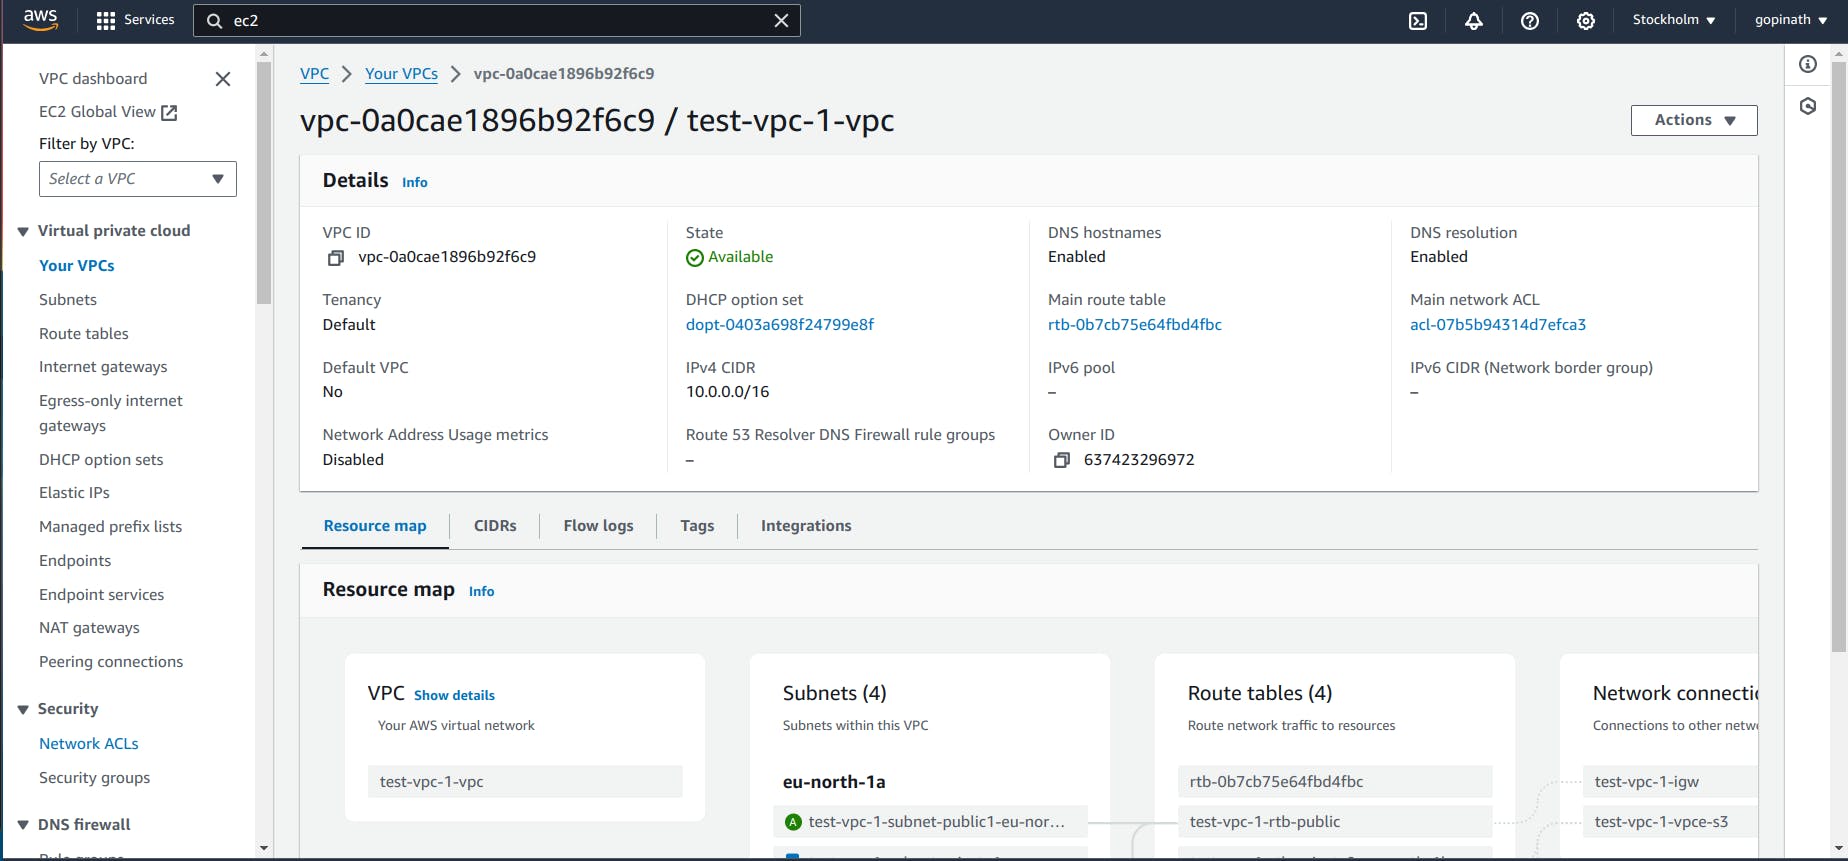
1.5 Resource Map
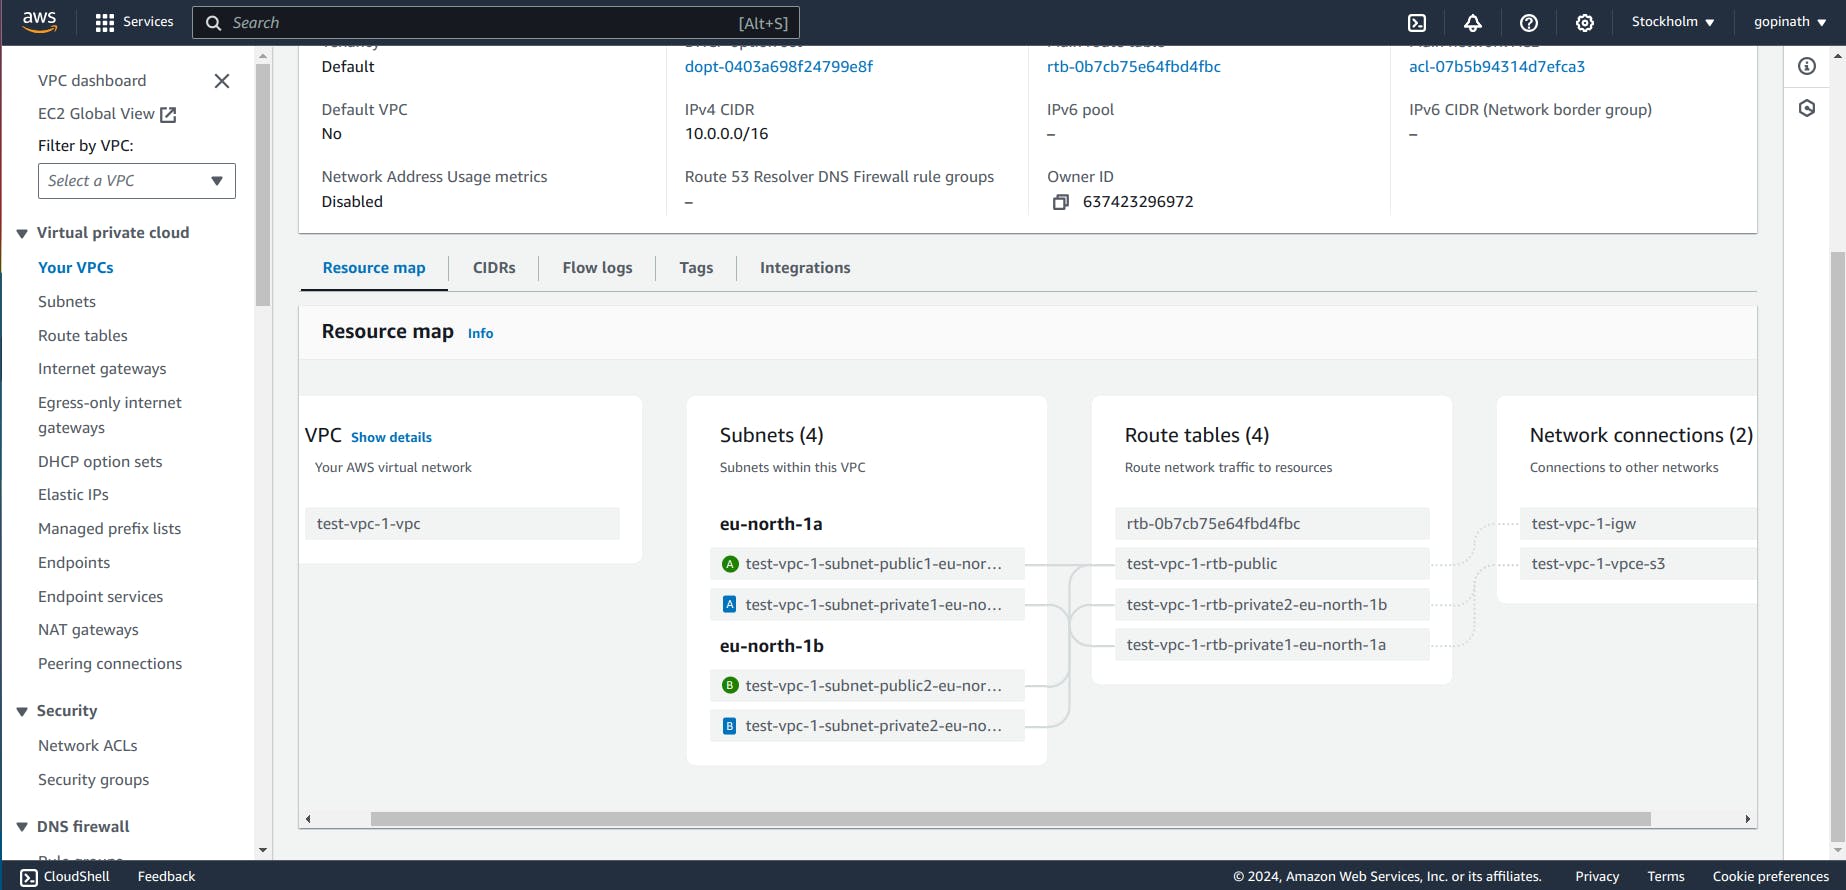
You can see all the components of a VPC in Resource Map section .
Now, we have created the VPC. Let's create EC2 and connect EC2 with VPC.
2.Creating EC2
2.1 In AWS console, search EC2 and Open it
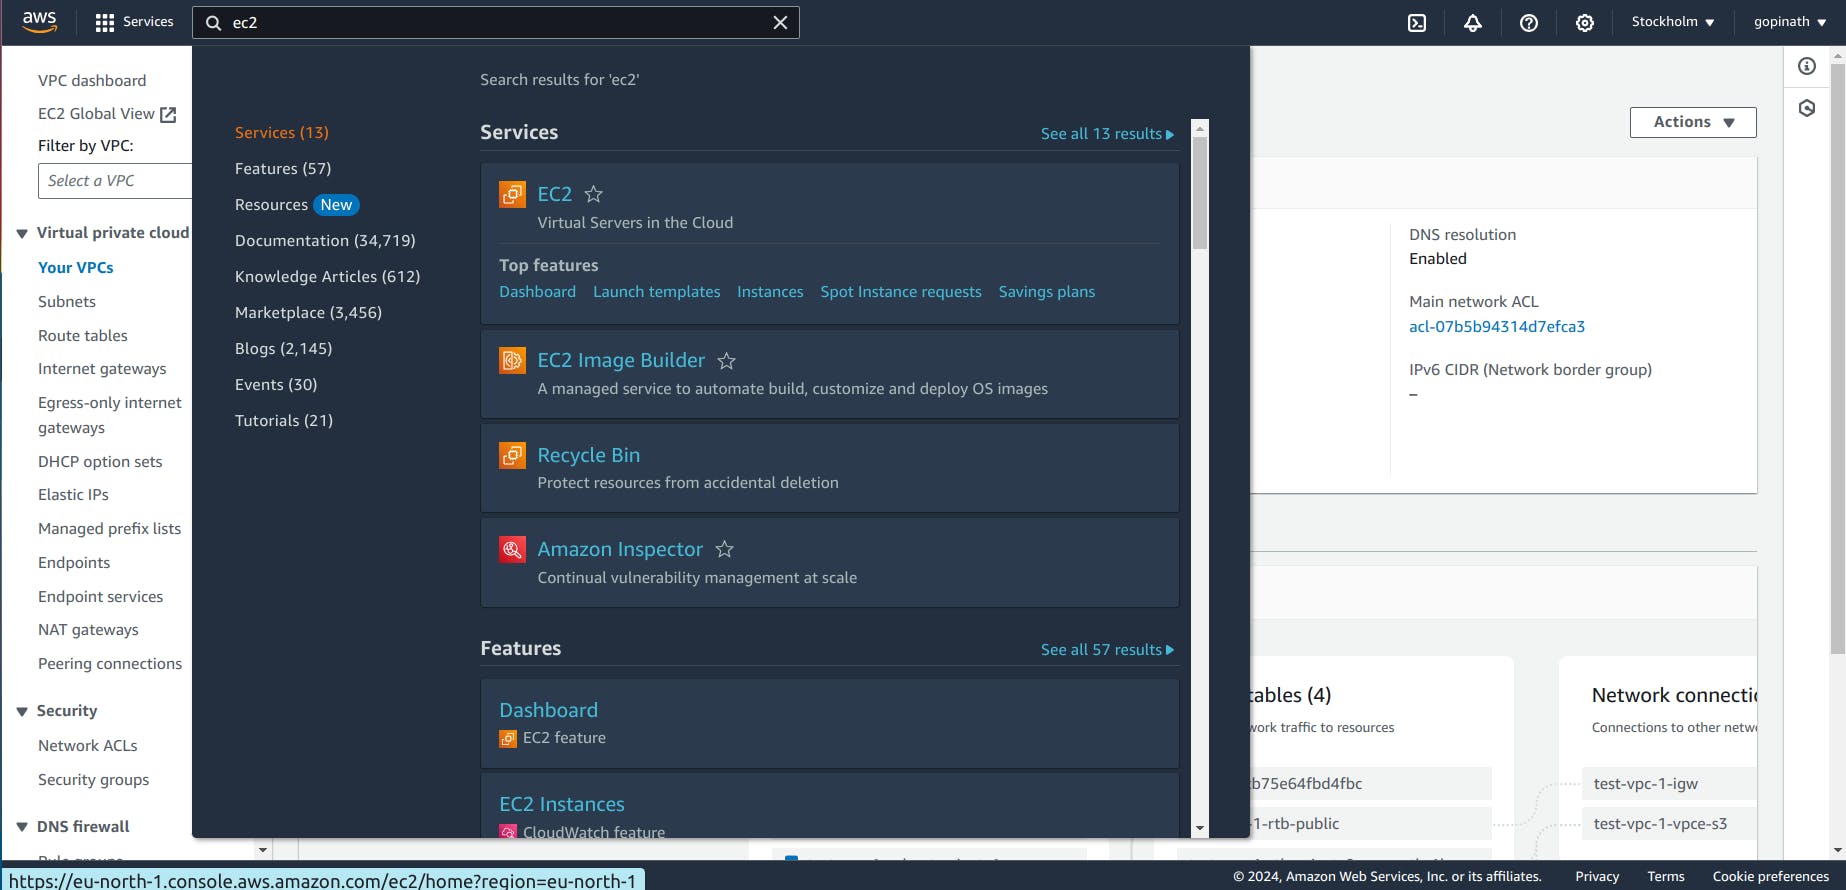
2.2 It will show the list of EC2, that you have created.
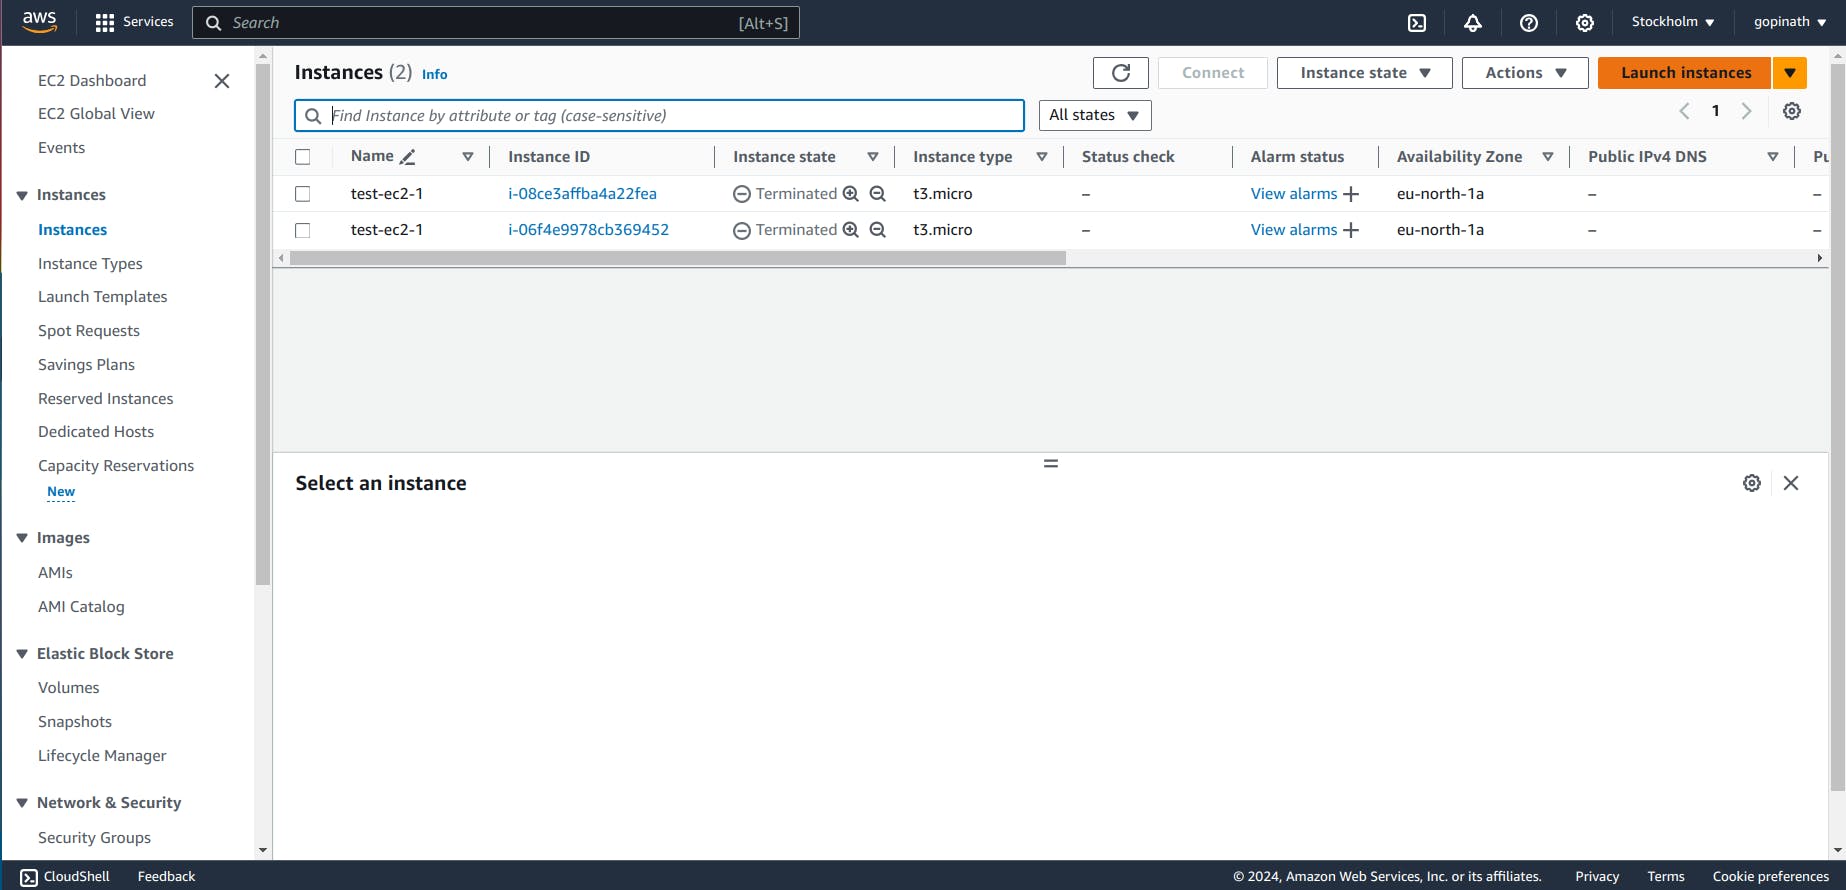
Click on Launch Instance
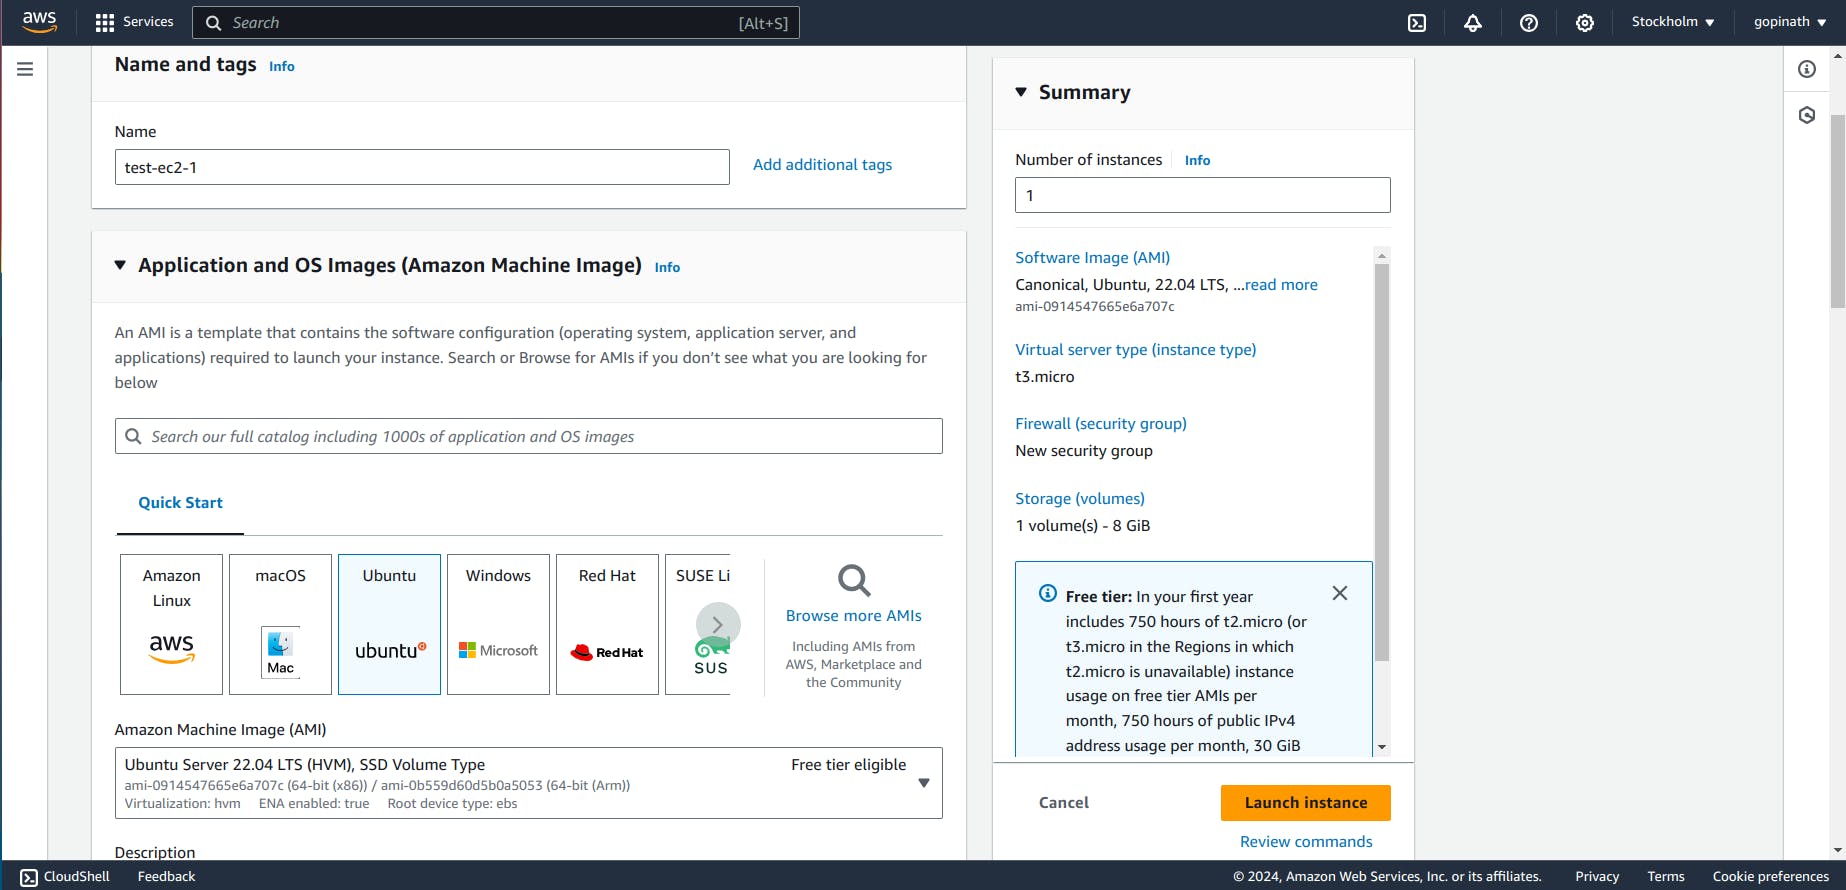
2.3 Enter EC2 name and choose the Image for EC2.
2.4 Create Key-pair if you dont have anything already.
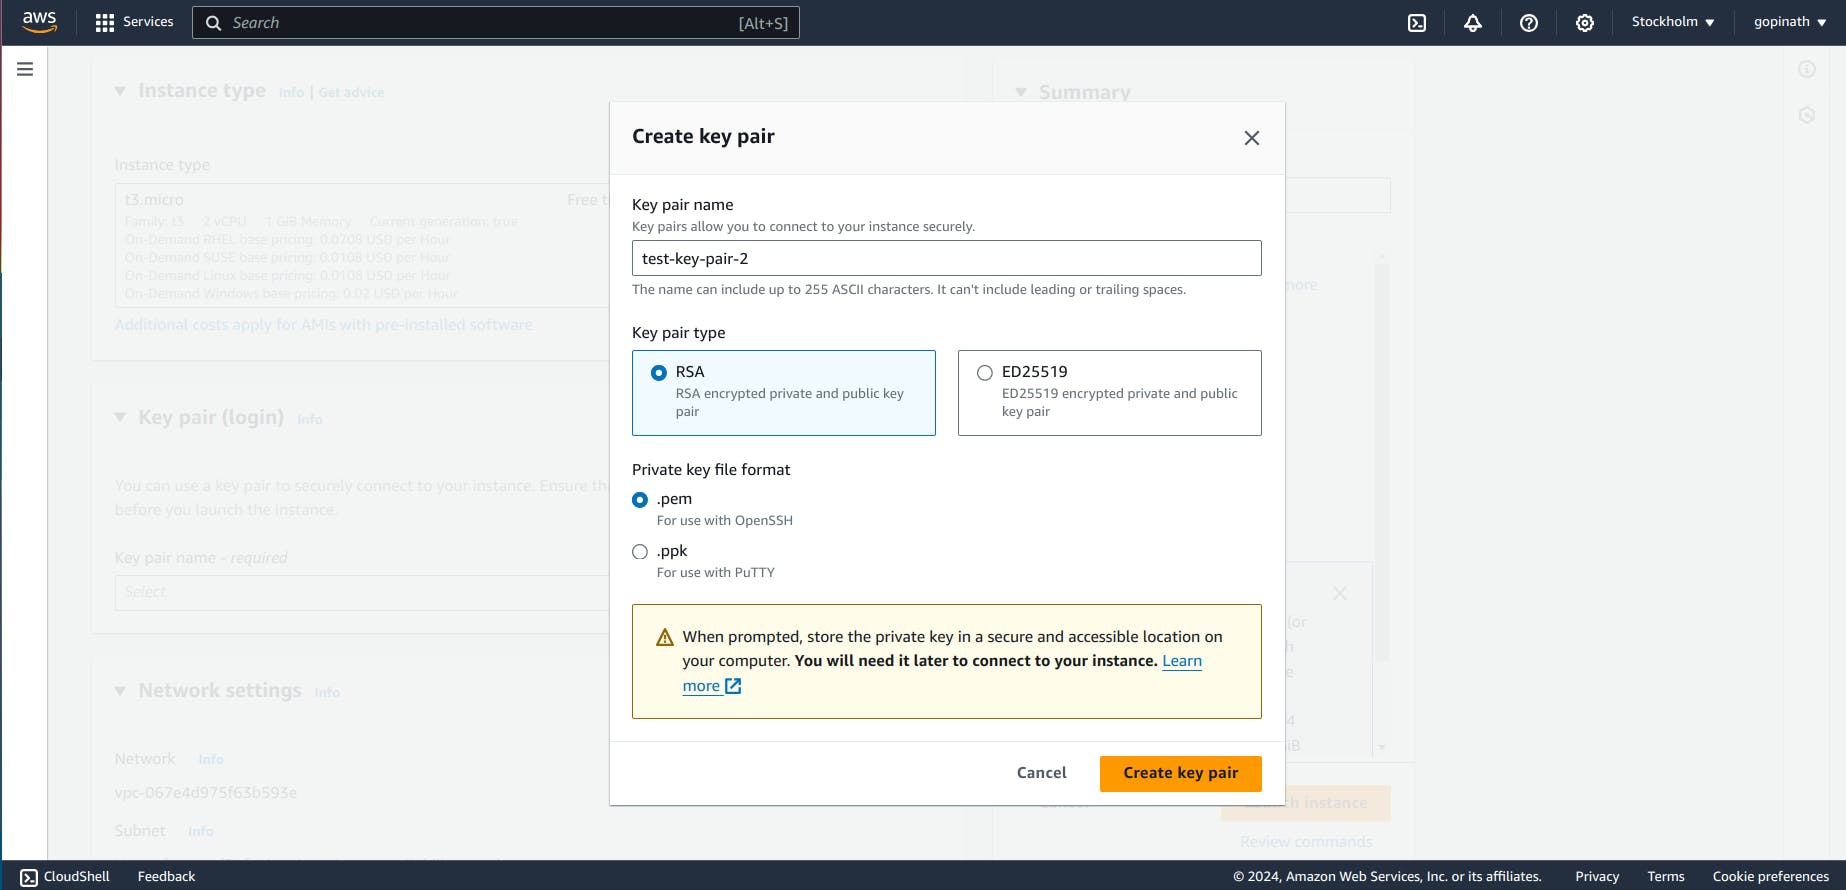
Key-pair allow us to login into the EC2 instance securely.
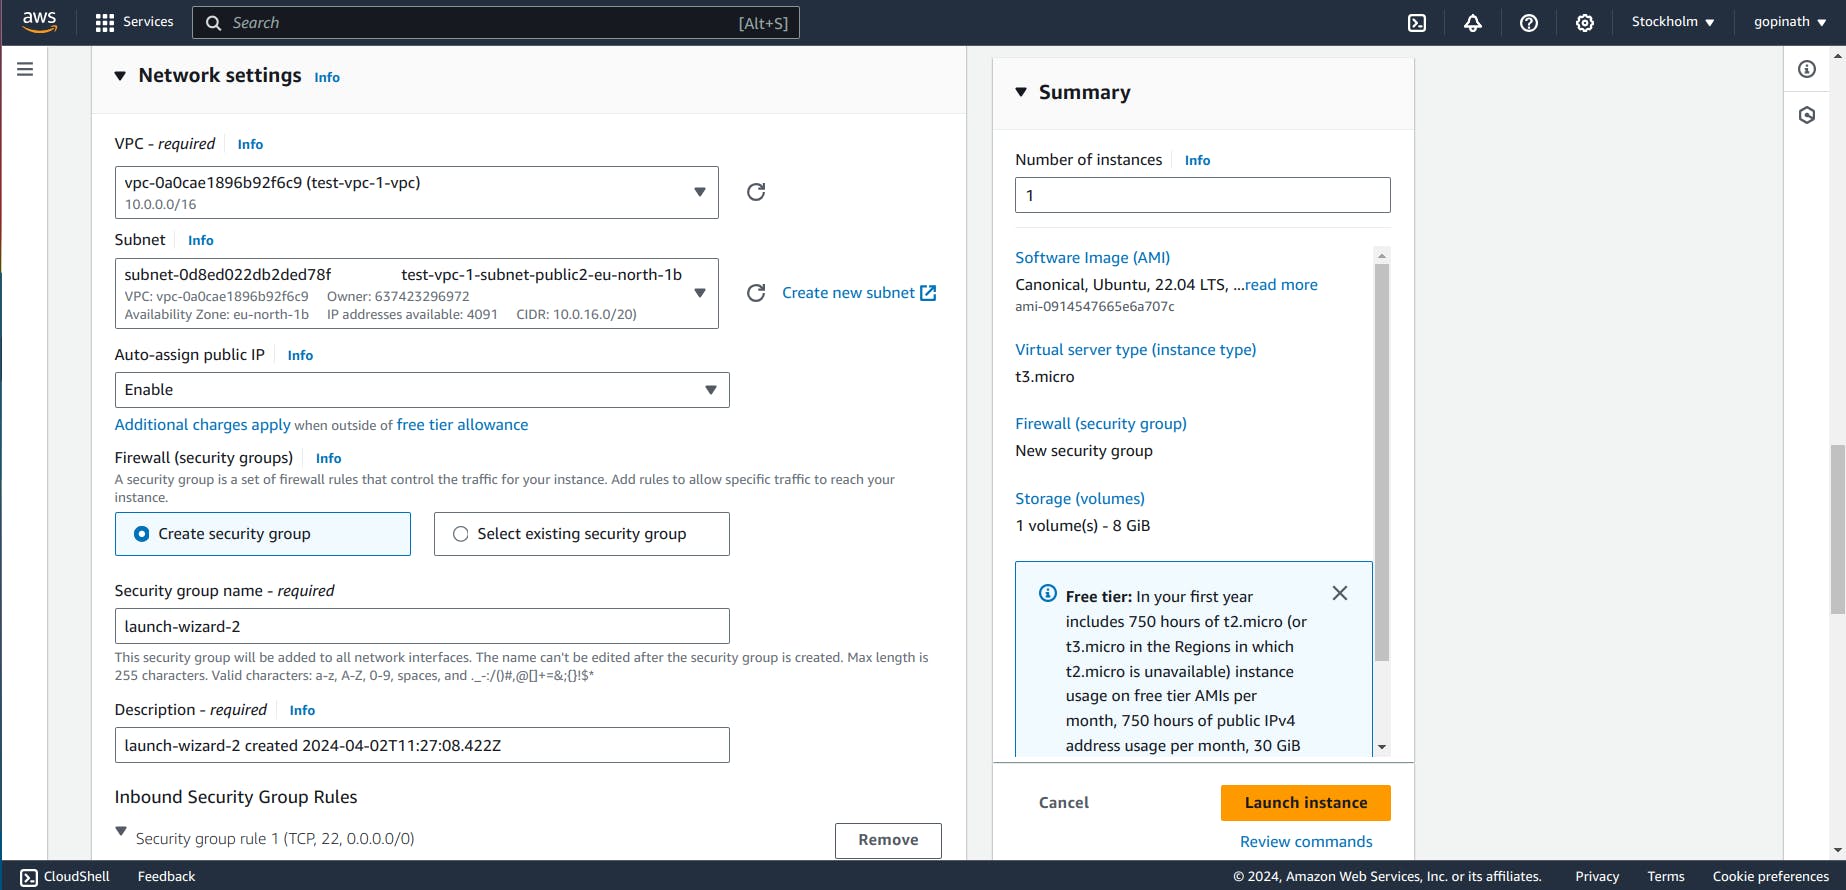
2.5 Select edit in the network settings and choose the VPC that we created and Click Launch Instance.
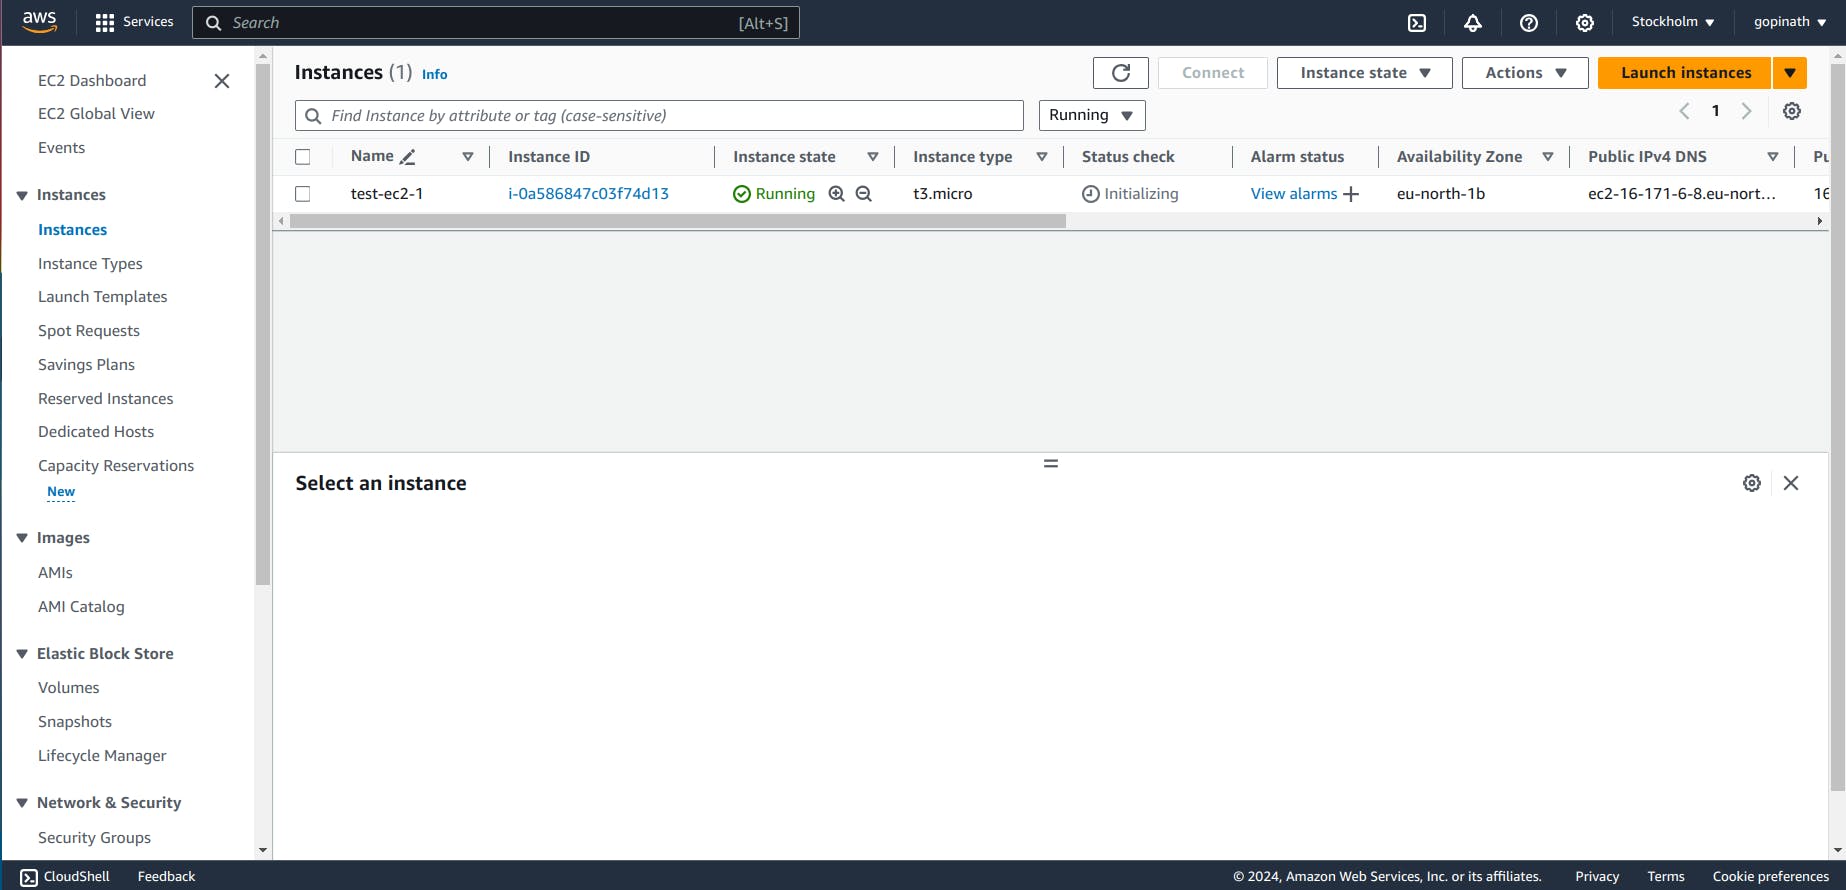
2.6 You can see the Instance running
2.7 Open the Instance and copy the public IPv4 address of that Instance.
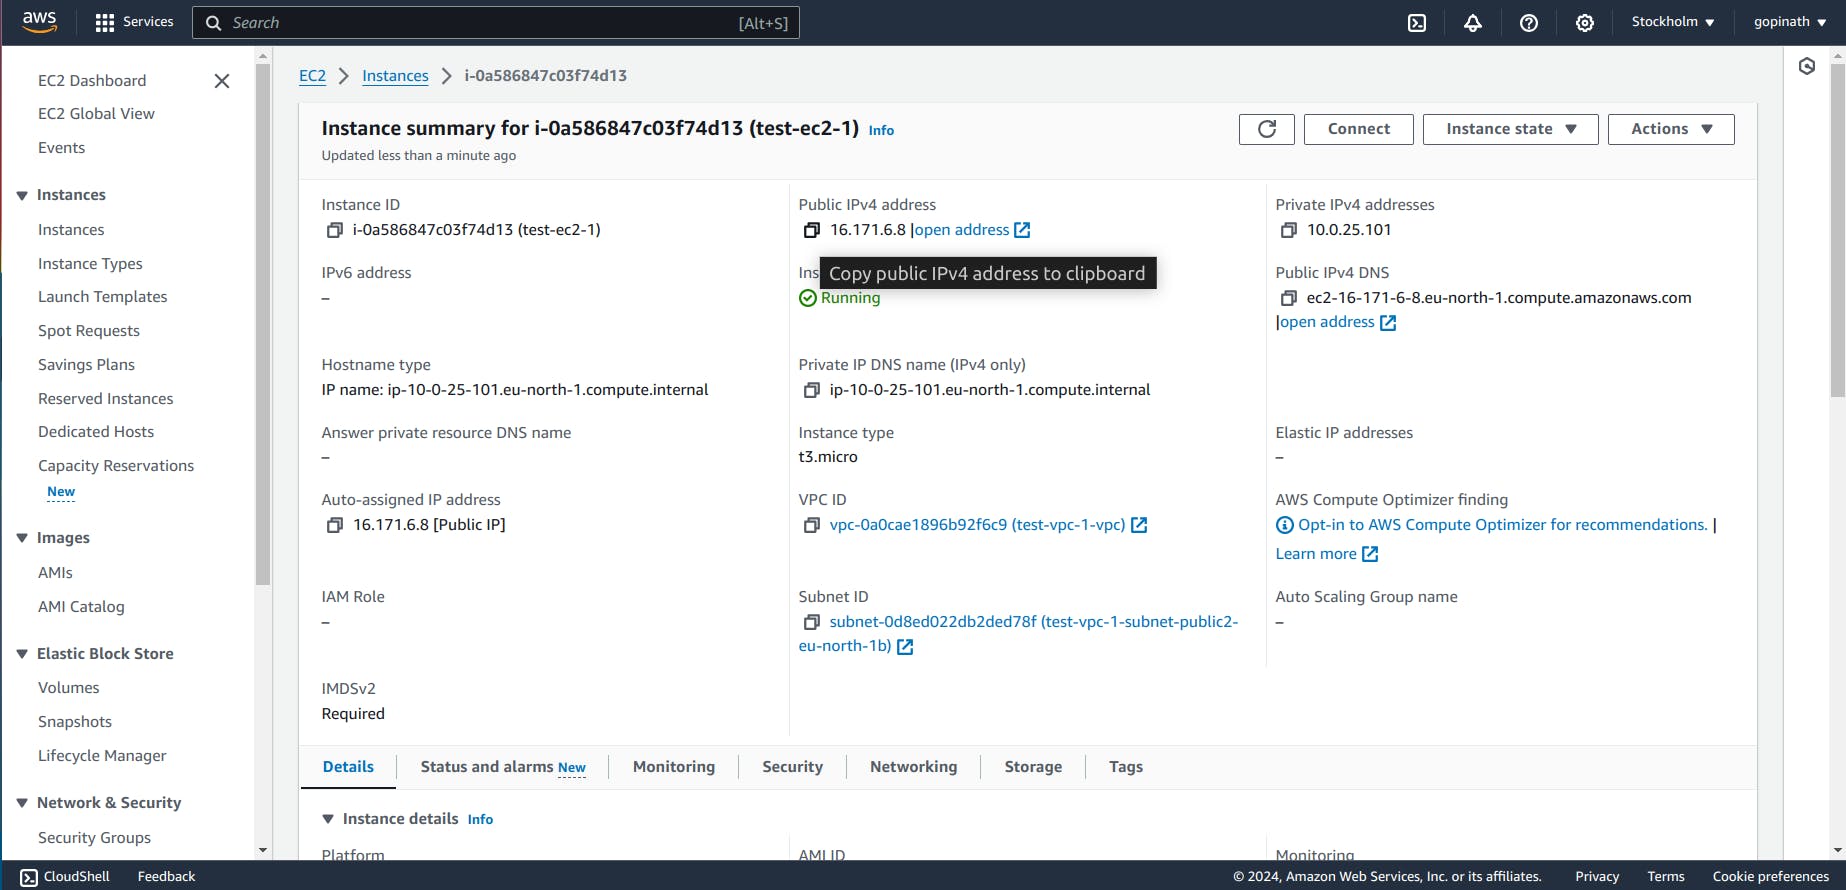
Now the EC2 instance is created.
3. Connecting Local System with EC2
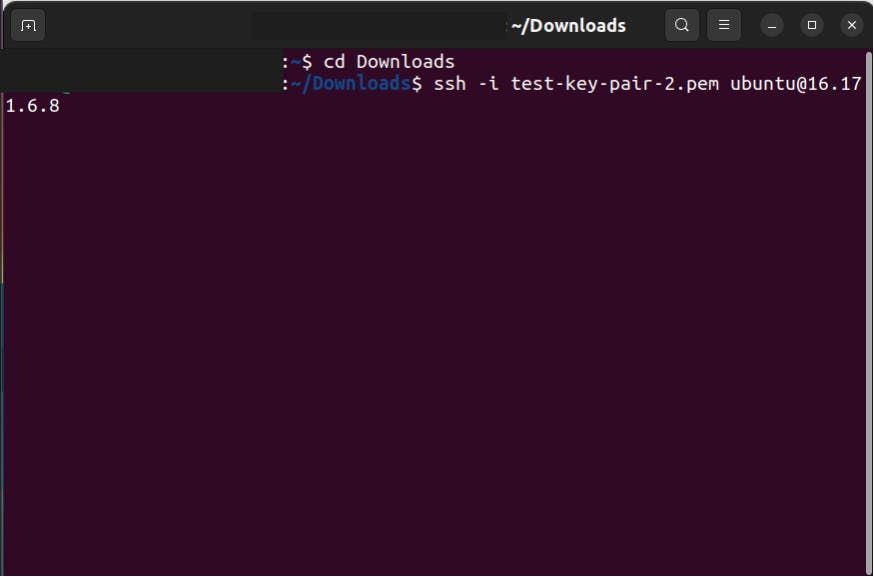
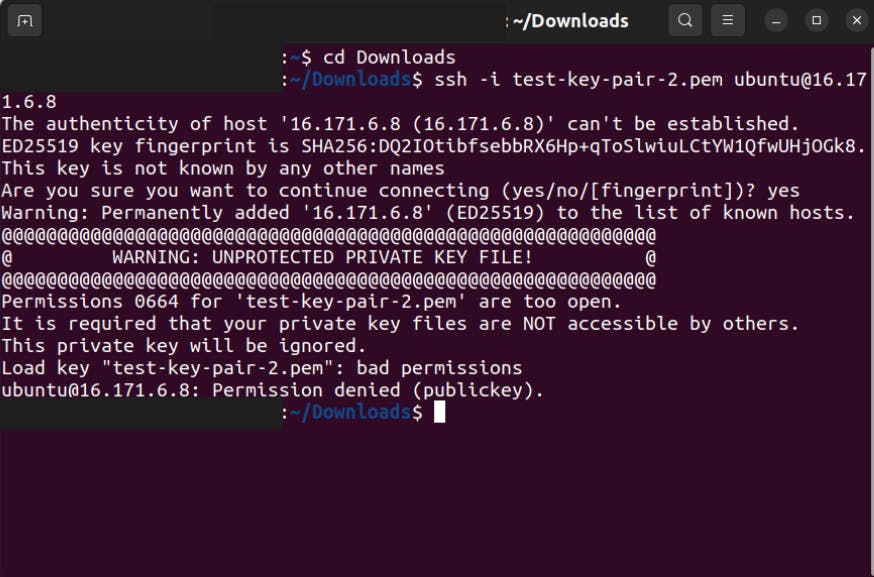
3.1 Open Terminal in local Computer and enter the following command
ssh -i <Key pair> <image>@<public IP of ec2>
3.2 It will give Warning like this,
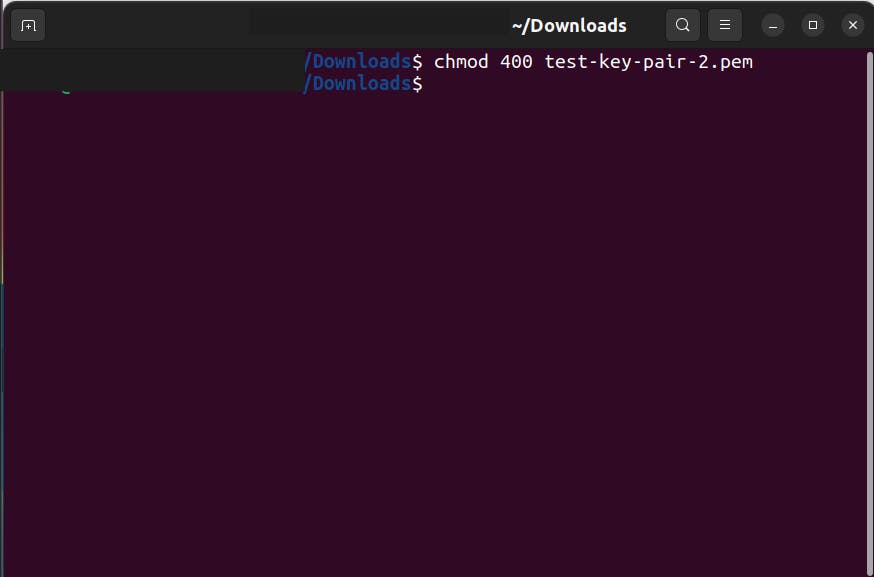
3.3 Change the permission of the key-pair we downloaded.
3.4 Now again give the command to connet to EC2.
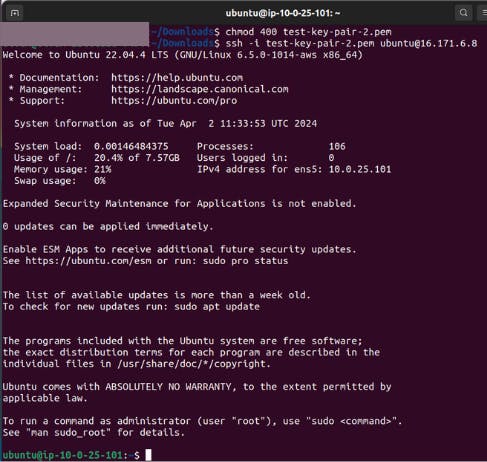
Now we are connected to the EC2 instance machine using our local machine.
We can try running python server in EC2 and check if it is working or not.
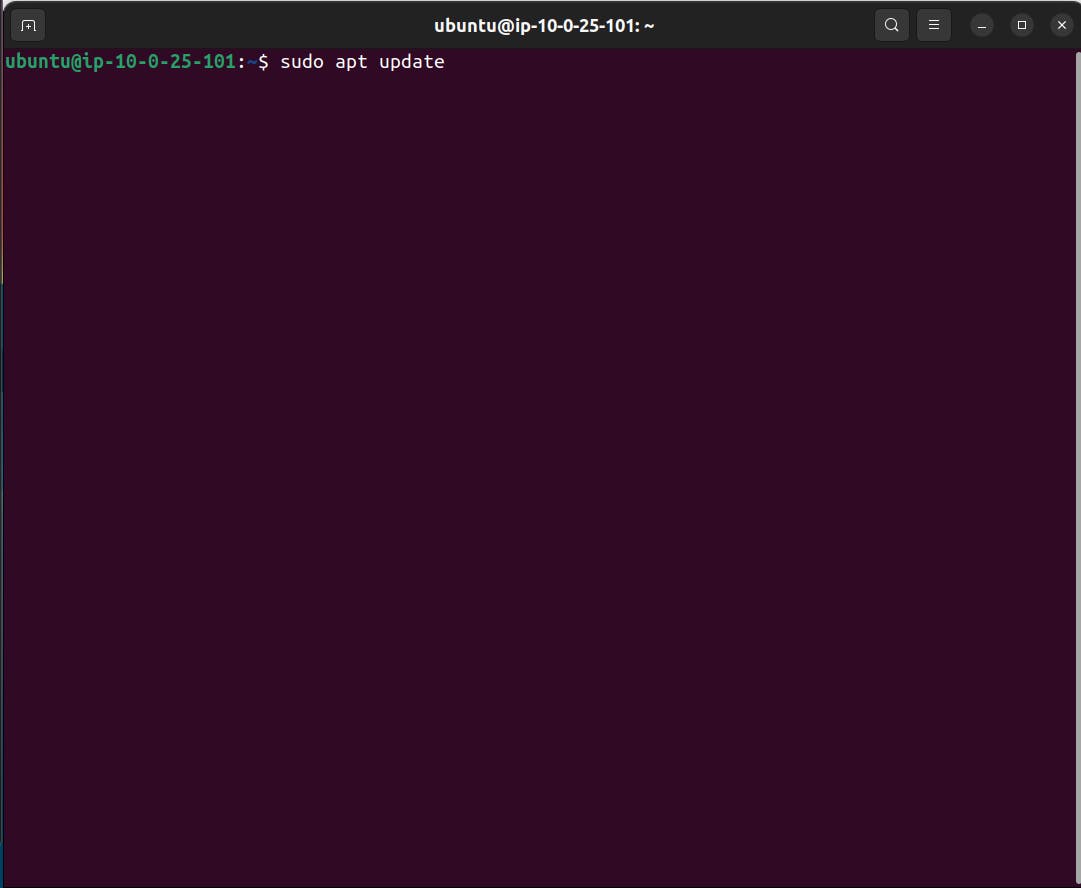
3.5 Update the EC2 machine using the command
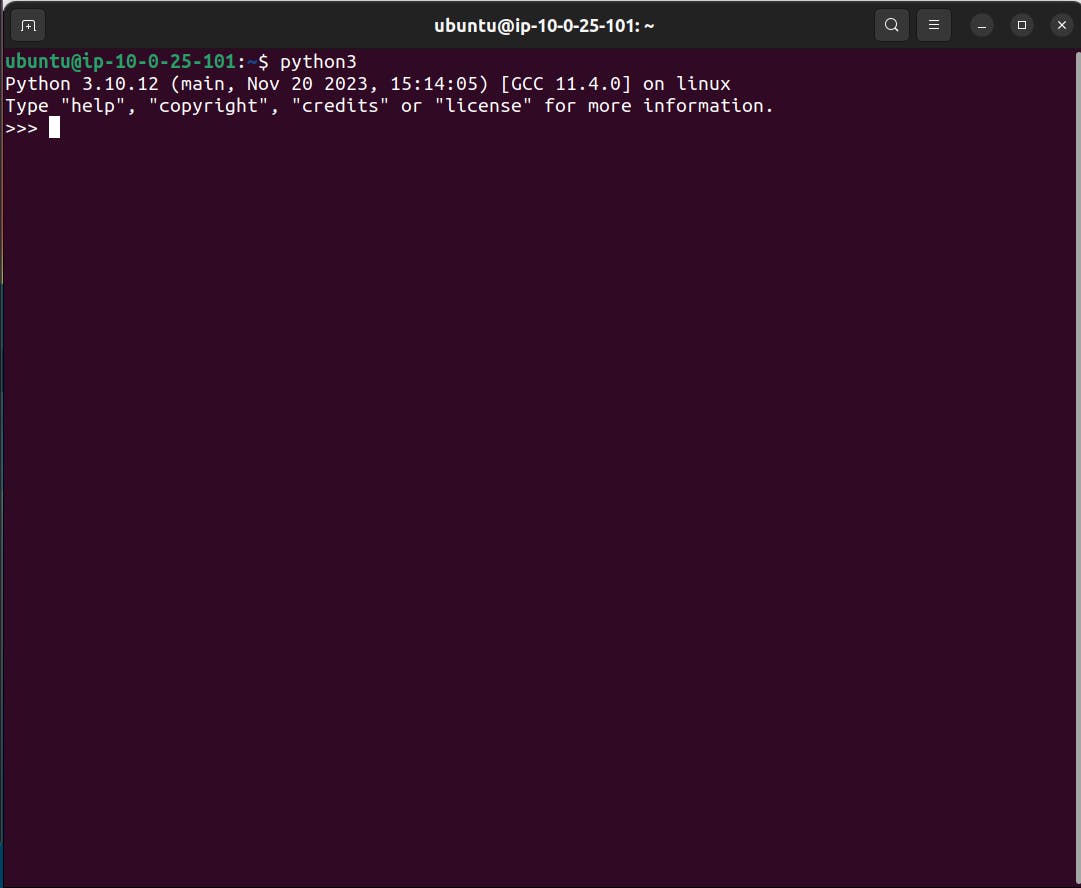
3.6 Check if python is installed in that machine
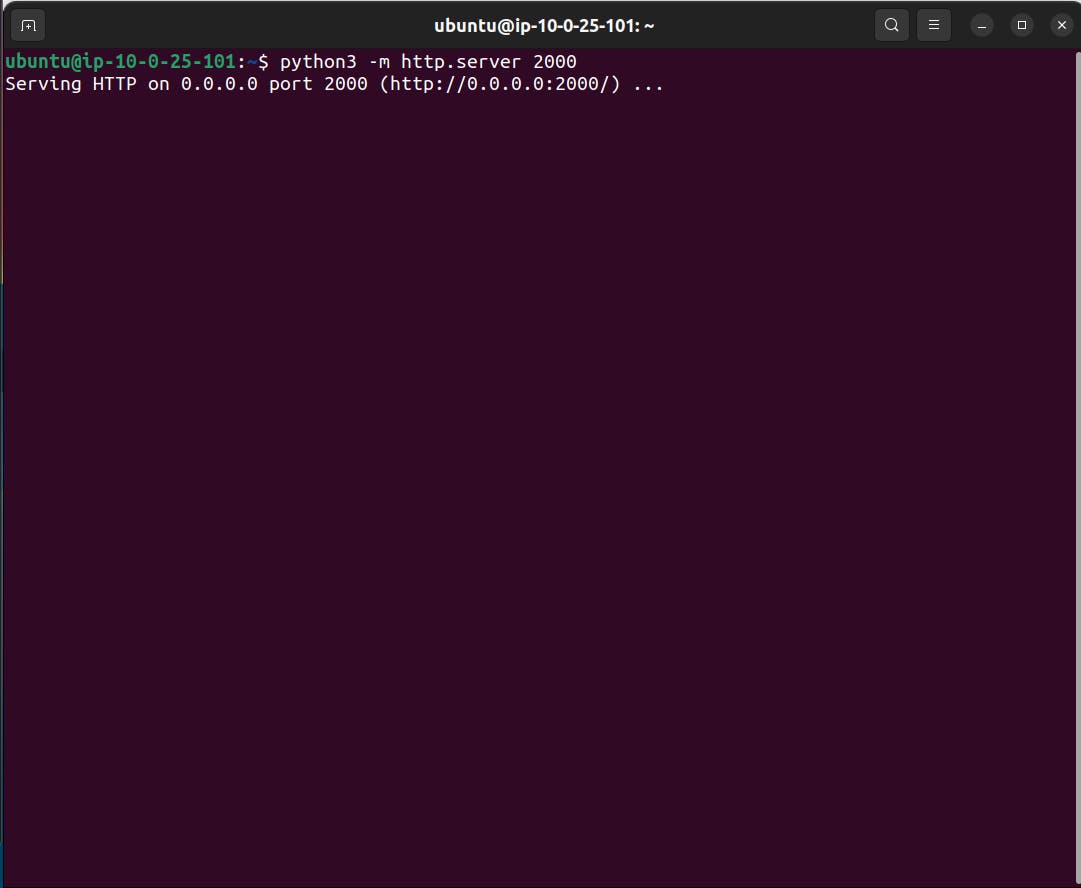
3.7 Enter the command which will run a simple python server in that instance
3.8 Now enter the URL with public Ipv4 address and port number in browser.
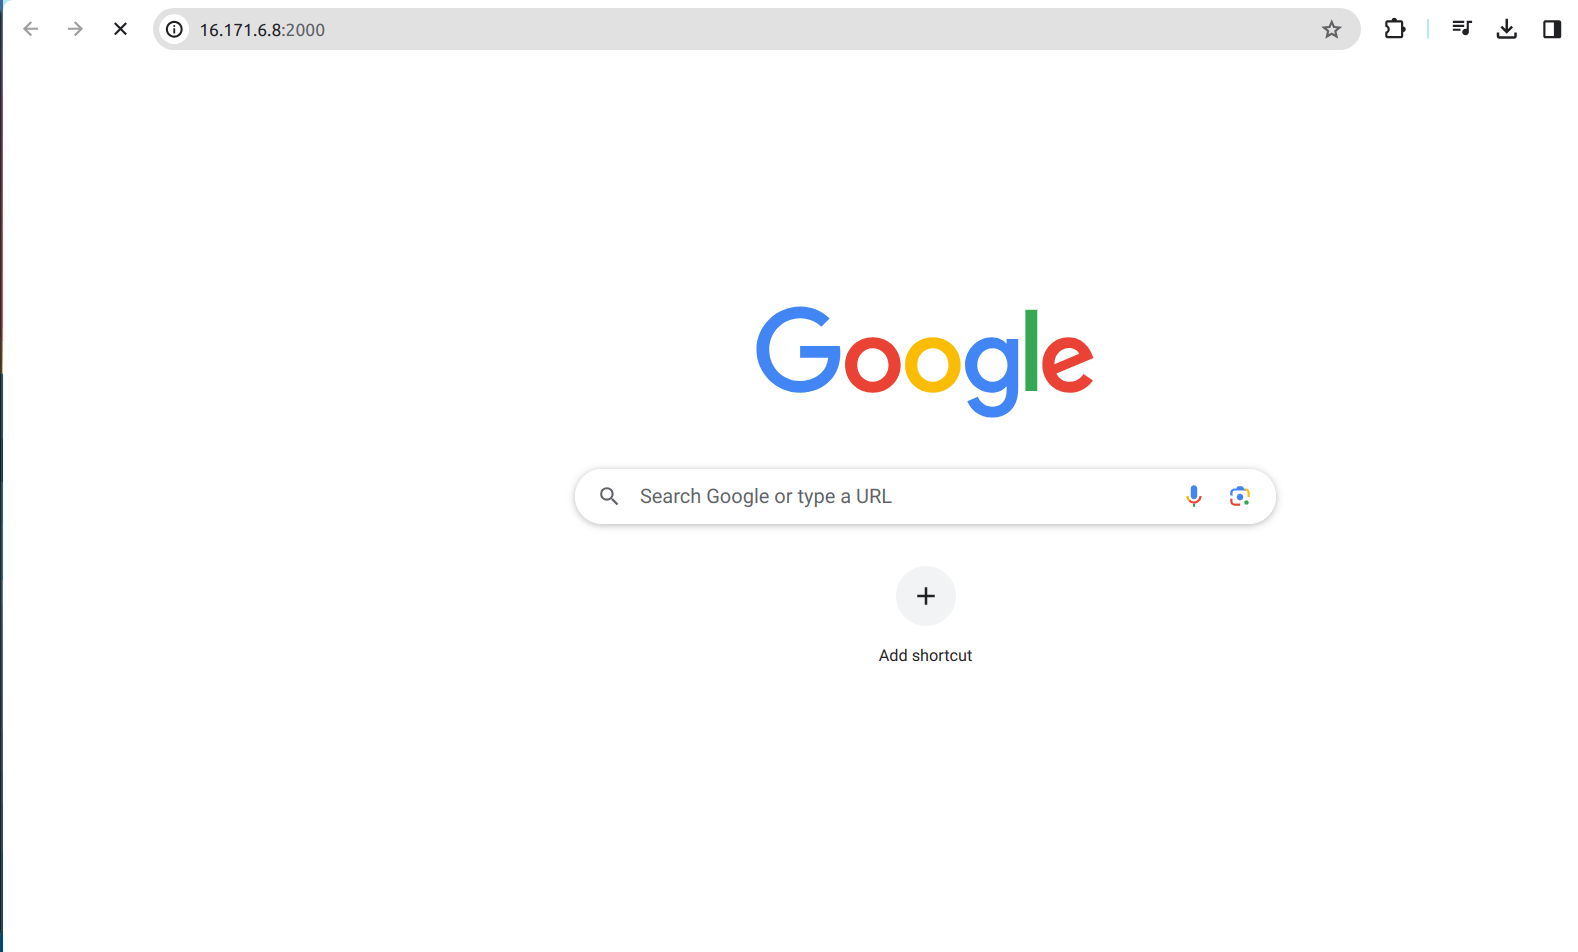
There will be no response from the server. The reason for this is Security group.
By default, security group will not allow any IP and port. We have to manually configure the Security Group to allow the IP.
4.Security Group
4.1 Open the Ec2 and view the security tab and click the security groups.
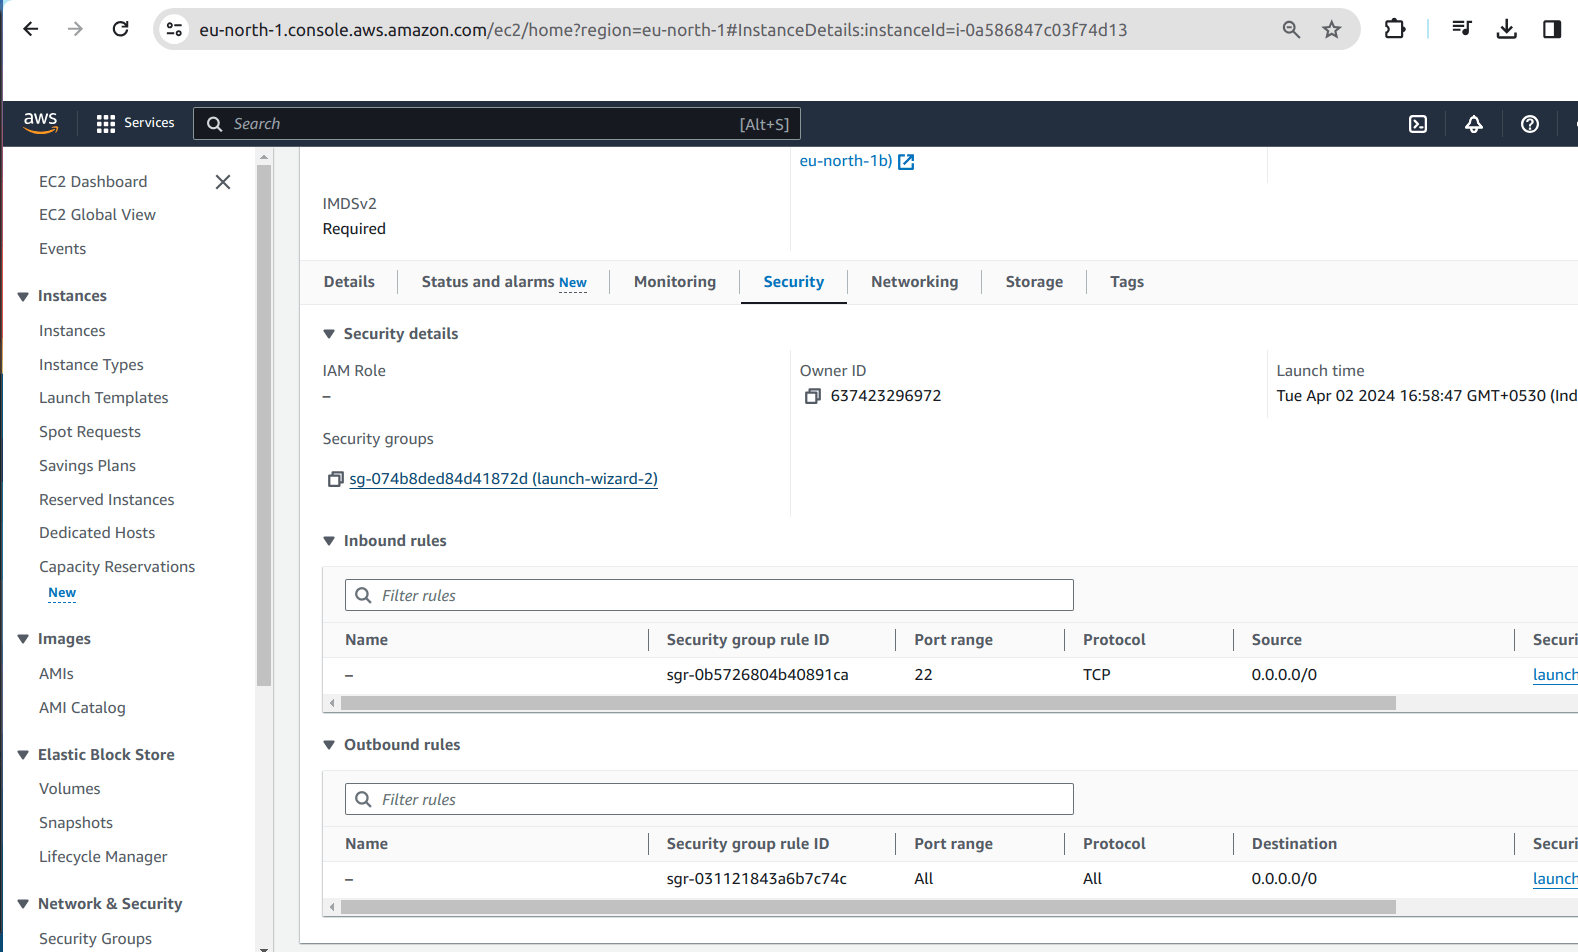
4.2 It will open window like this,
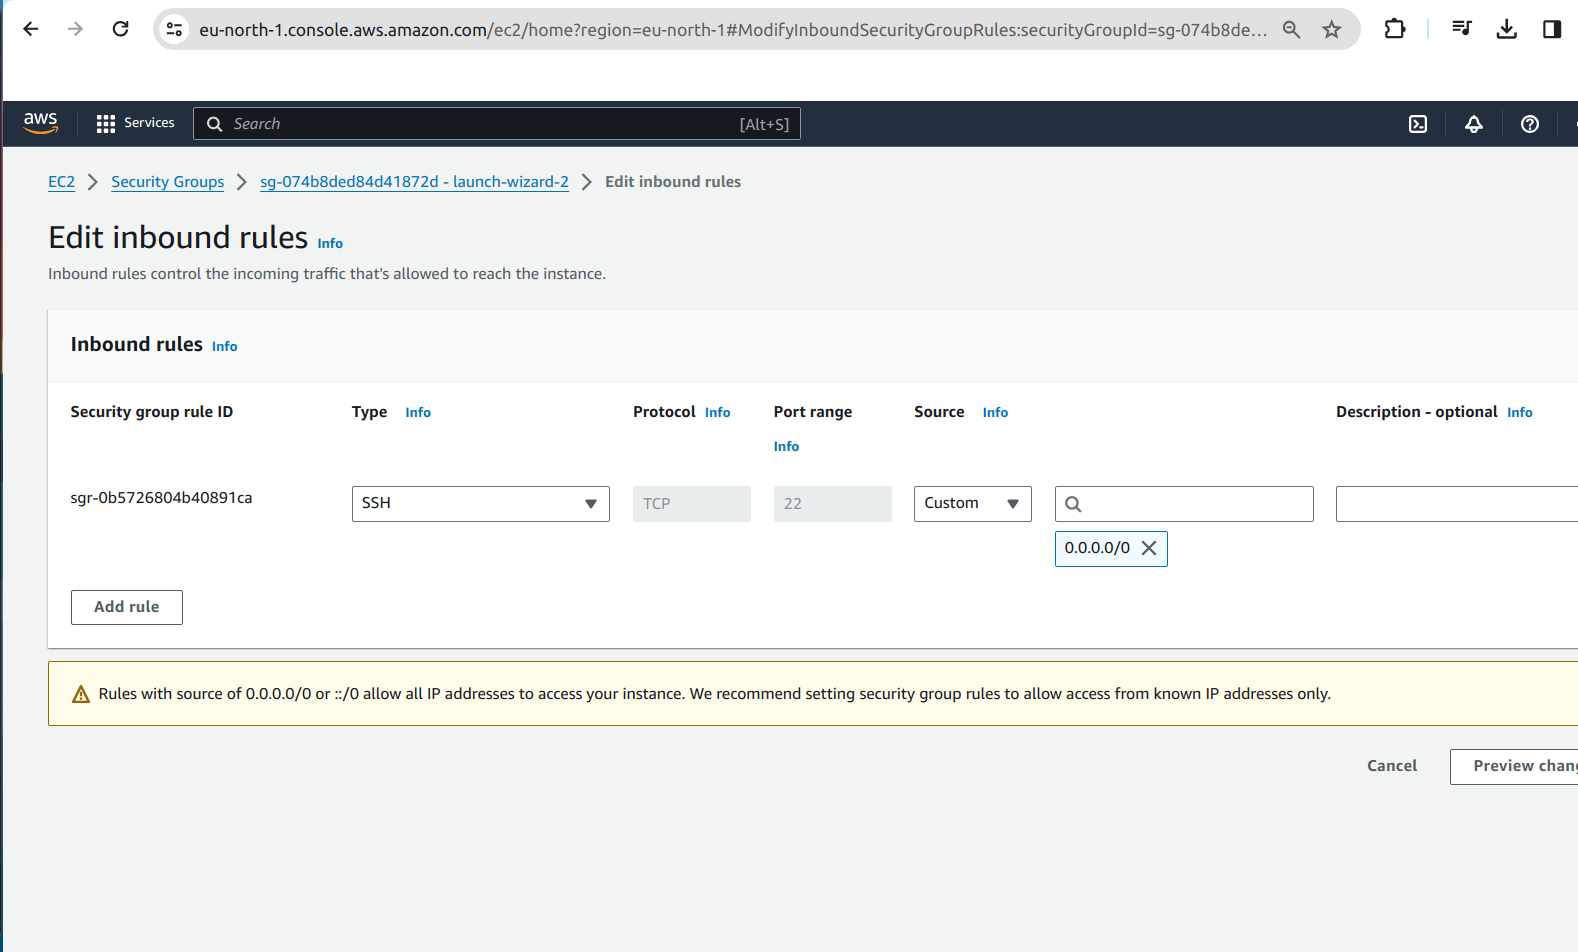
4.3 Click on Add rule and add the type, port range and source.
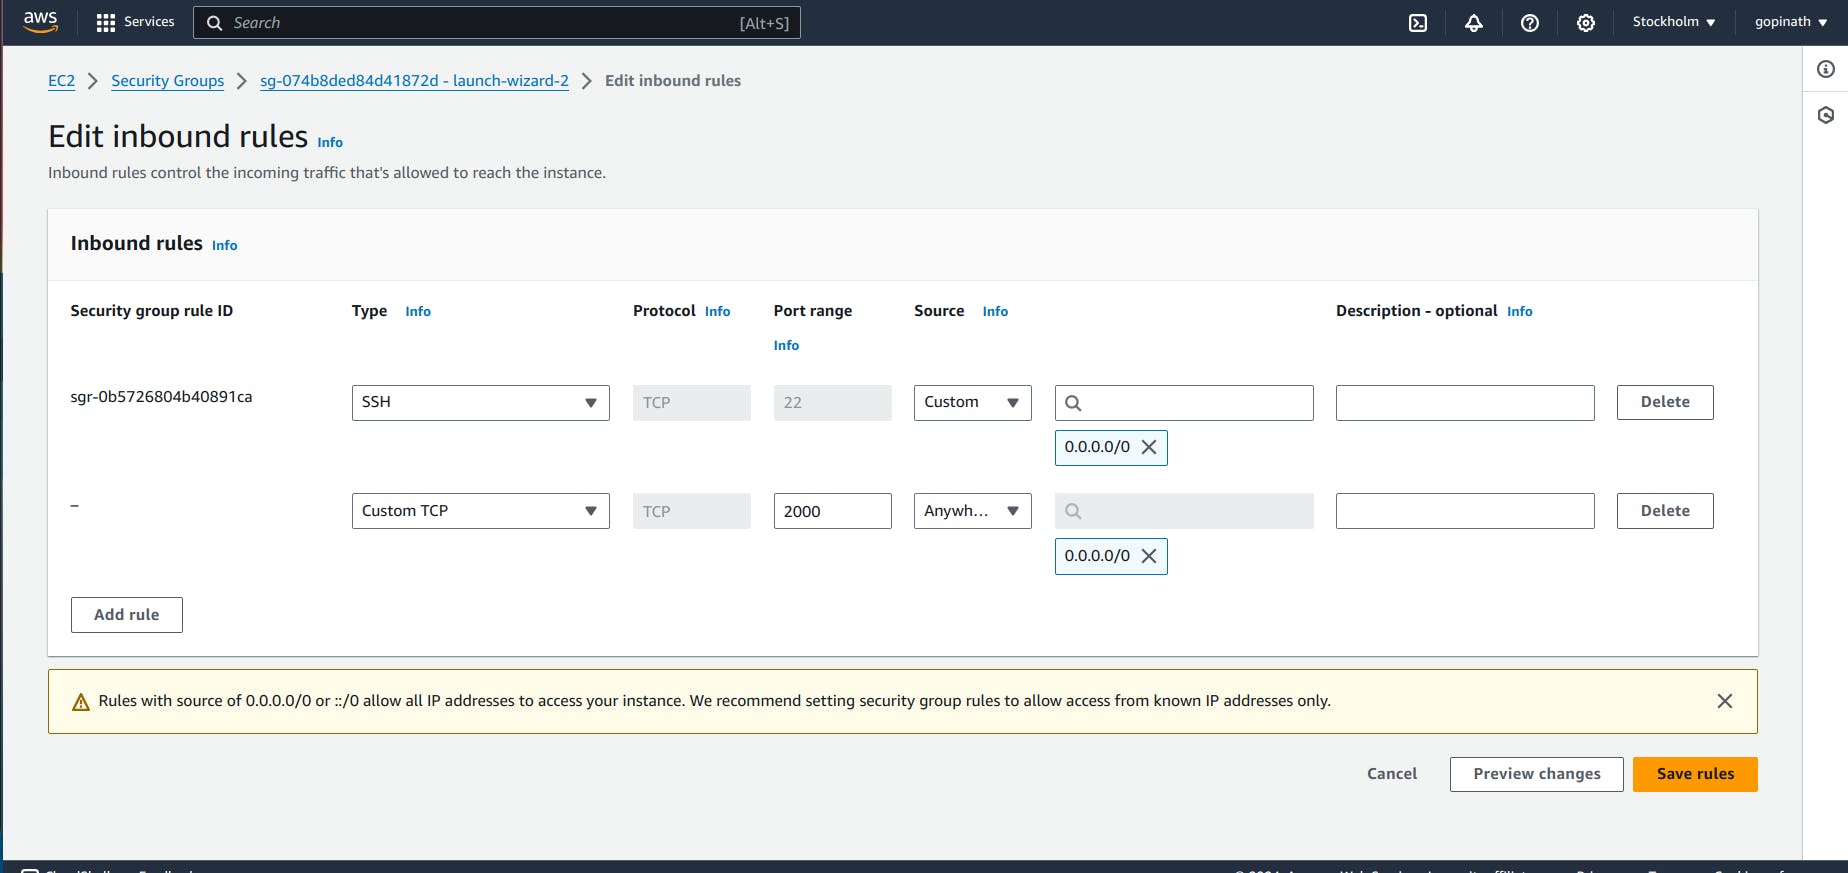
Save the rules.
4.4 Open the same link in the browser
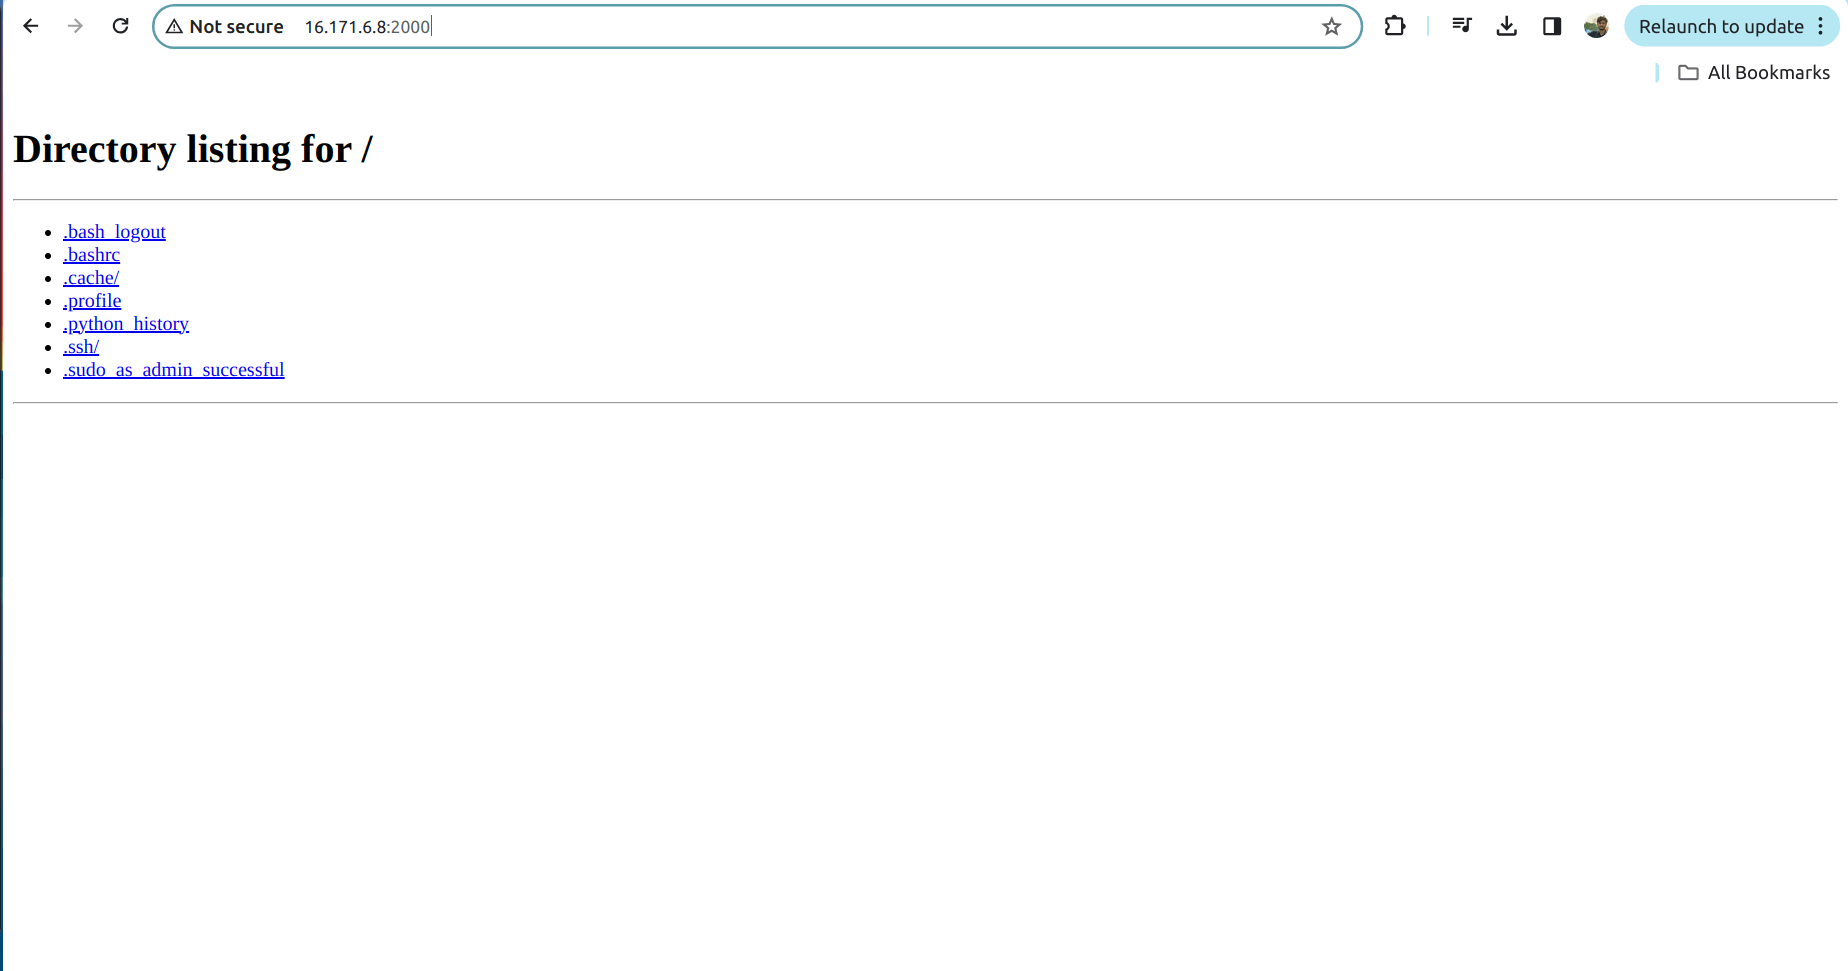
Now the server will work as we allowed the request in the security group.
Security Group will provide security only in Instance level. Let's add security in the subnet level.
Network Access Control List(NACL) is used to add the security in the subnet level.
5.Network Access Control List (NACL):
5.1 To add NACL open the VPC that we created -> Select Network ACLs in left cornor of security .
5.2 It will show the list of NACL. Click the NACL that we created for VPC.
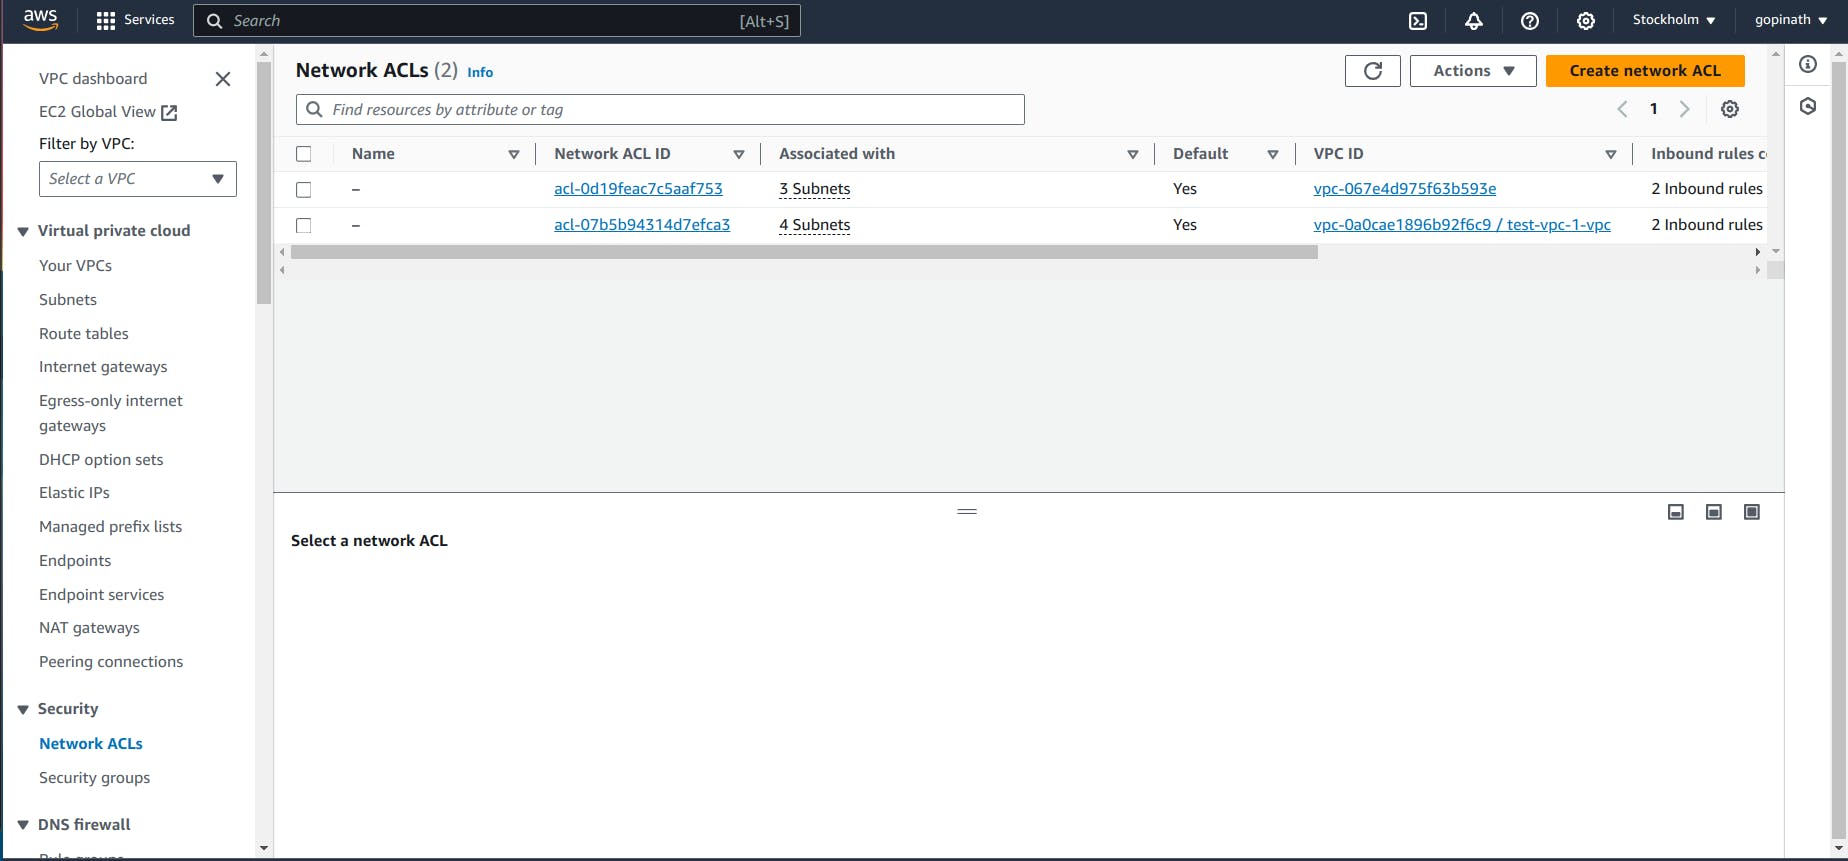
5.3 Initially it will allow all the traffic.If we want to block the traffic from particular source we need to create a new rule and specify them.
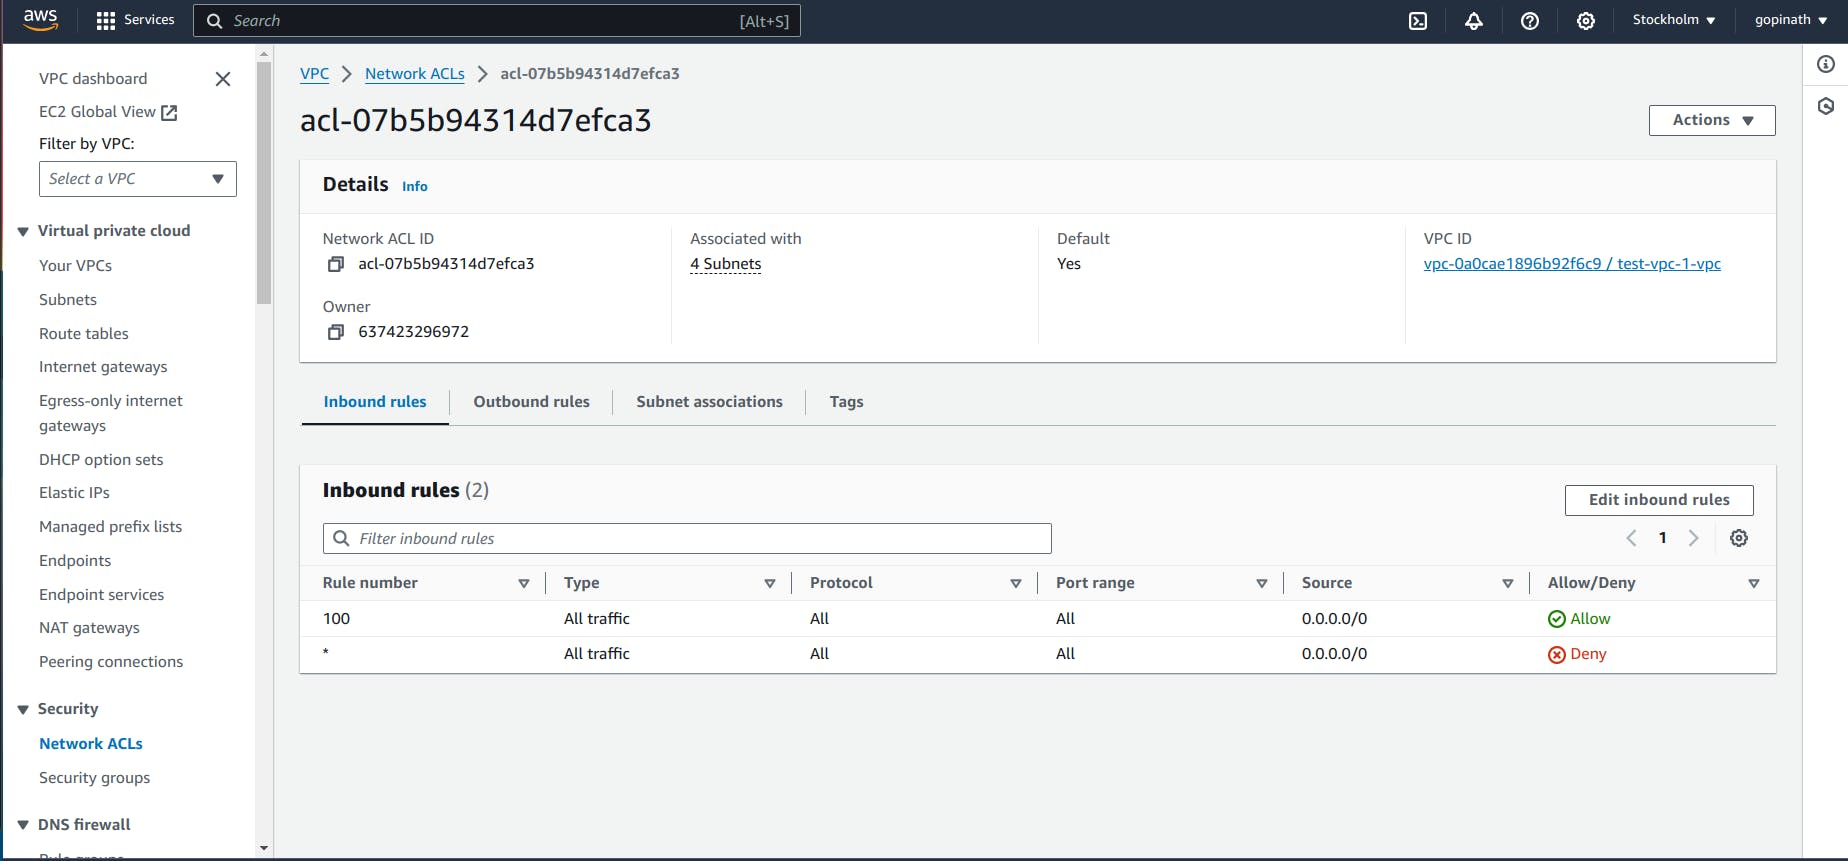
In security Groups we have to specify what traffic to allow and in NACL we have to specify what traffic to deny.
Now, we can try blocking the port 2000 using NACL.
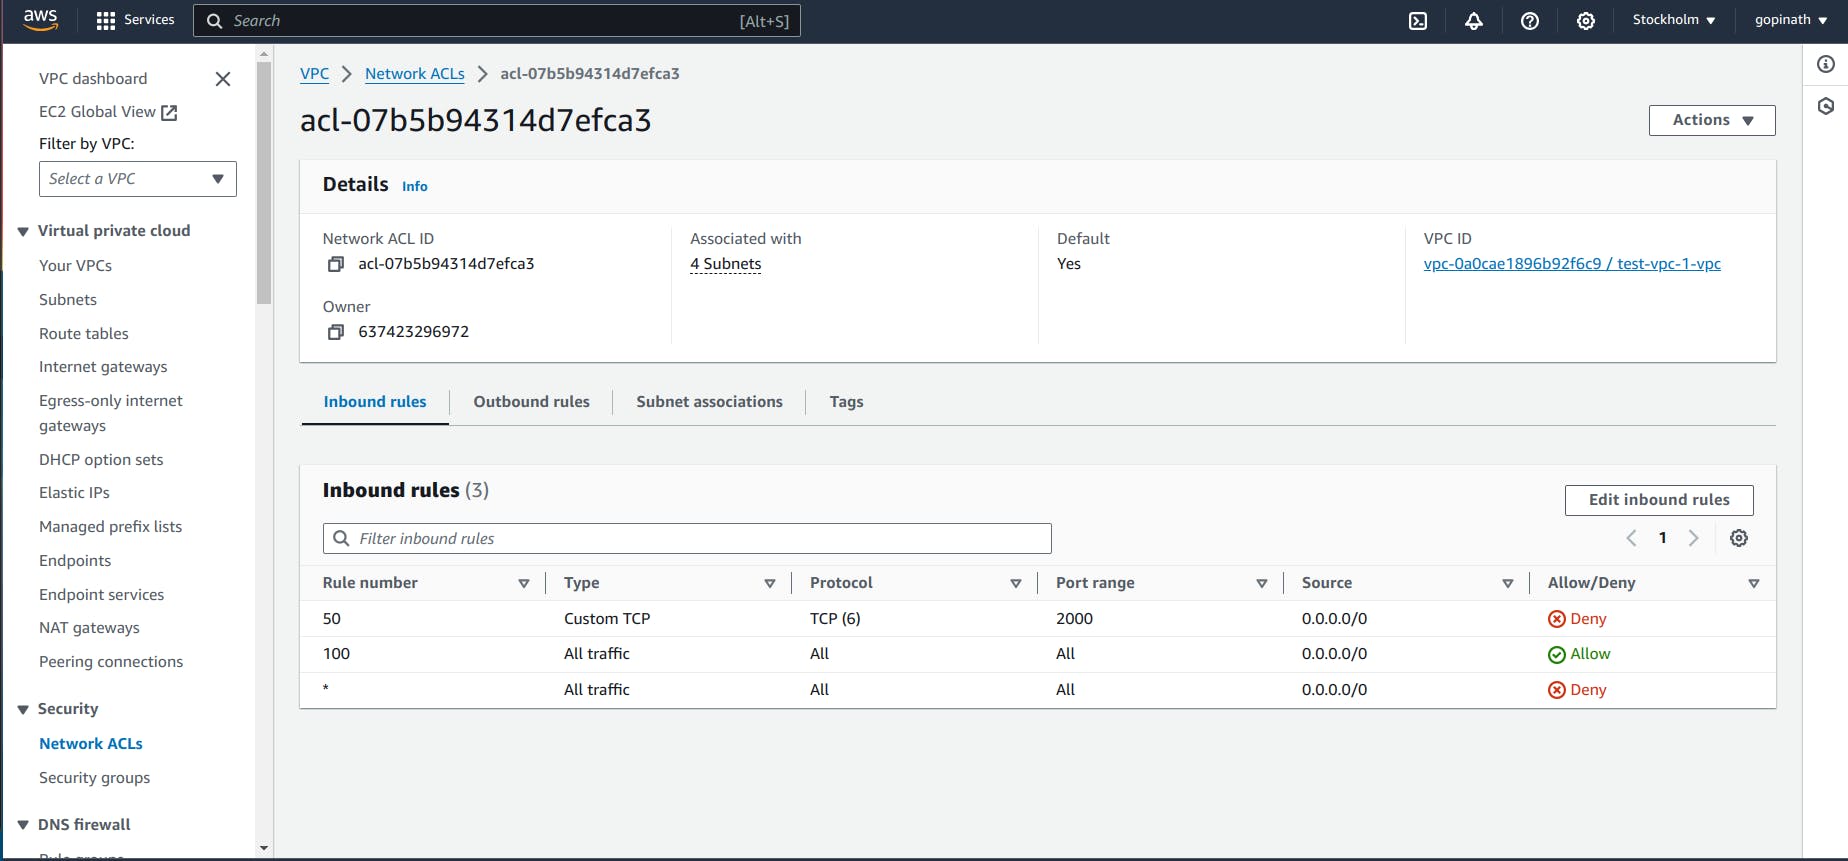
5.4 Click the Edit inbound rules, it will give like this,
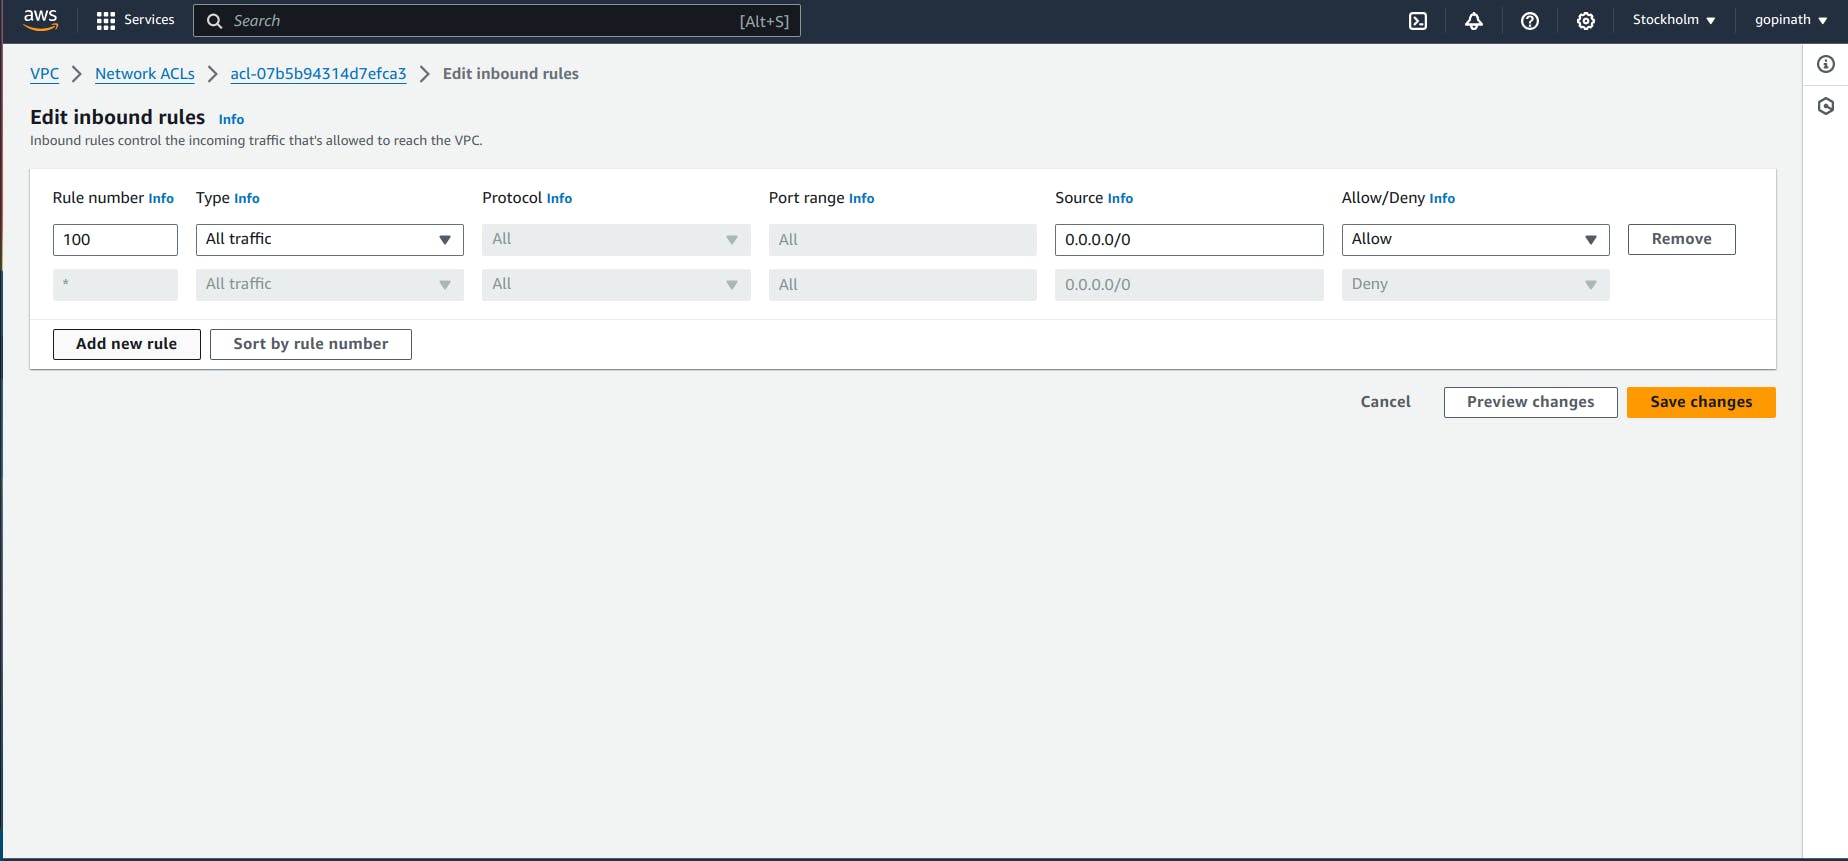
5.5 Add a new rule to deny request from port 2000.
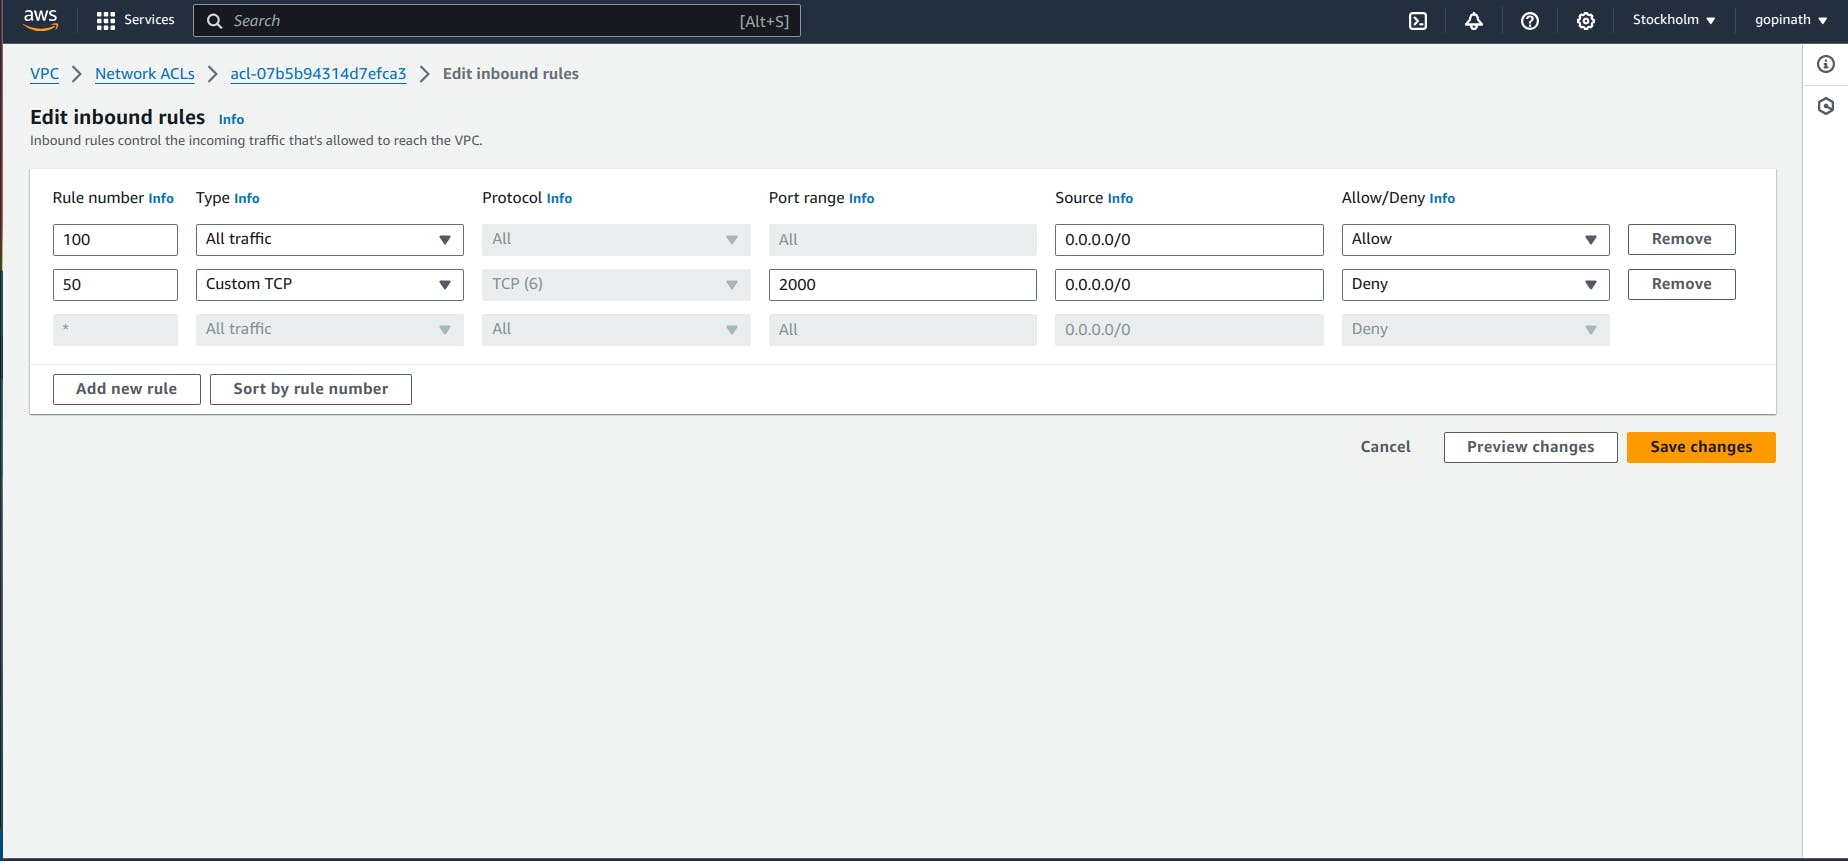
I specified rule number as 50 bacause NACL execute the rules based on the rule number. If a rule is satisfied it won't execute the remaining rules.
5.6 Now the rules will look like this,
5.7 Try accessing the link in chrome
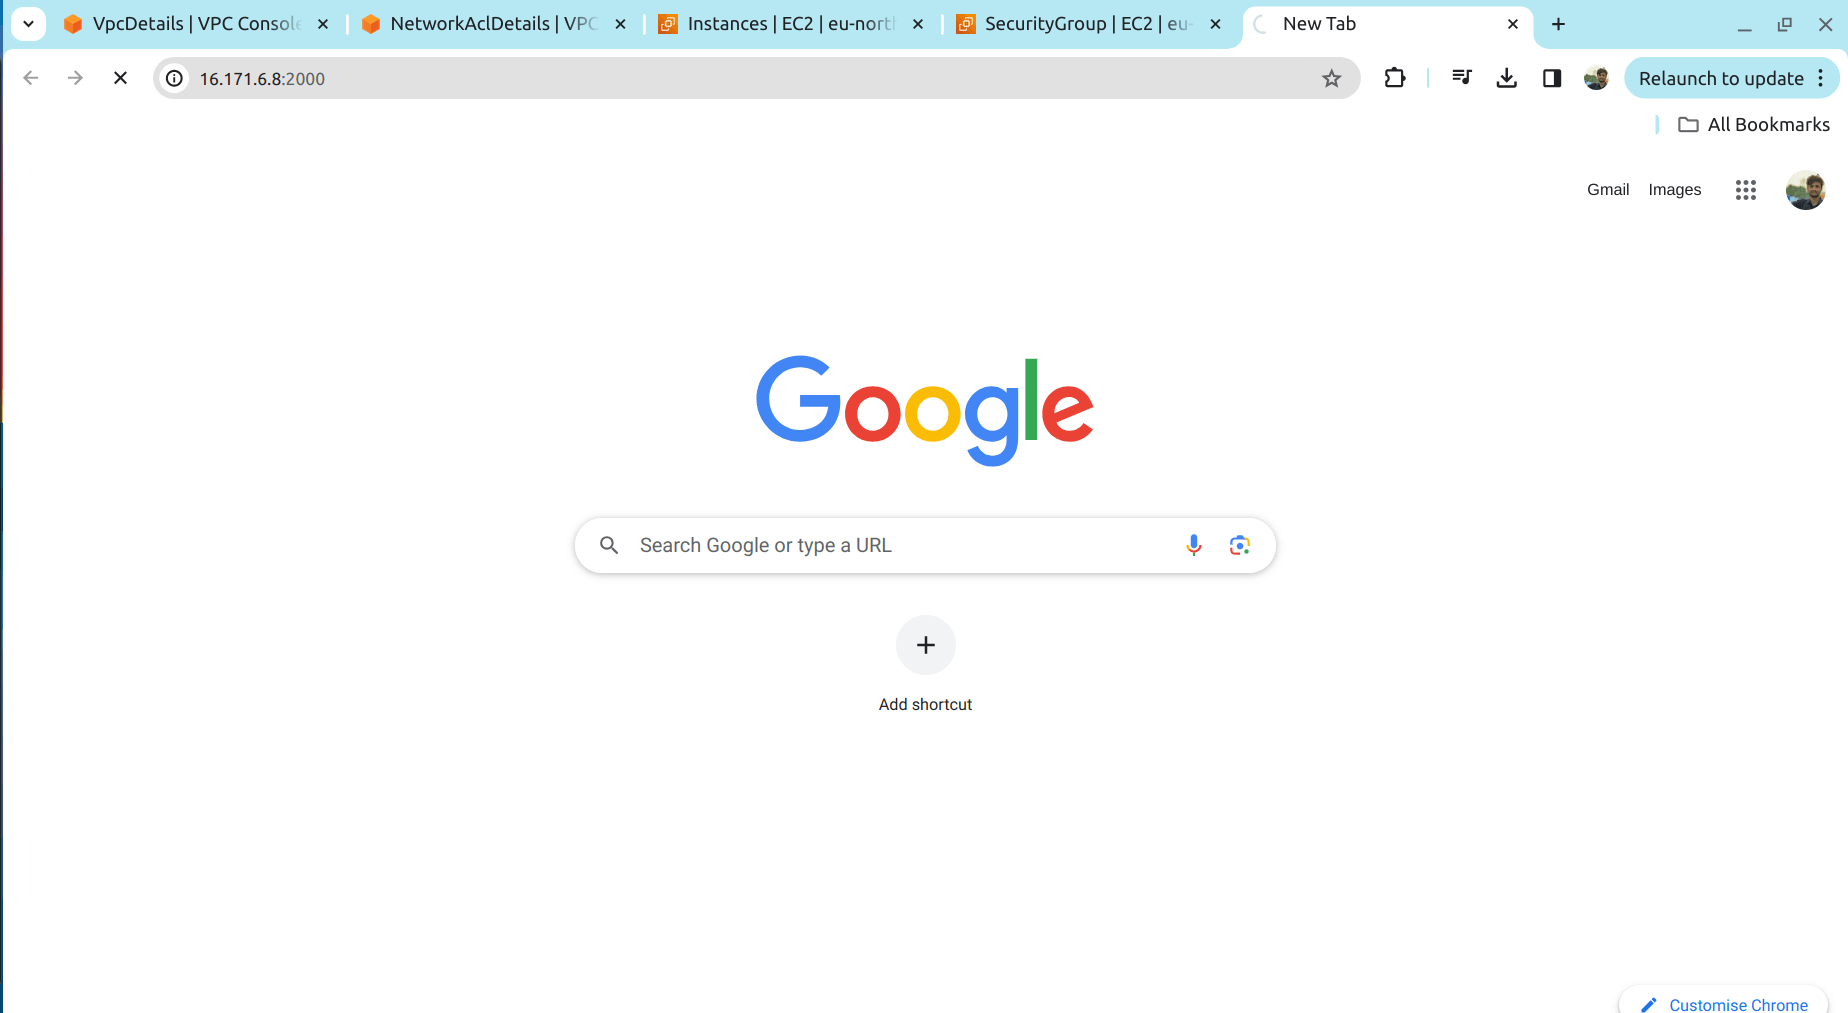
It wont give any response as we blocked the port in NACL.
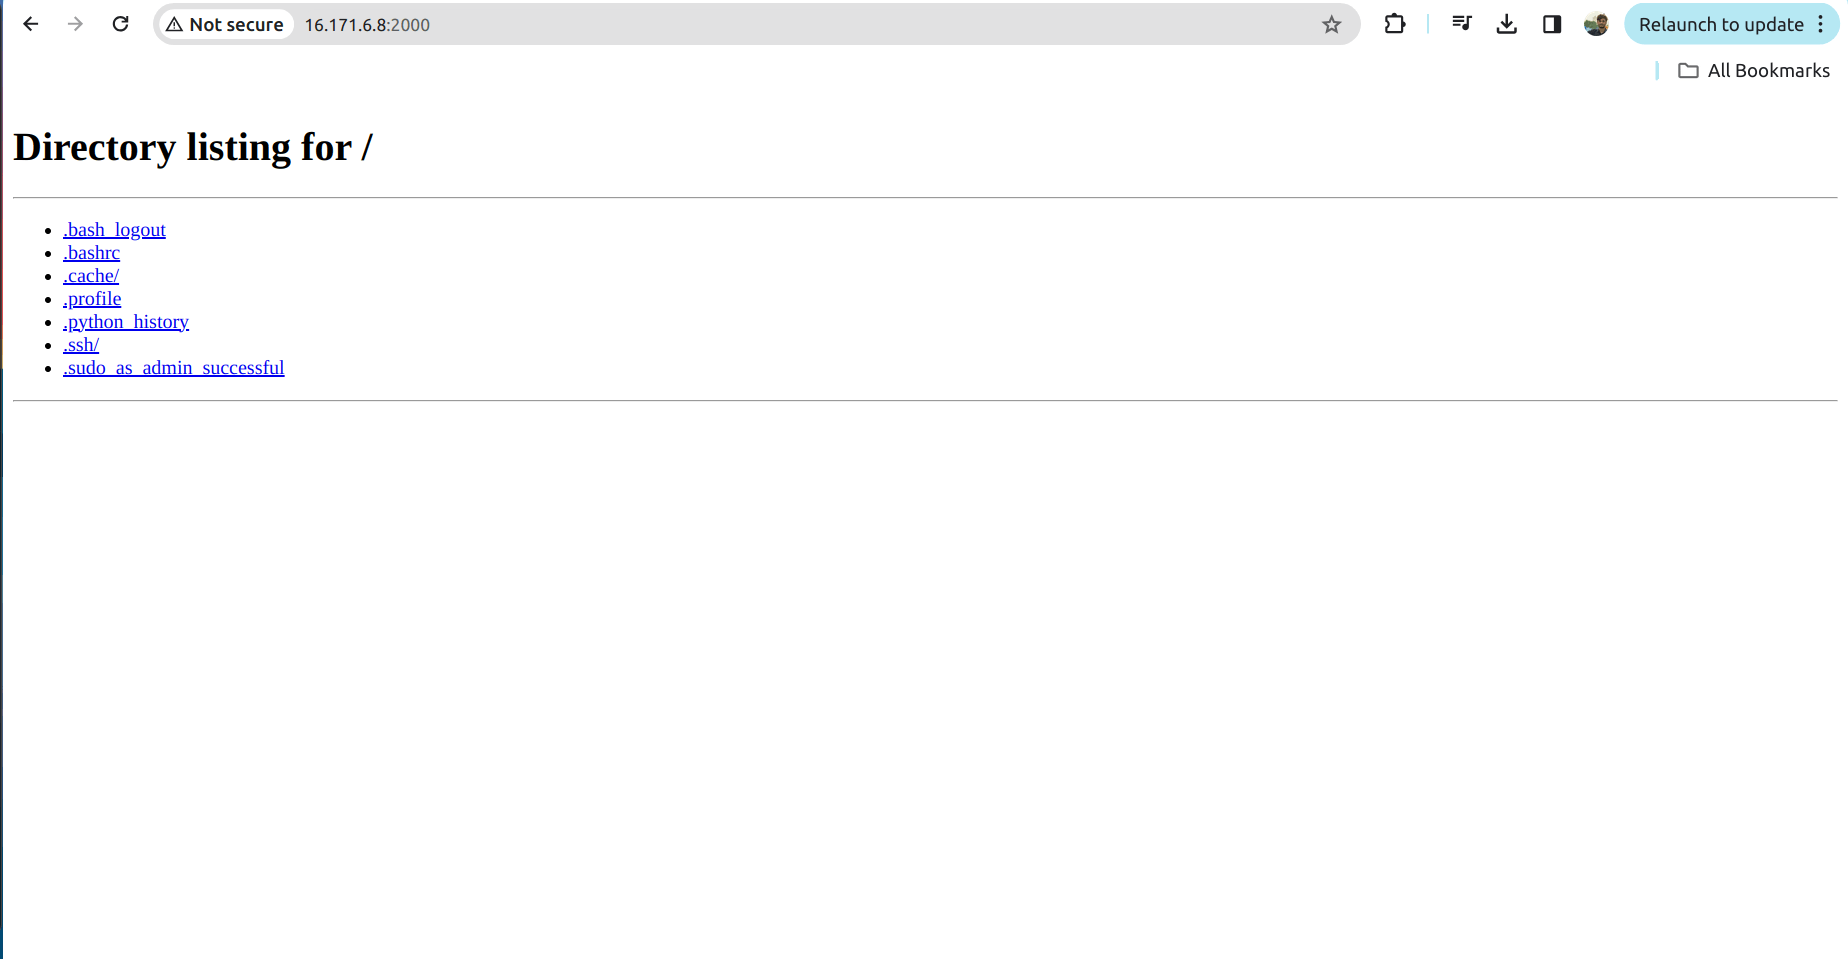
5.8 Now remove the NACL

5.9 Try accessing the link in browser
Conclusion :
In conclusion, VPC provides a secure isolated network in the cloud and uses security group and NACL for providing security to the resources in the VPC.