AWS Bastion Host


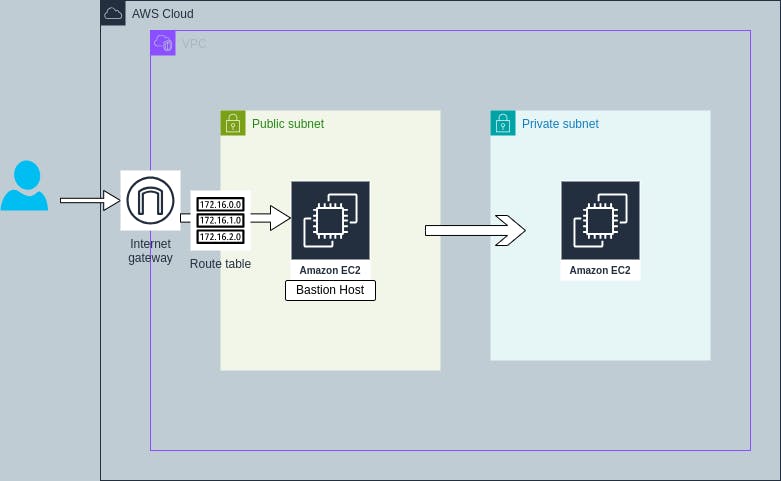
Bastion Host is a server that provide access to private network from an external network such as the internet. Bastion Host acts as a secure gateway to access servers in private network.
Bastion Host is placed in public subnet that allows to access servers in private subnets which do not have public IP address.
In this article, we will create a bastion host in public subnet and access the server in private subnet which do not have public IP.
This article covers the following flow,
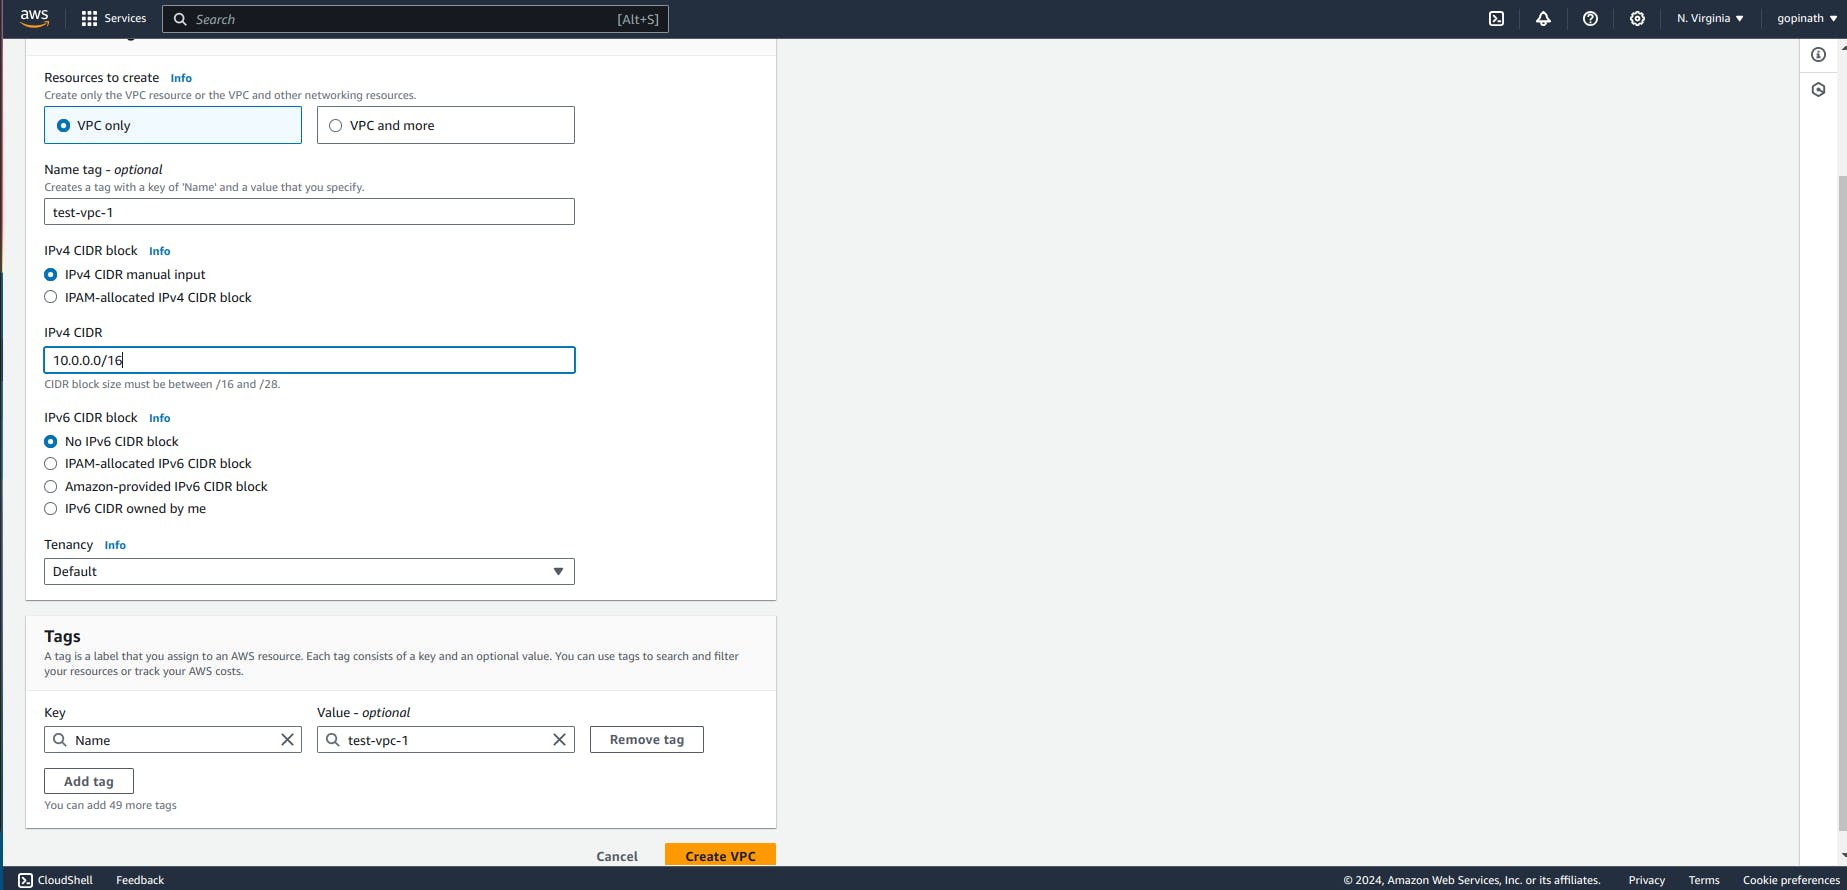
Go to AWS console -> search VPC and select create VPC.

Specify the VPC name and choose the required CIDR block range and select create VPC.
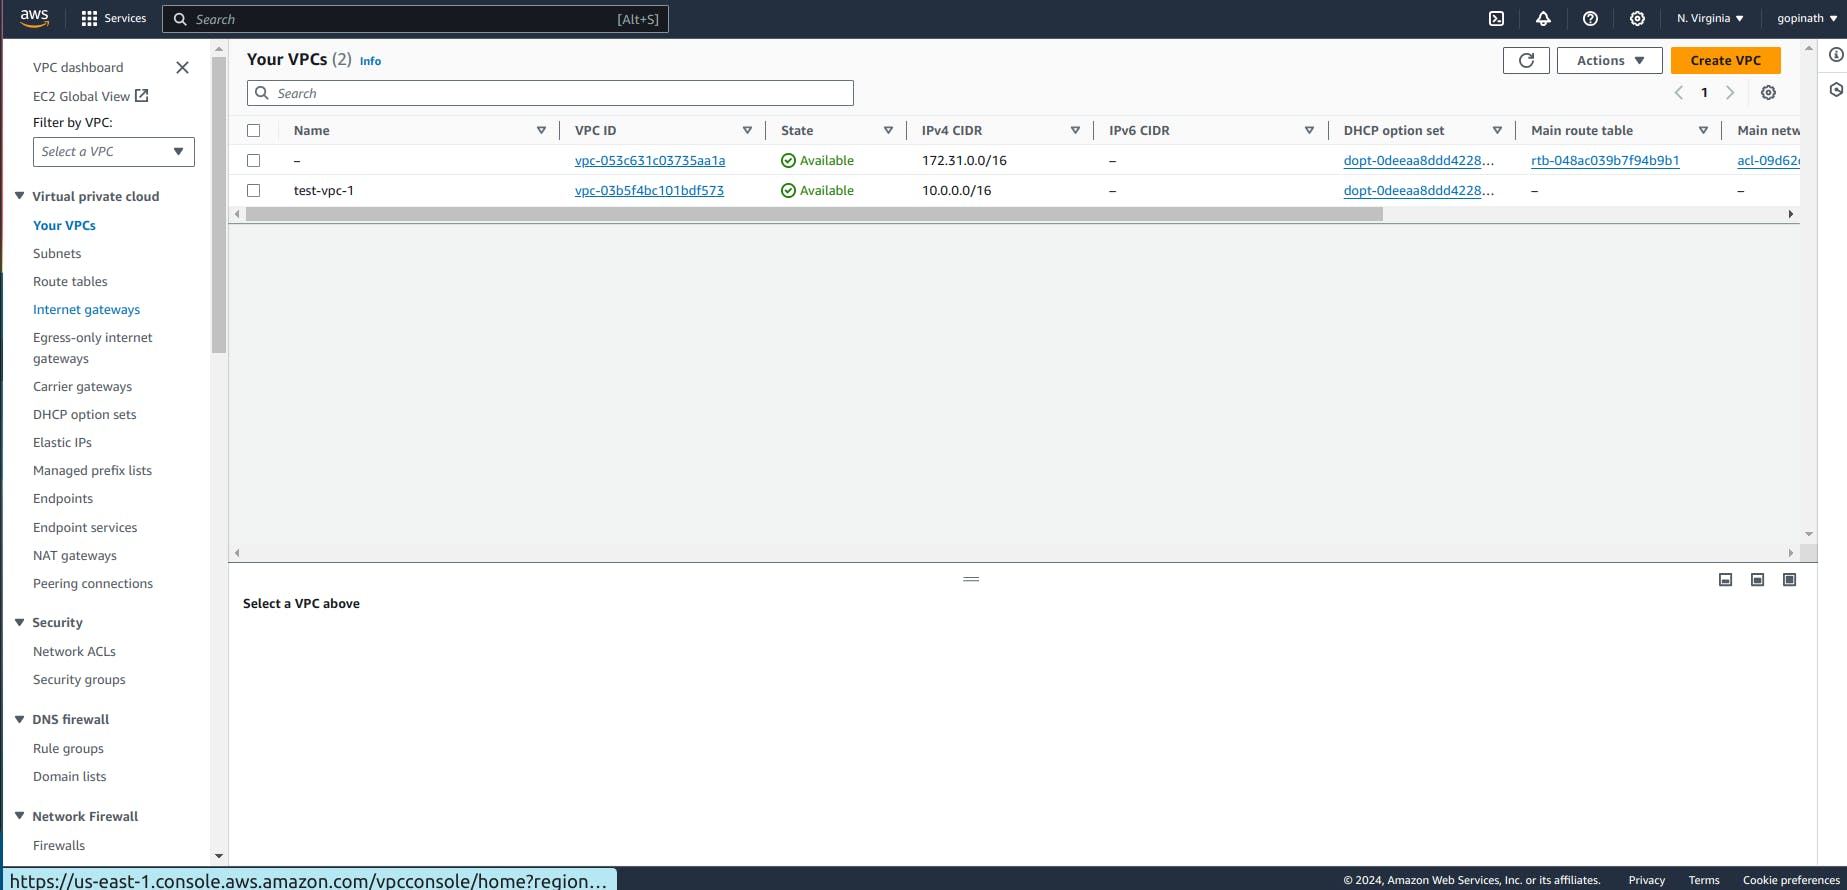
List of VPC will be show here,
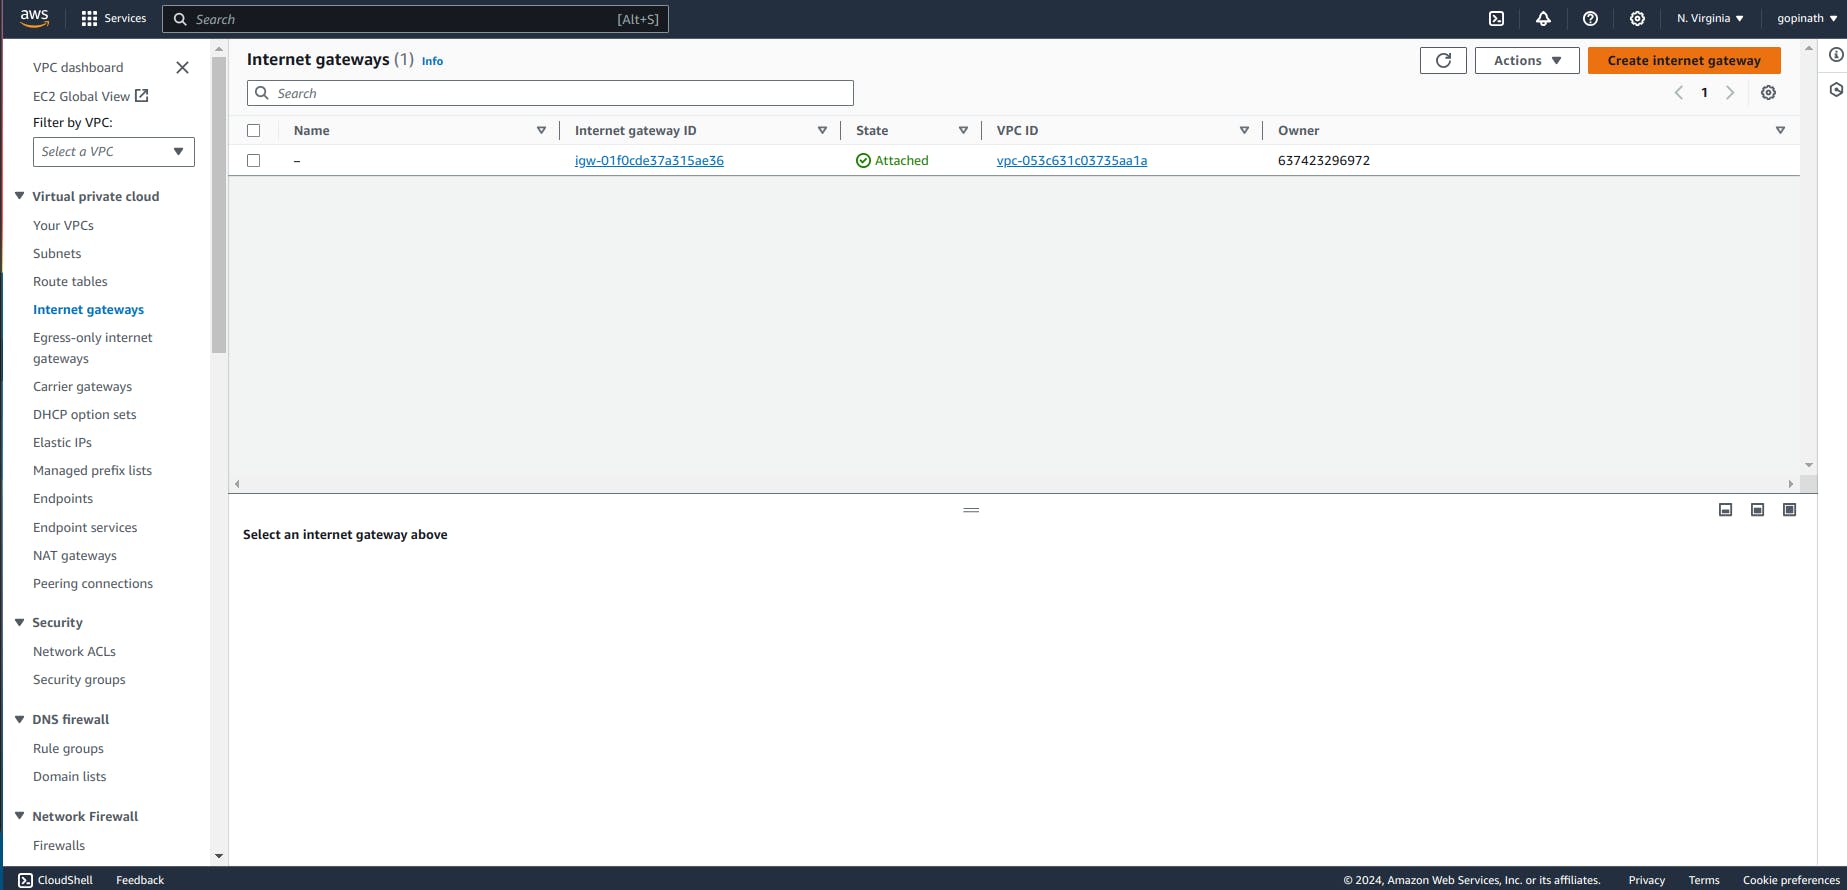
Now we have to create a internet gateway to communicate with the internet.
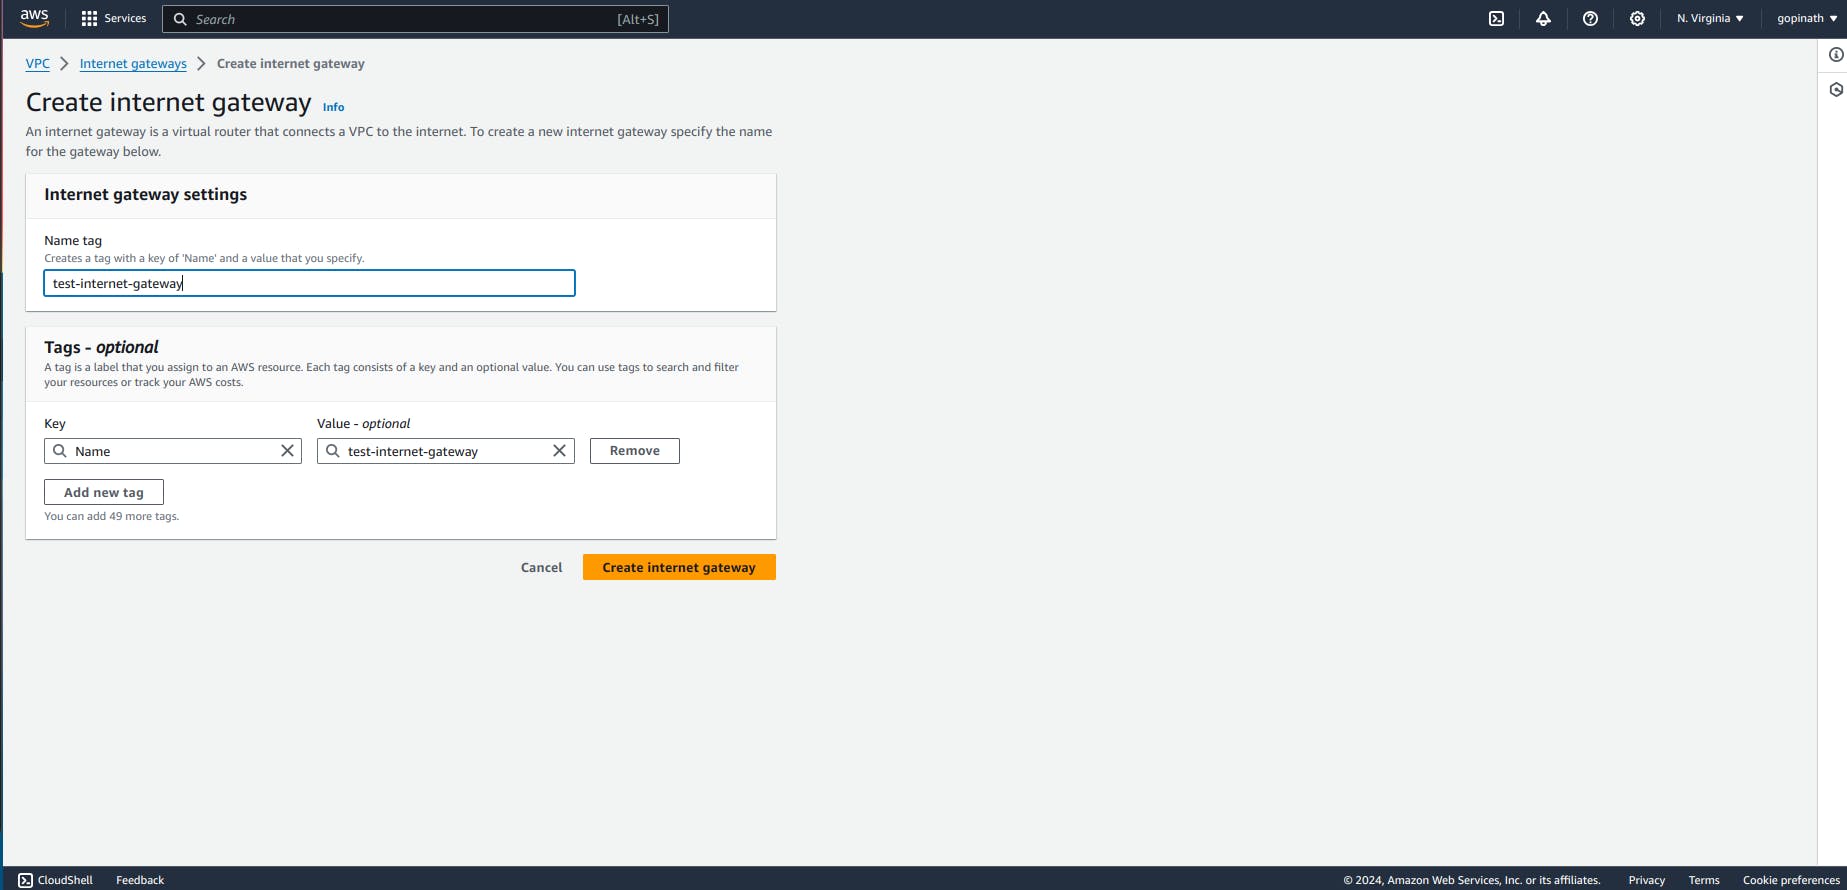
Select create Internet gateway.
Provide the Internet gateway name and click create.
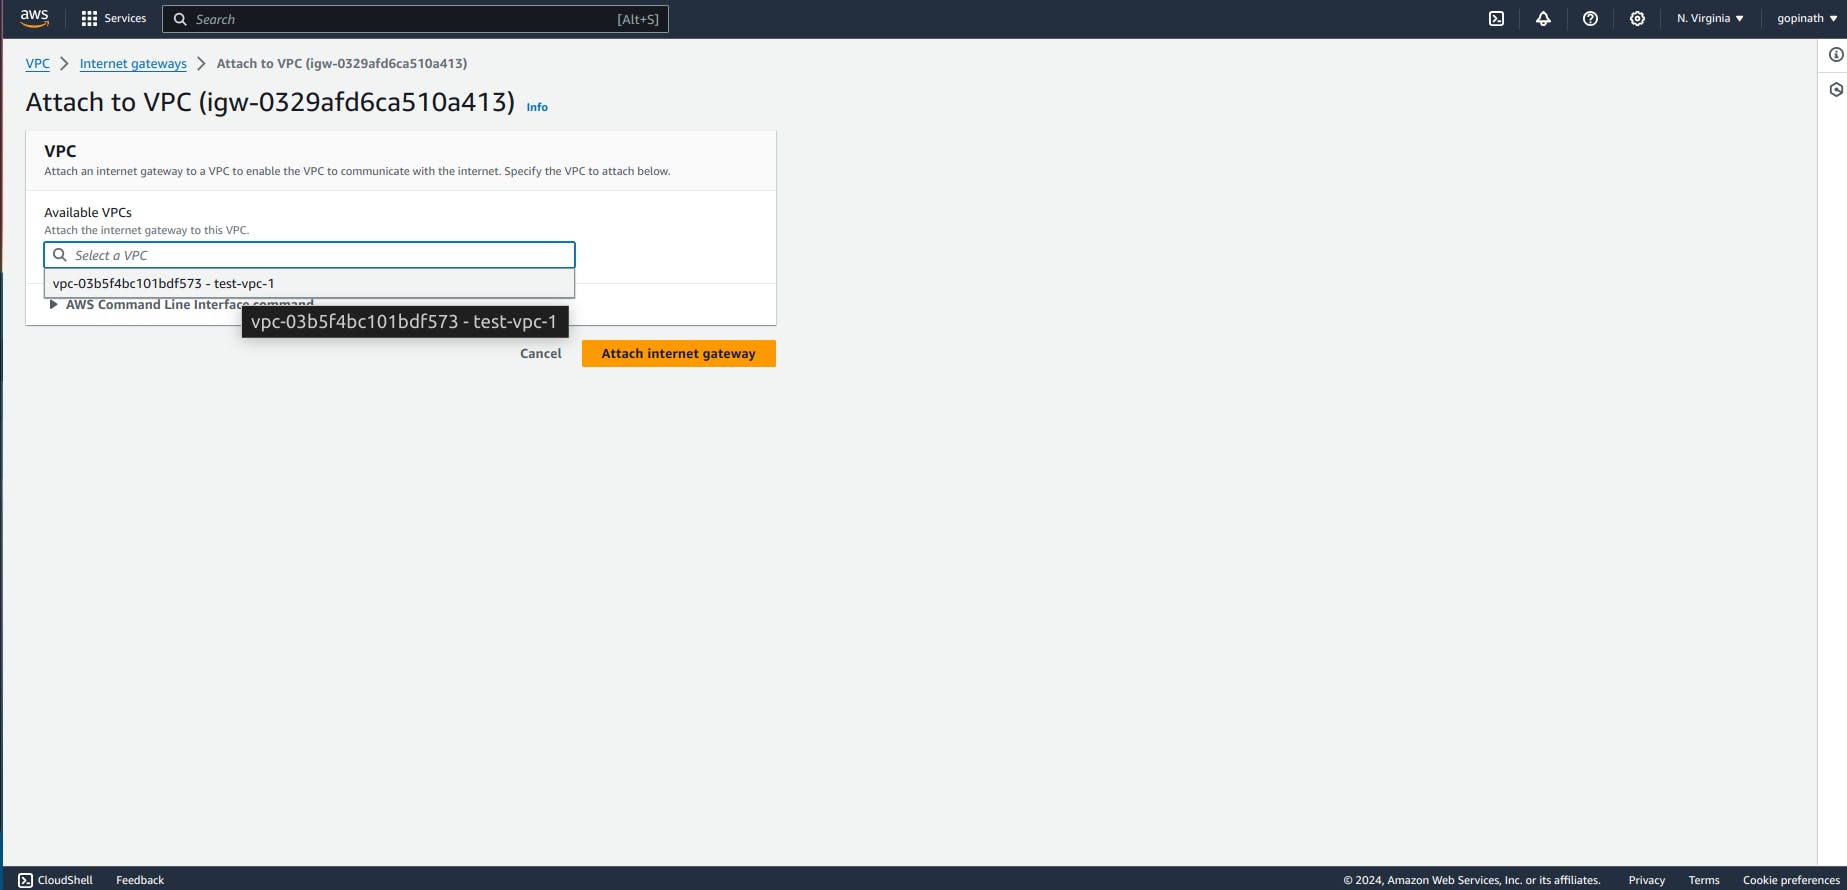
Now we need to attach the Internet gateway to VPC.
Open Internet Gateway -> Actions -> Attach to VPC.

Select the VPC to attach the internet gatway.
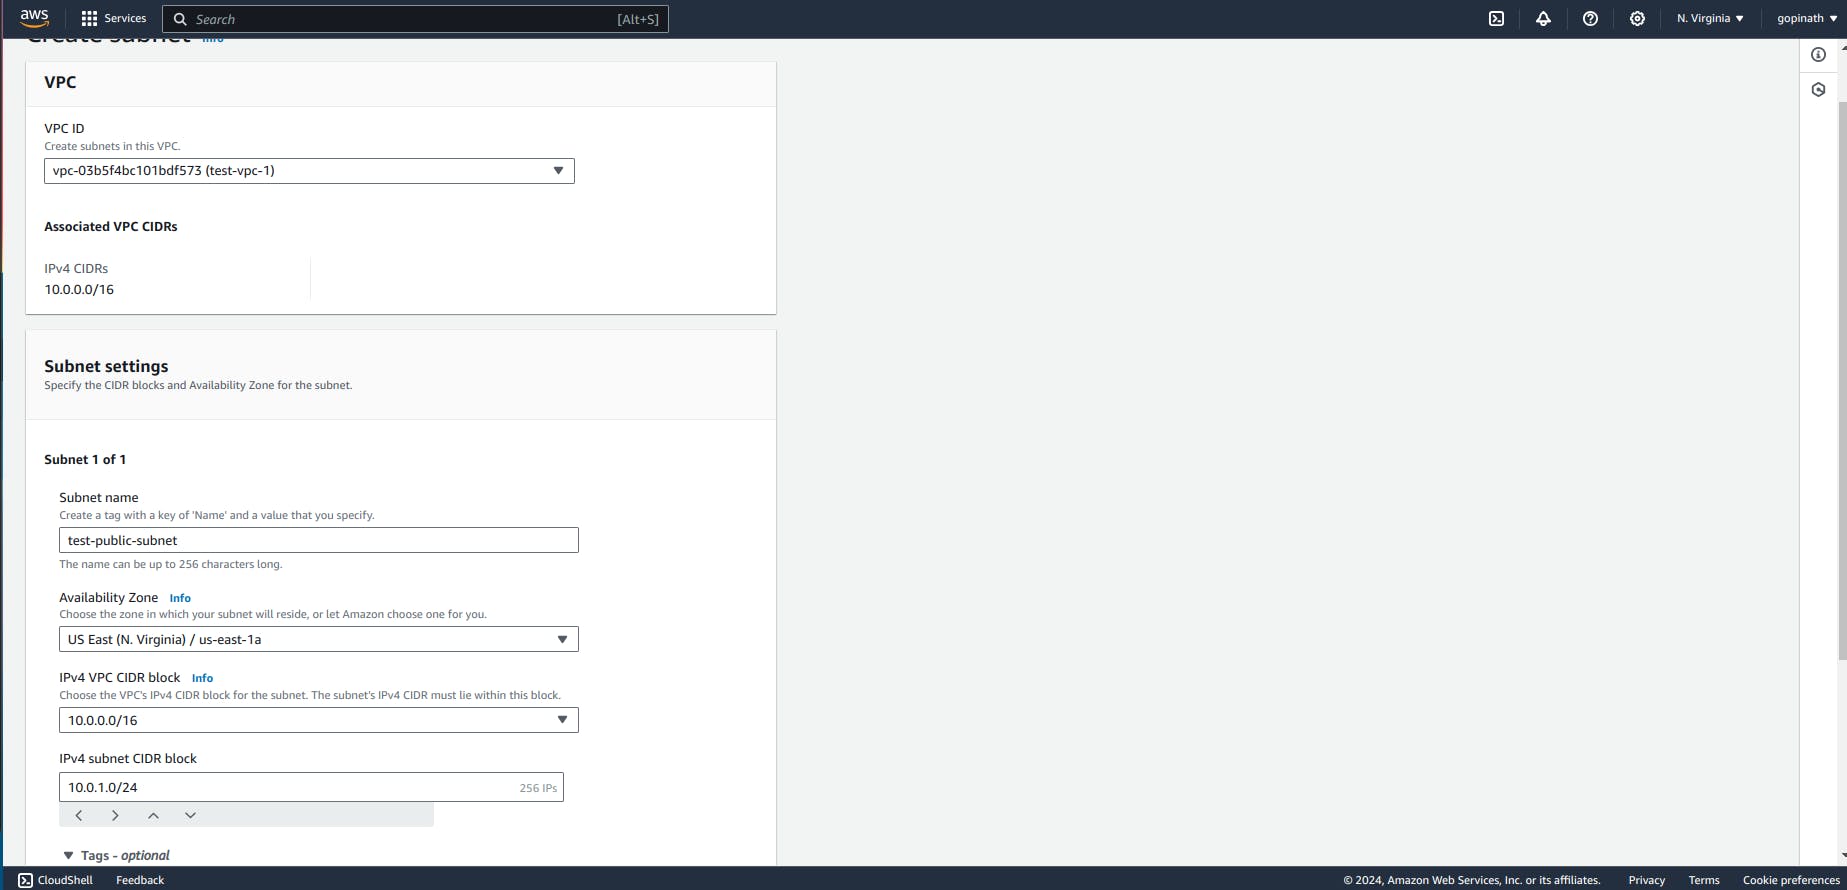
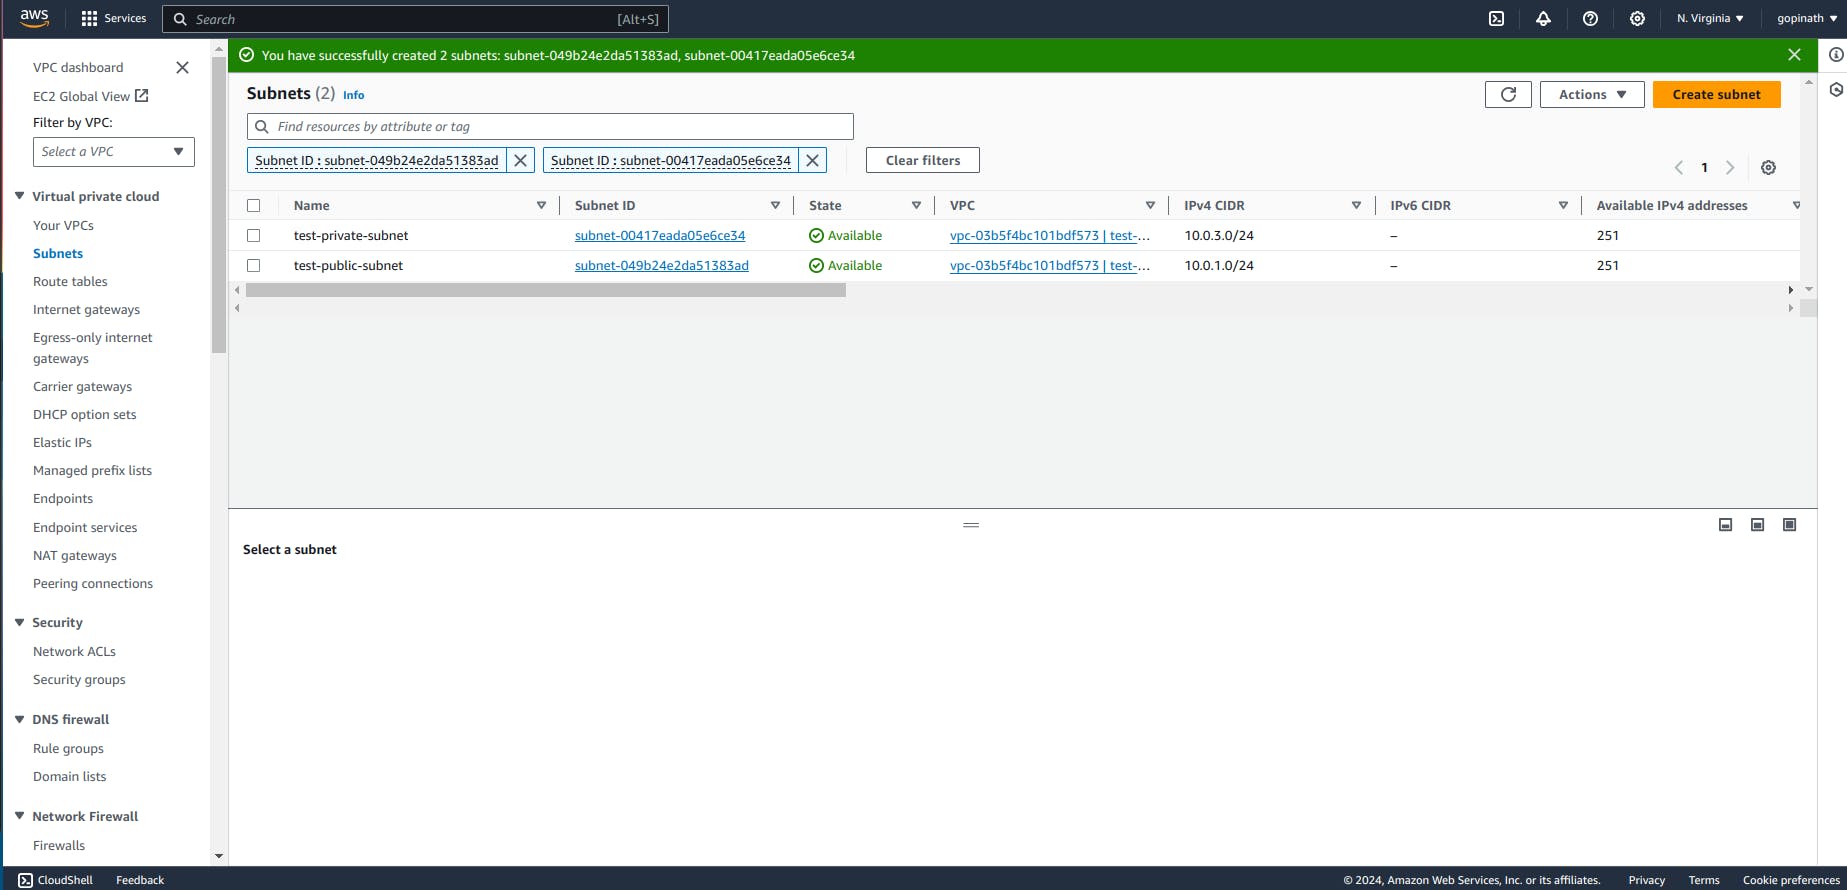
Now we need to create subnets for the VPC. We need one private subnet and public subnet. Go to subnets -> List of subnets will be displayed and select create subnet.

Specify the subnet name and Select the CIDR block for subnet
Select add new subnet to add private subnet and Specify the CIDR block.
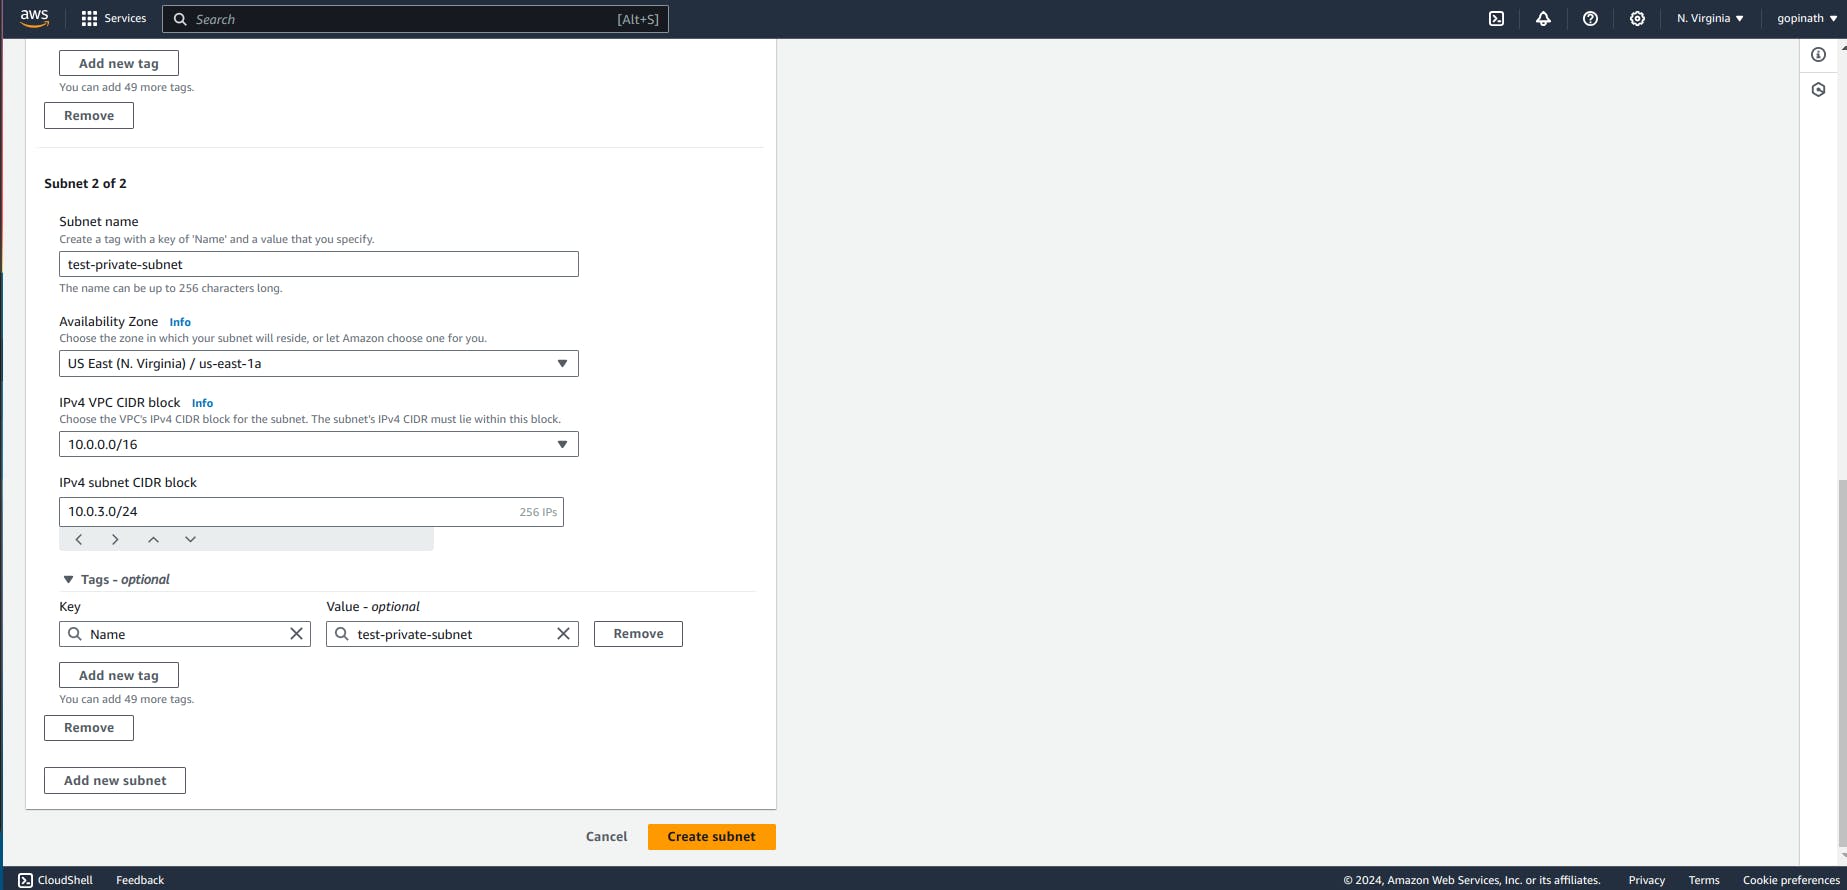
Created subnets will be displayed here,
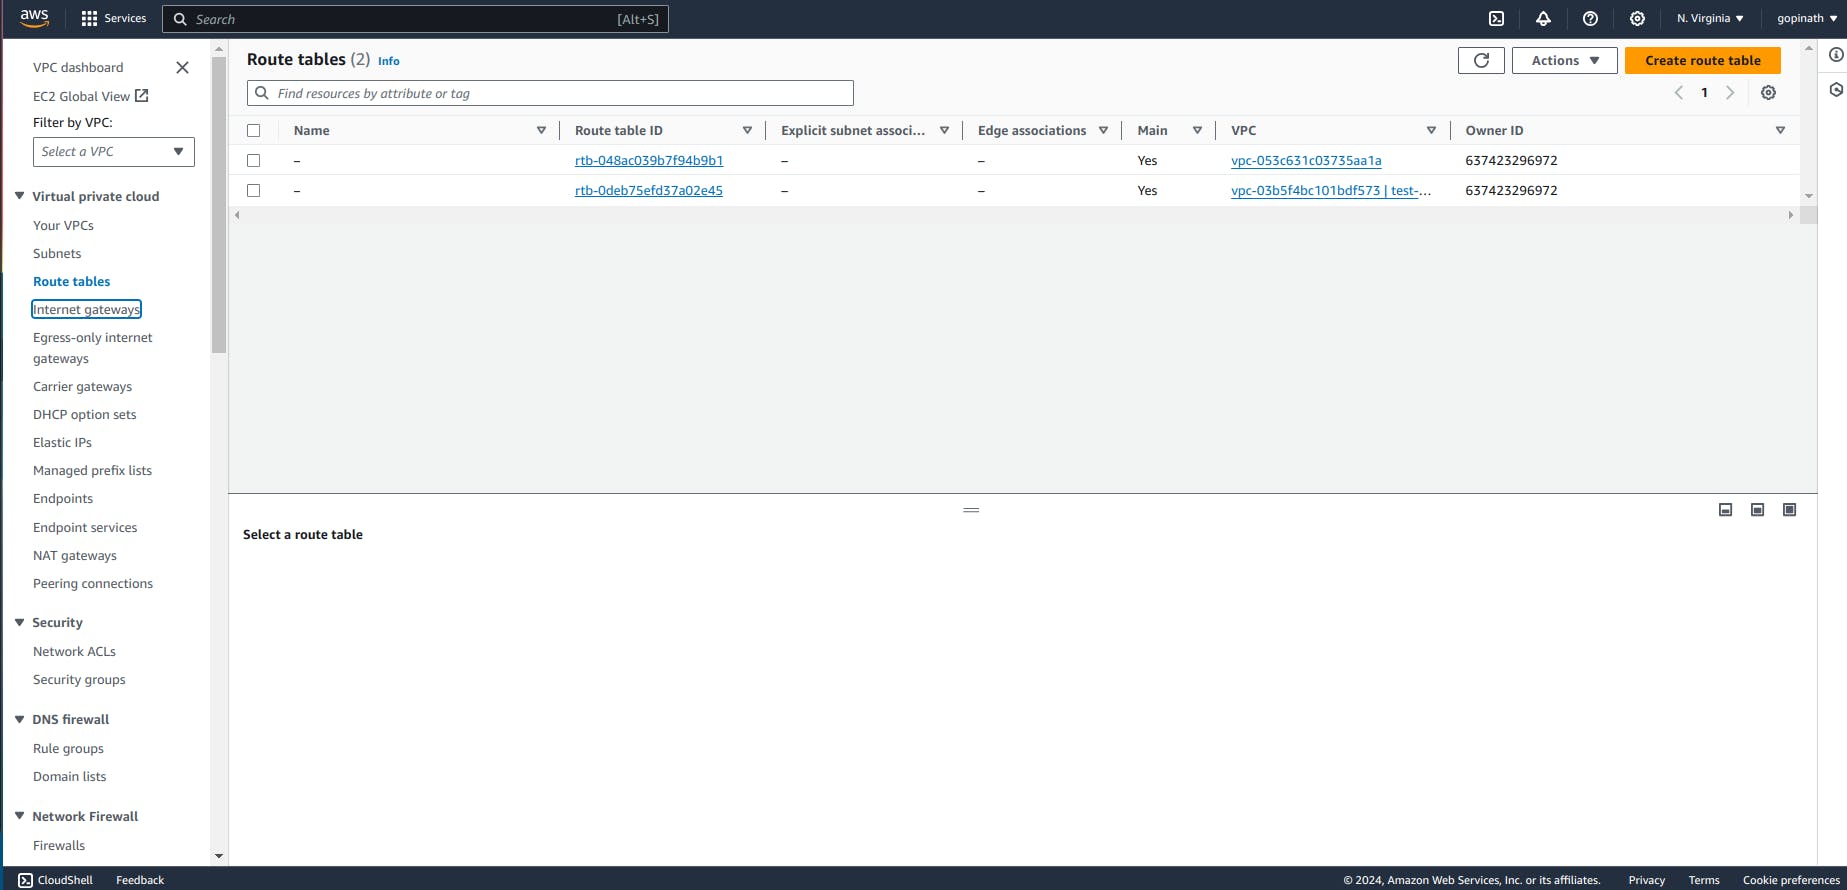
Now we need to create route table for public and private subnets.
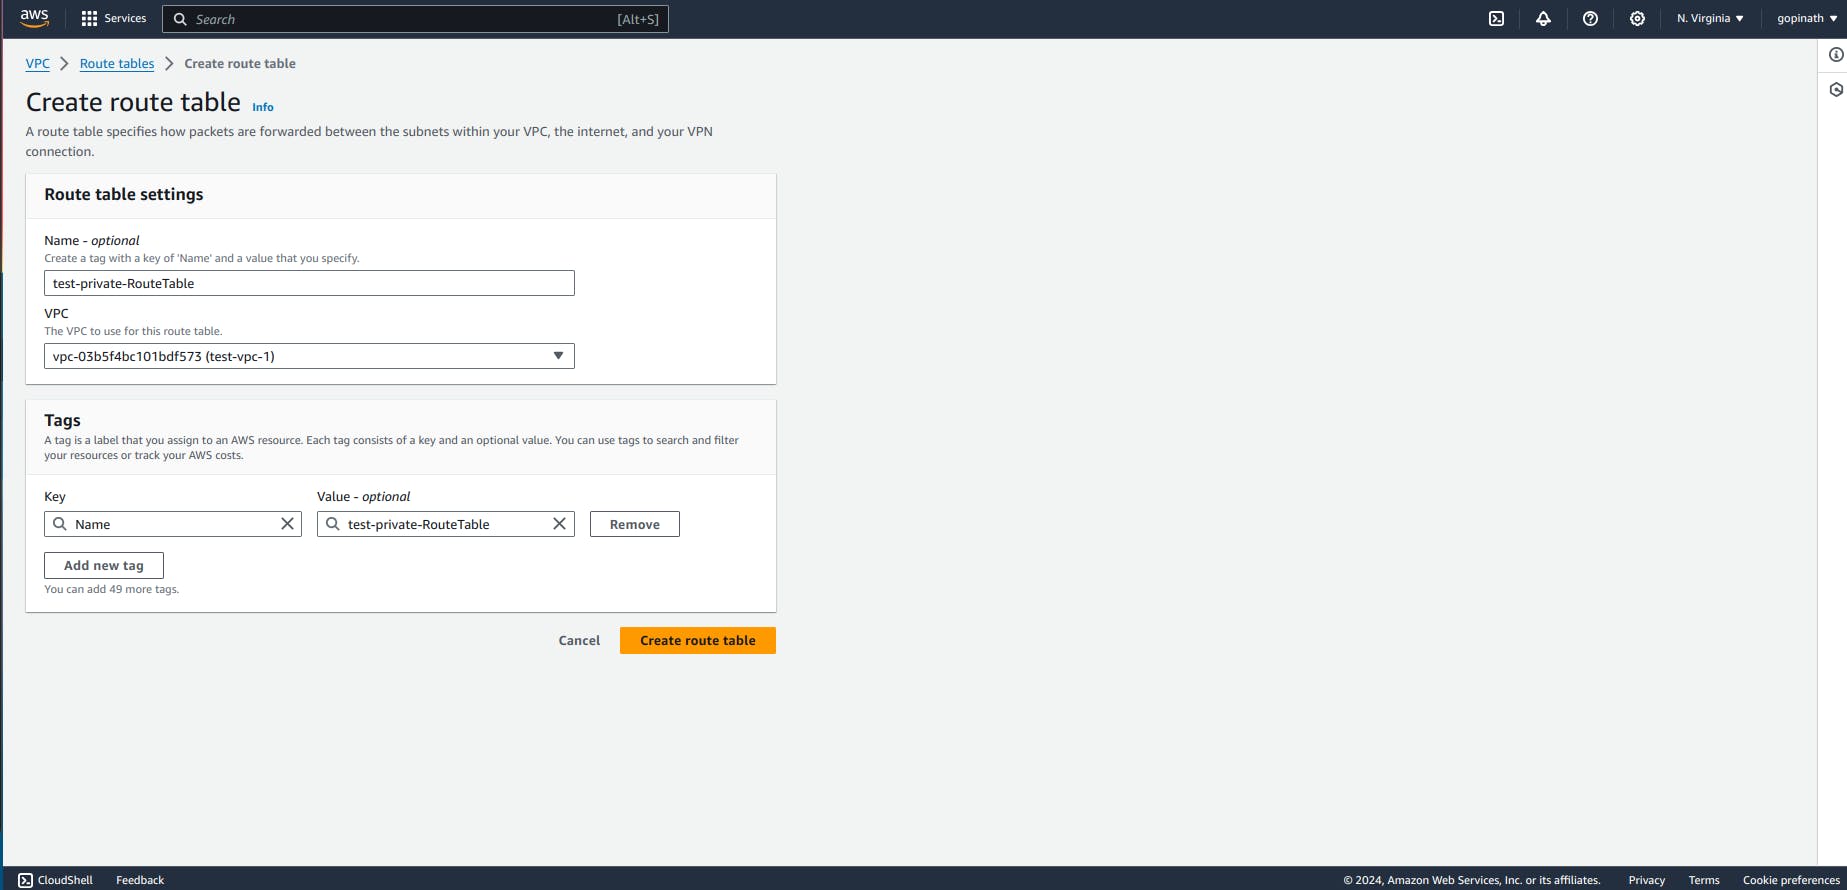
Go to Route table section -> Create route table.
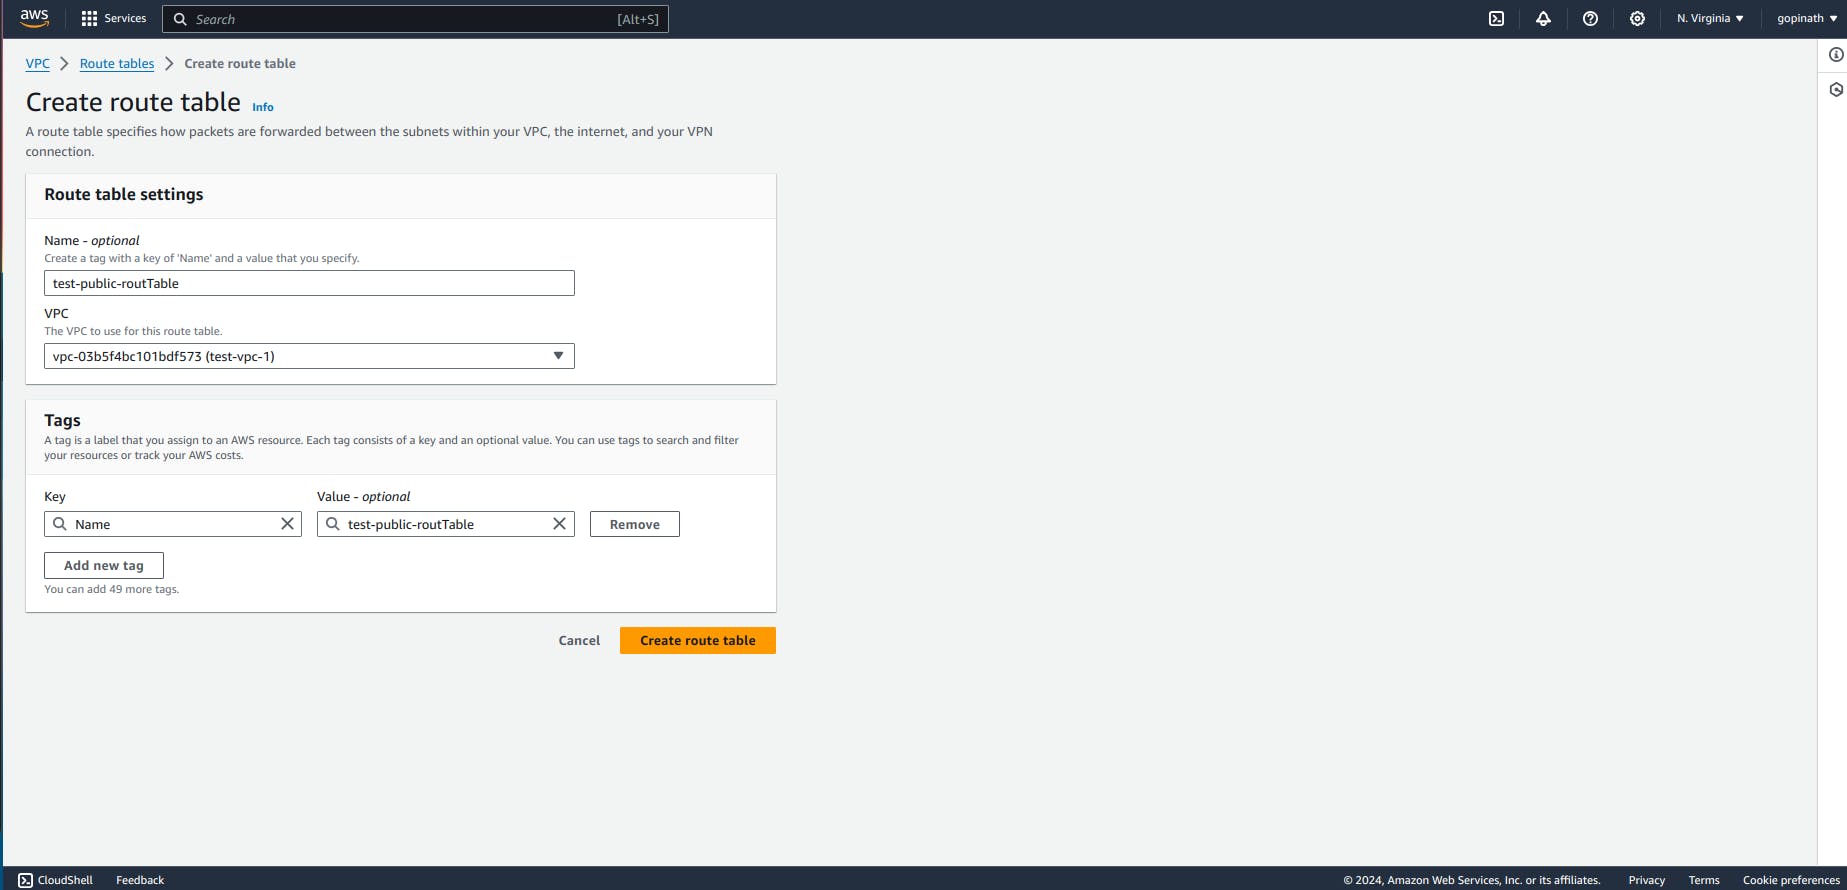
Specify the name and select VPC.
Now the route table is created but we haven't associated them with subnets.
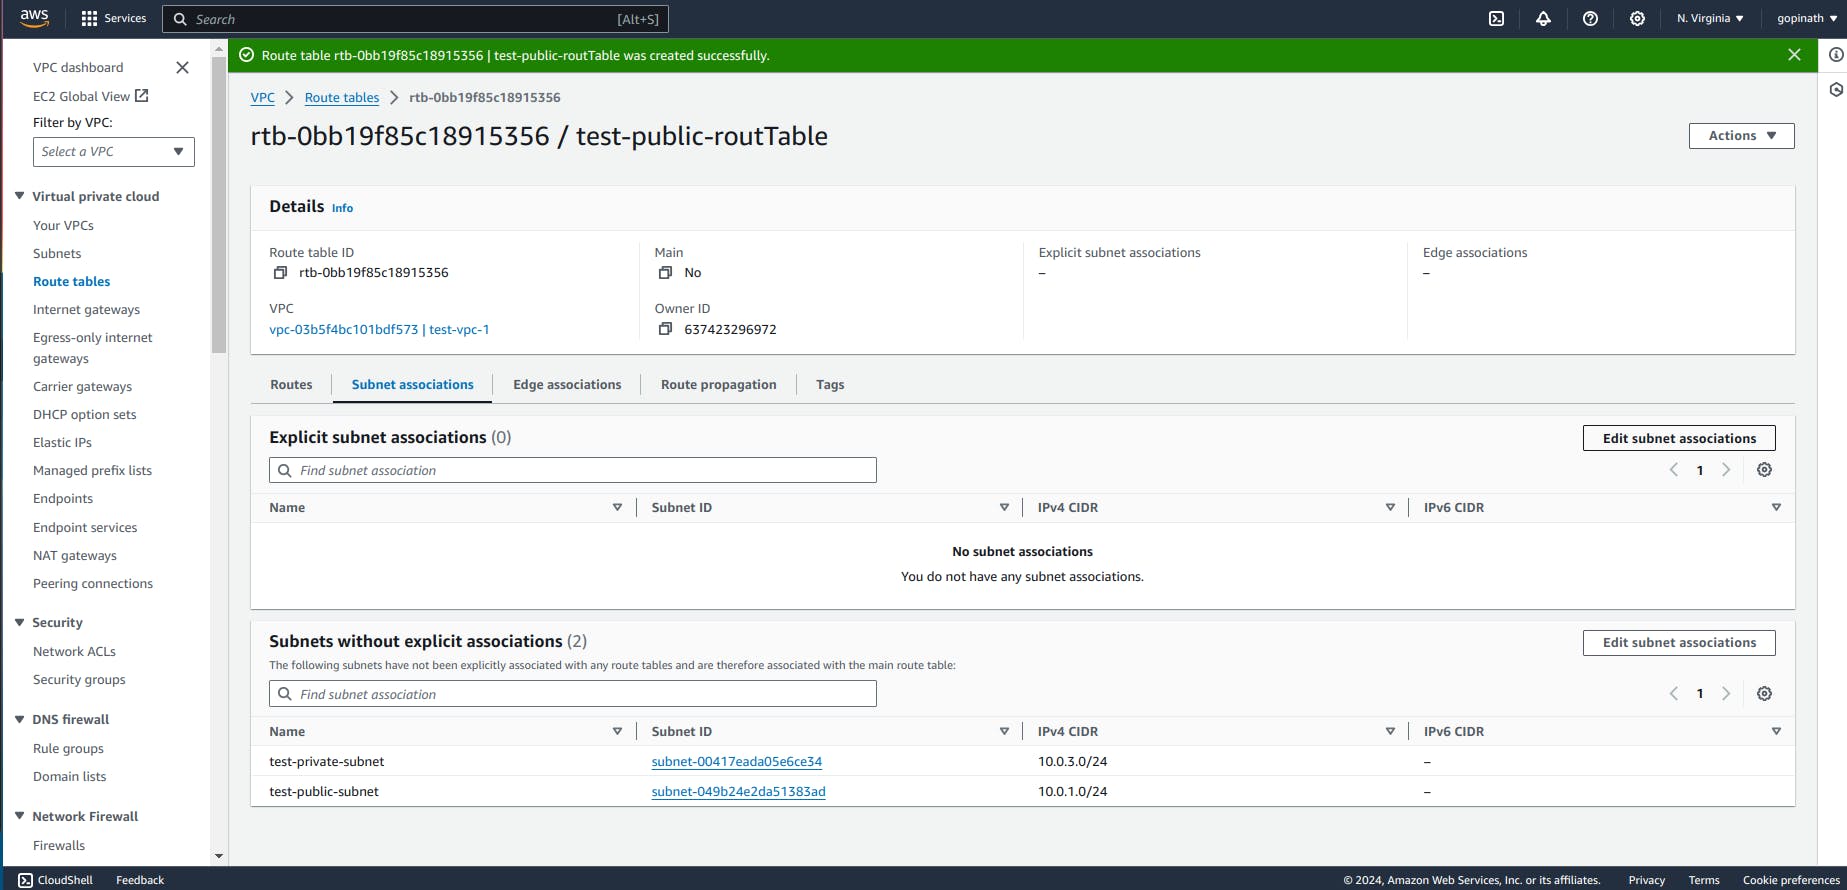
Go to subnet associations and select the subnet to assciate with route table.
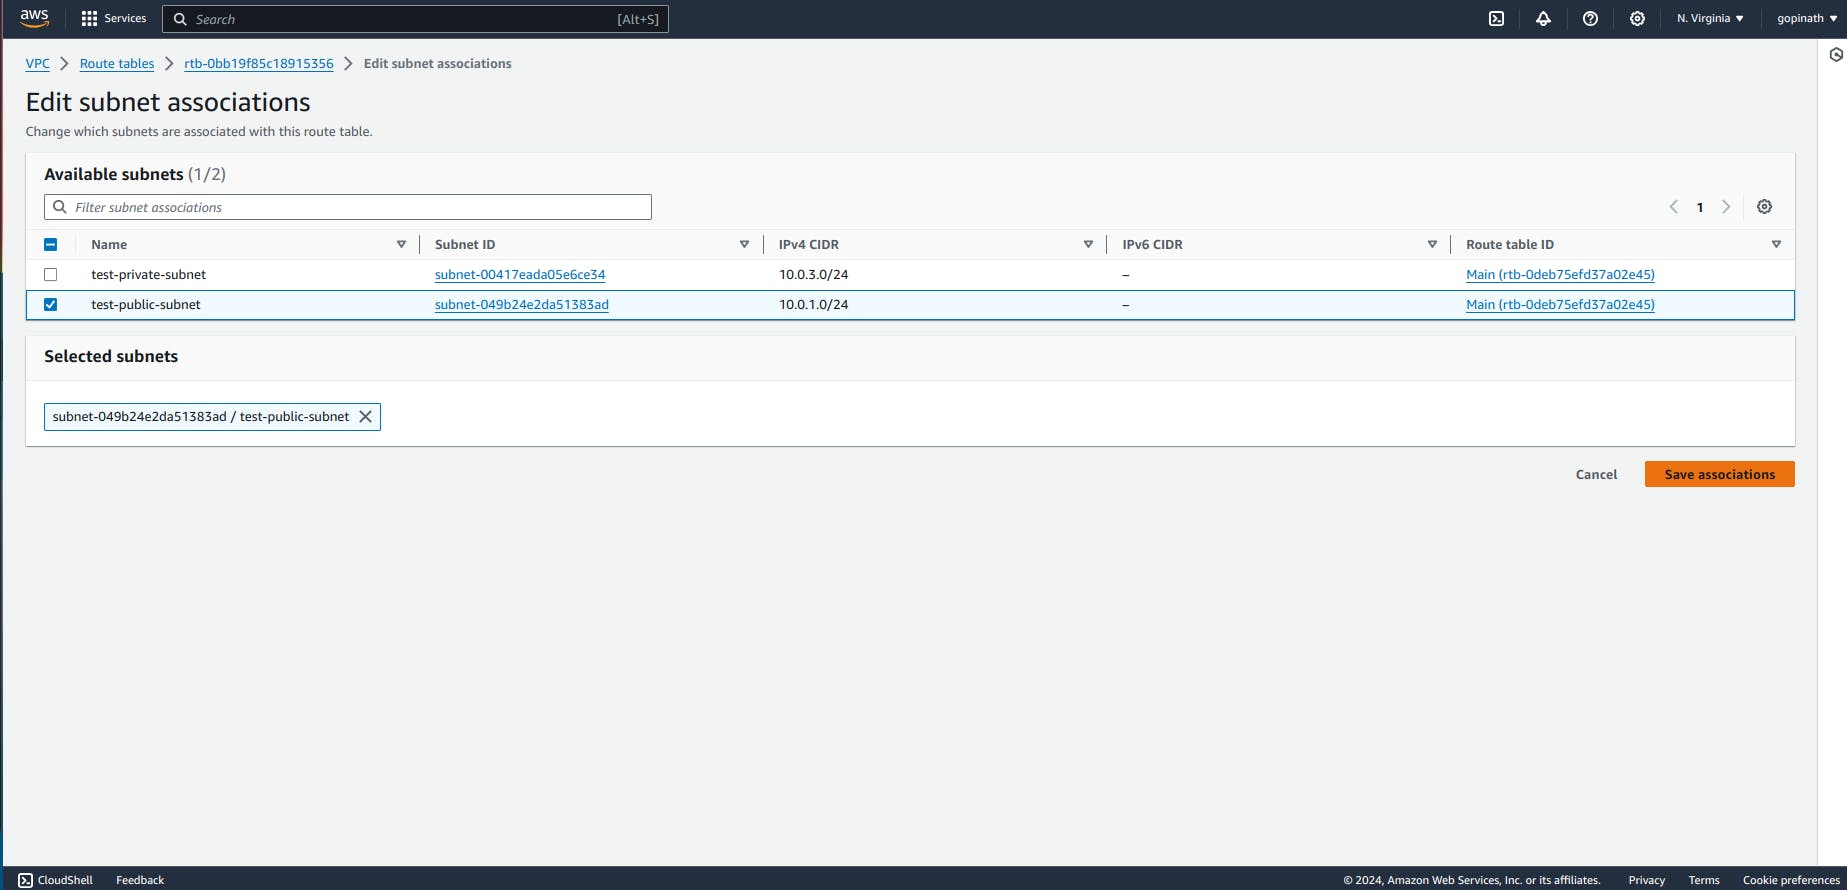
Now we have successfully associated the subnet with route table. We need to assign the route from internet gateway to the route table.
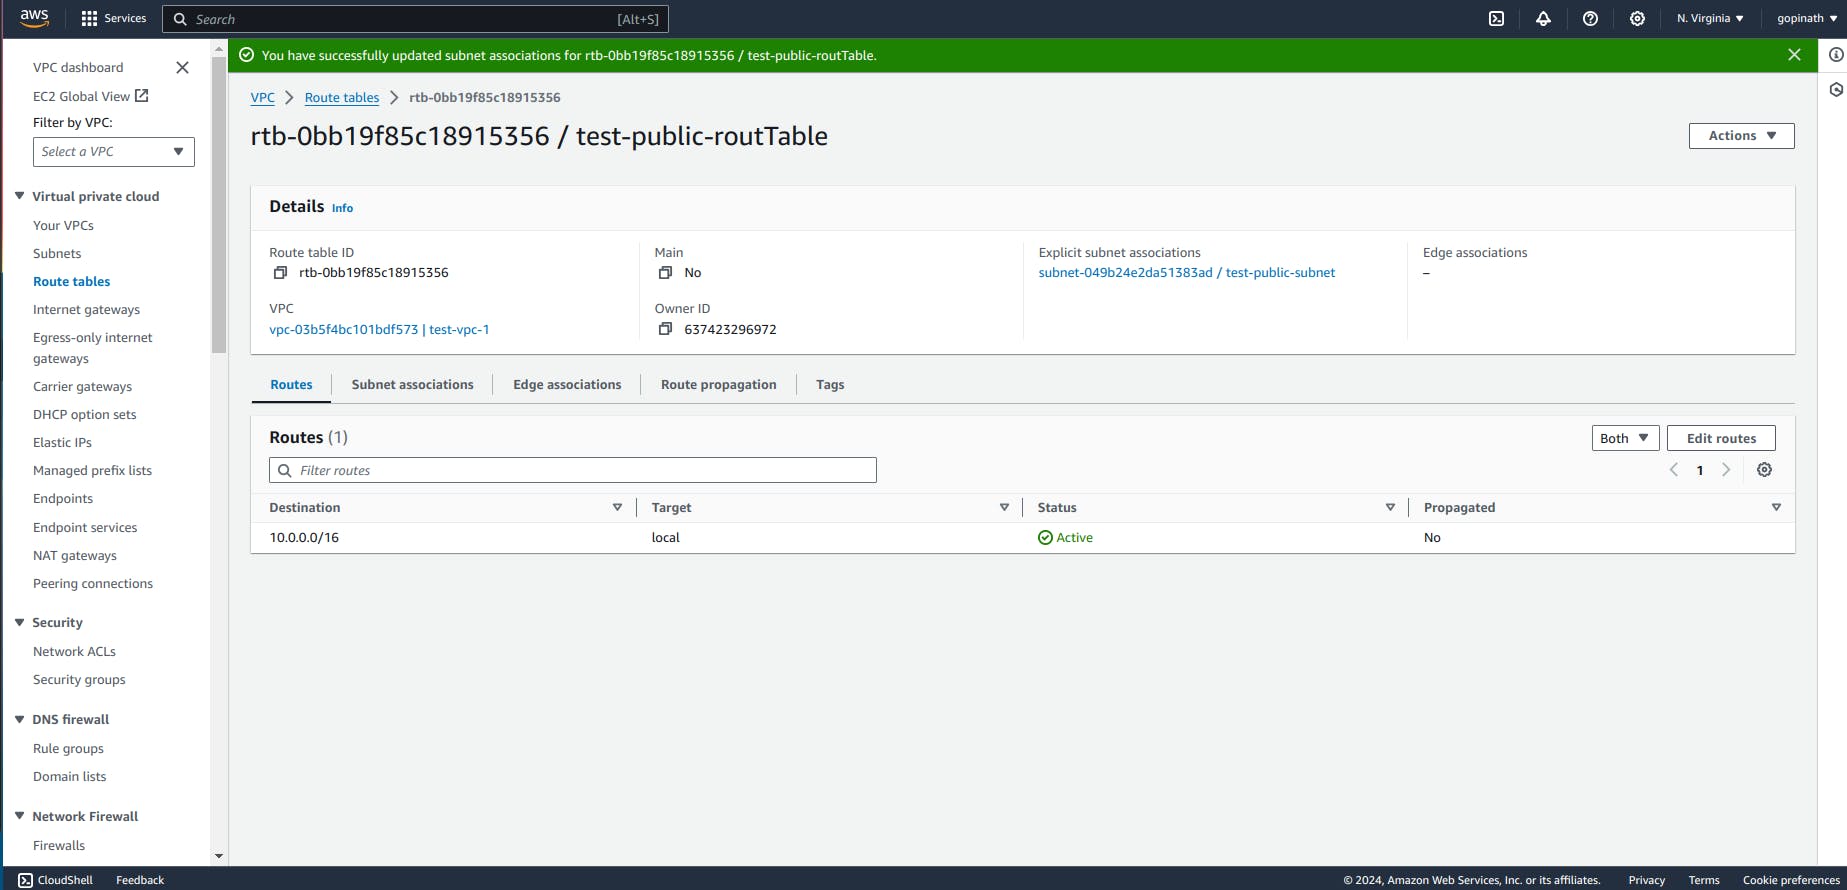
Go to routes -> Edit routes and add the destionation and Target.
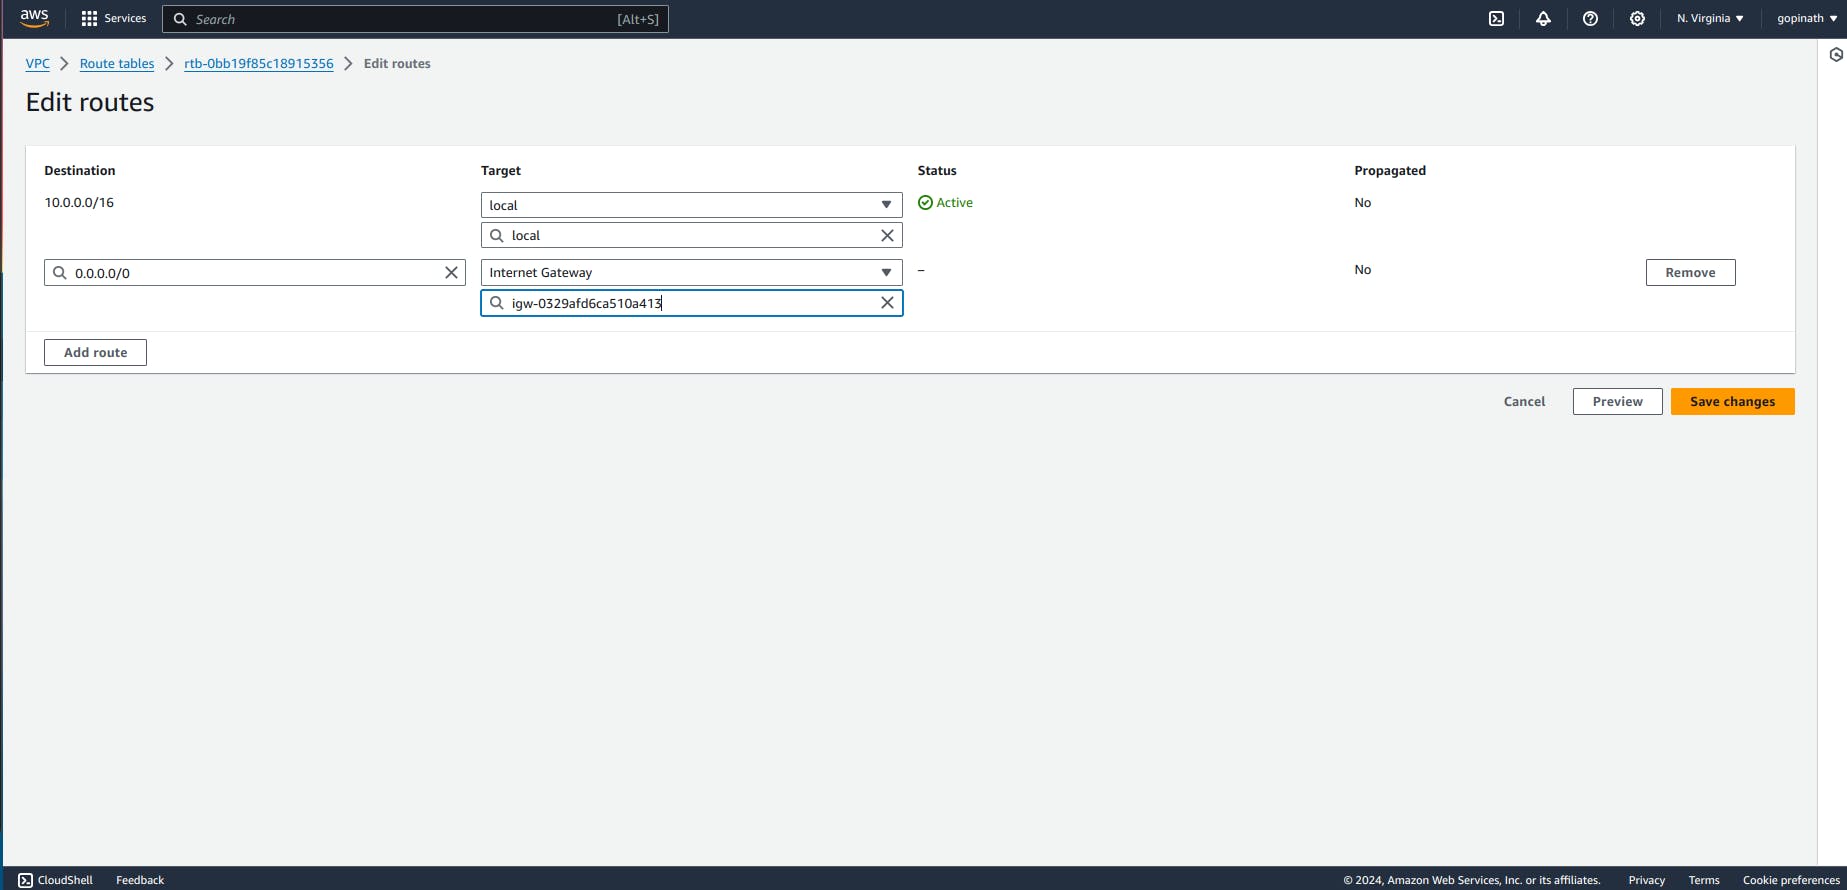
Target - In Target add the internet gateway that we created.
Now the routing is created for our project,
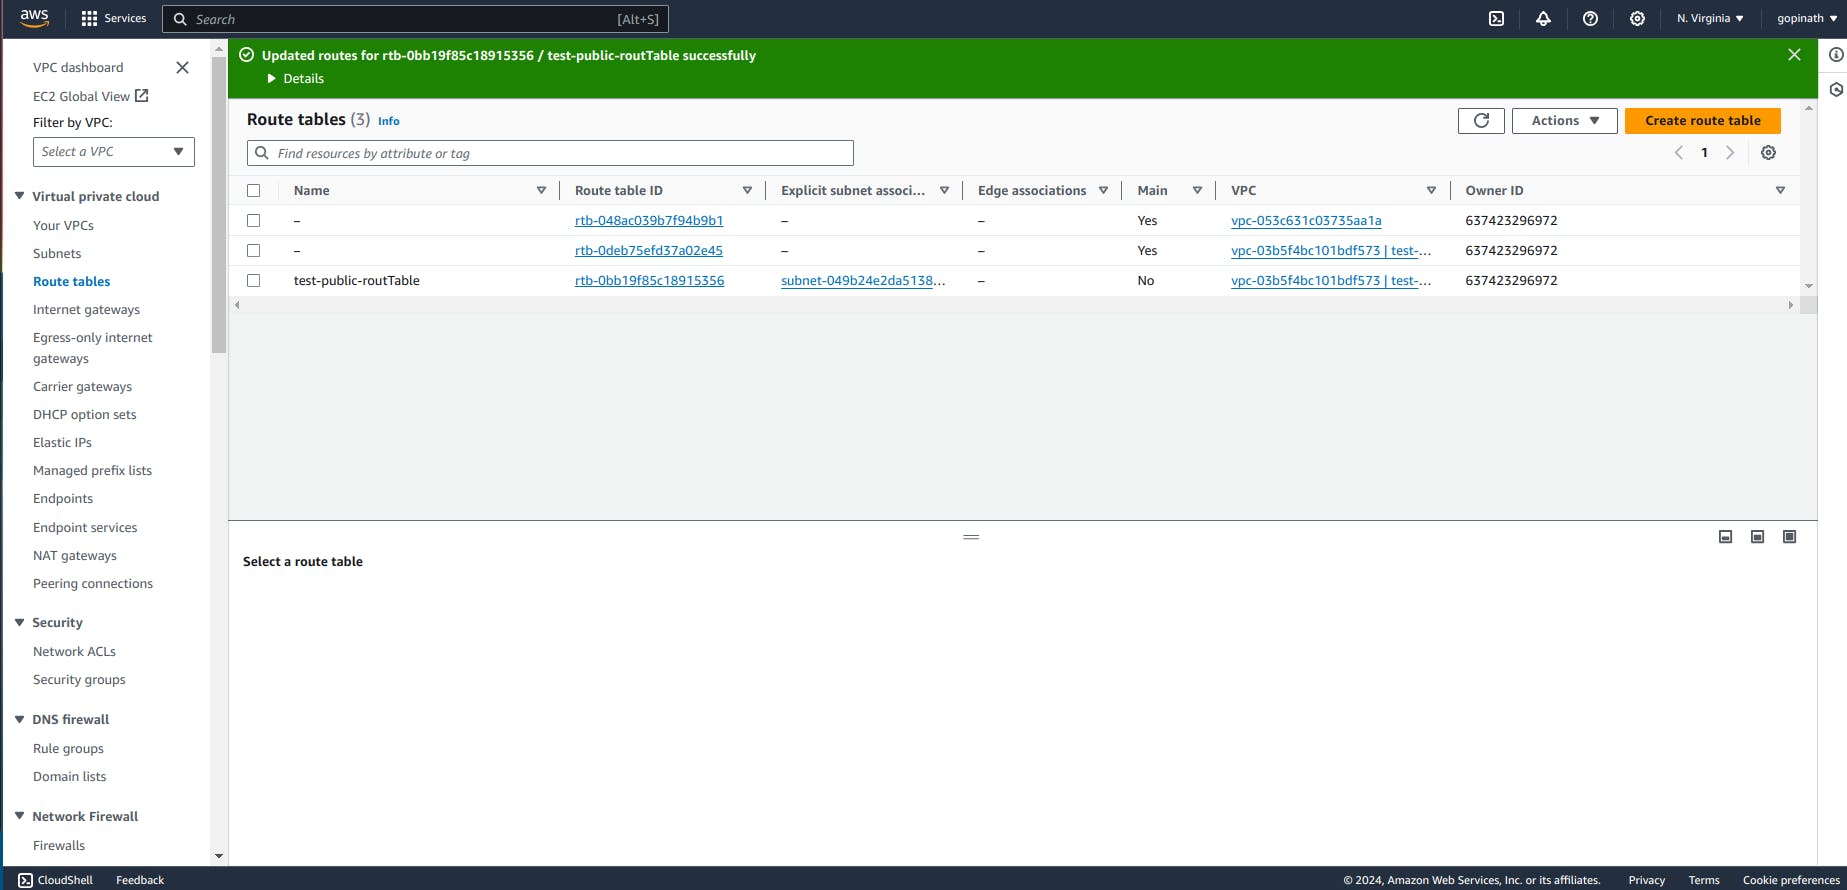
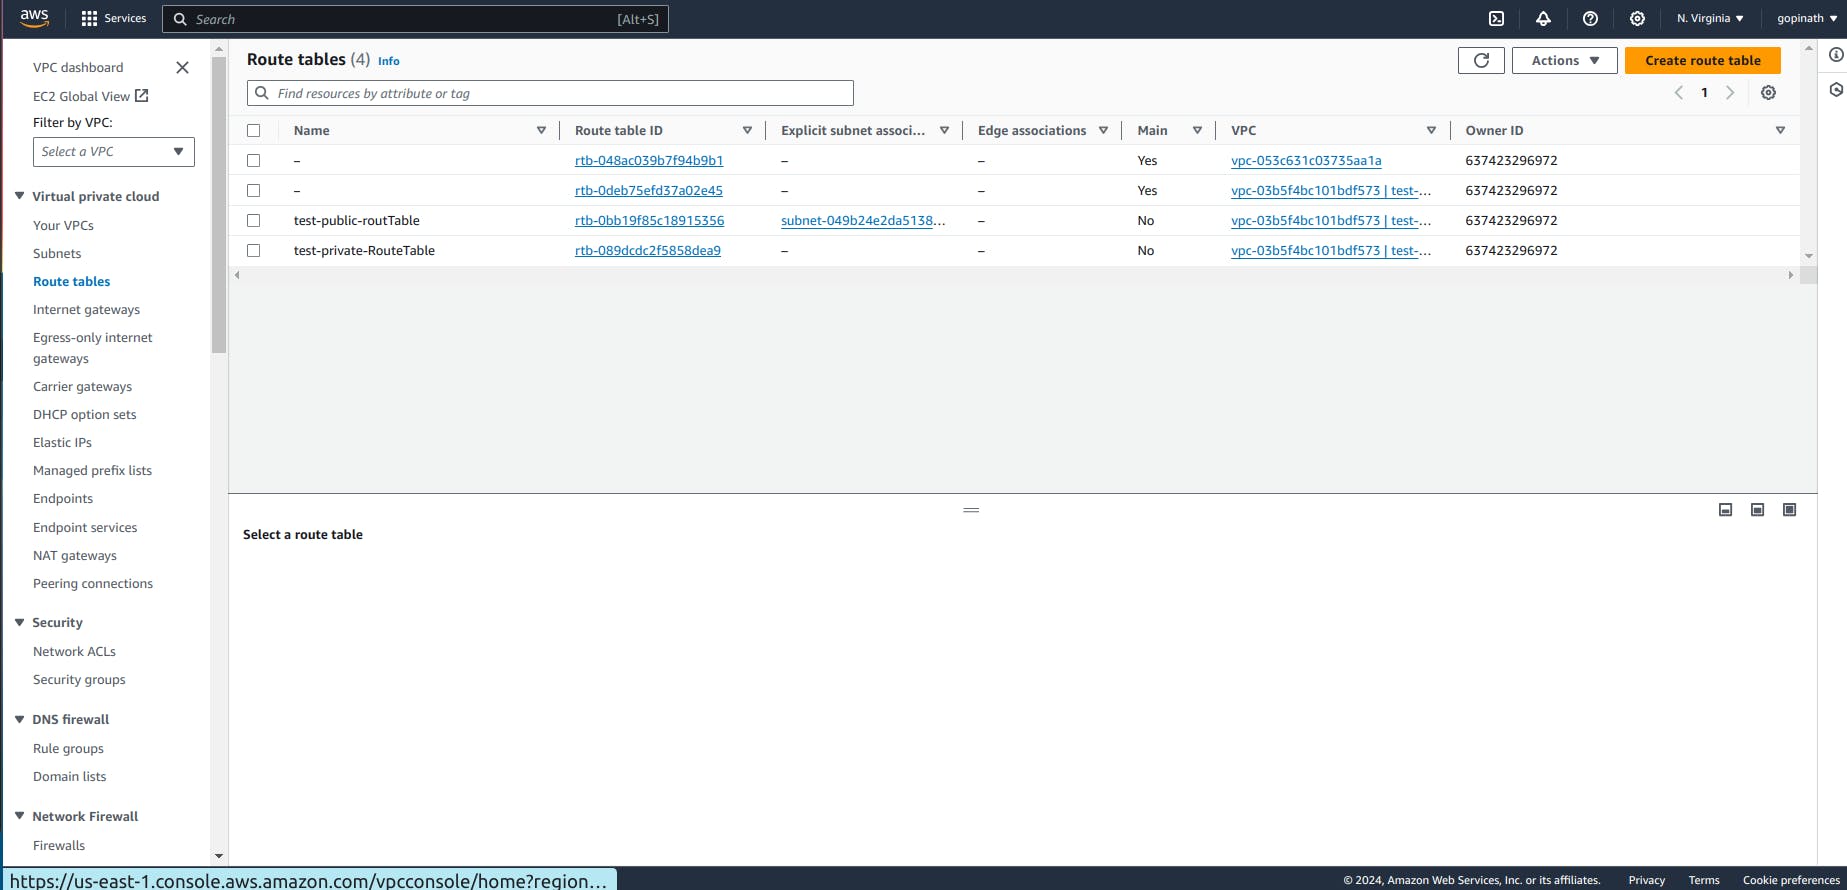
Create a new route table for private subnet.
We have created route table for public and private subnets.
Create a EC2 which will acts as bastion Host. Go to Ec2 -> Launch Instance.
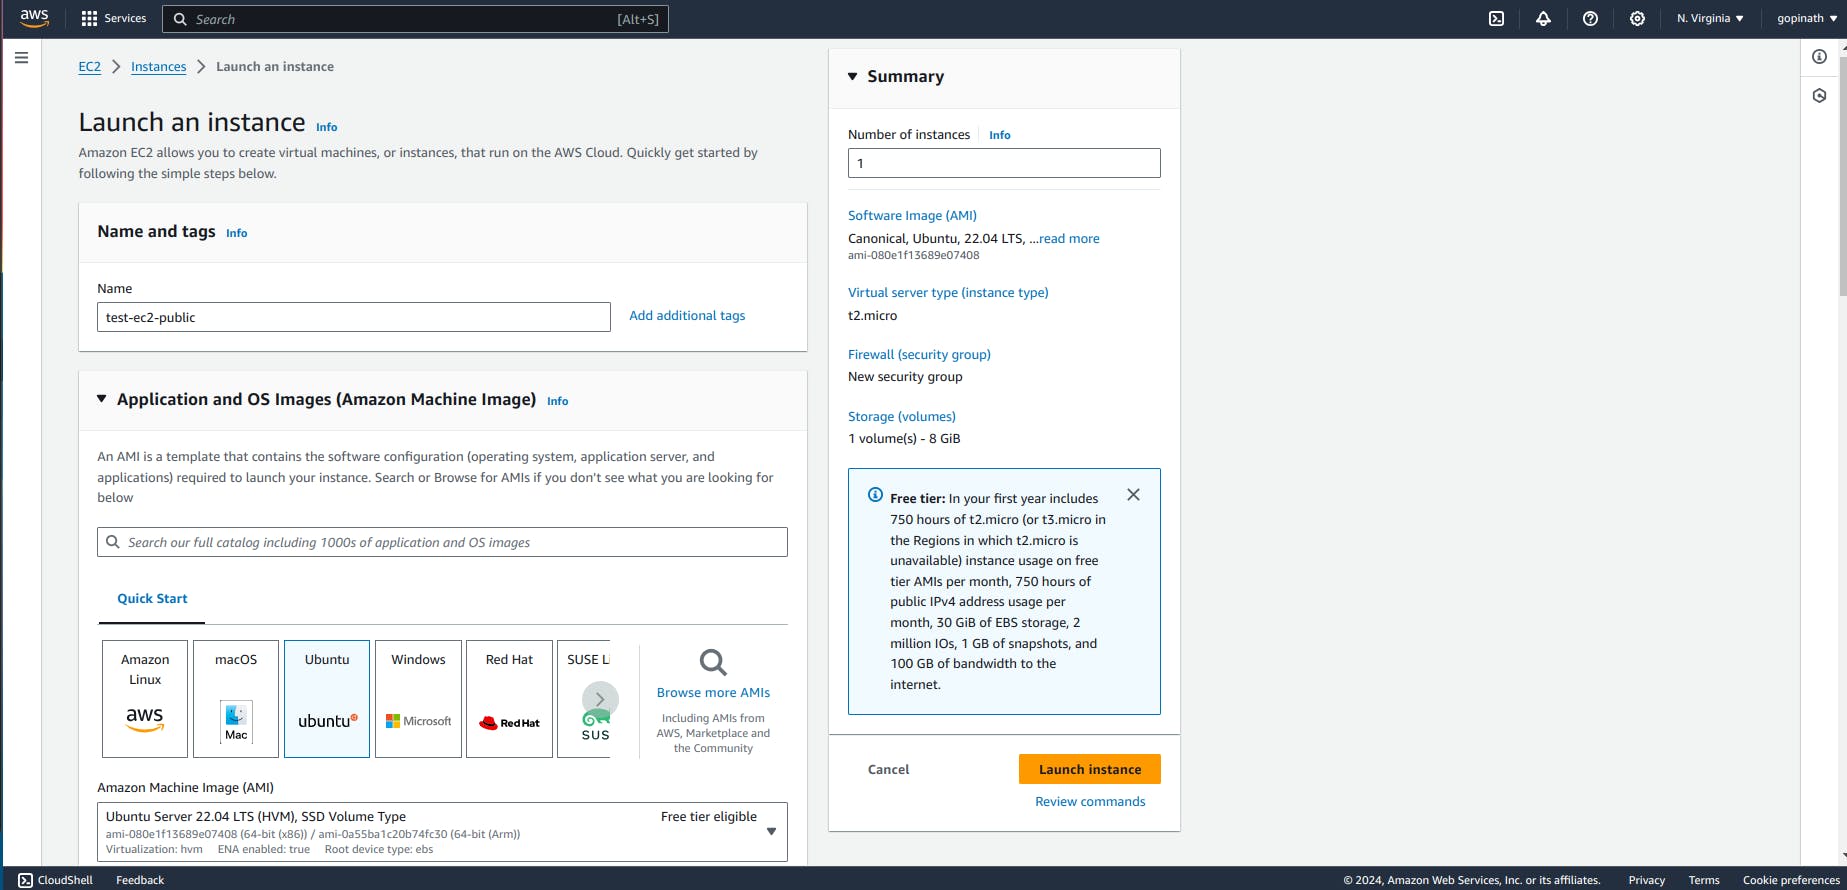
Give name to the instance and choose the OS Image.
Select key pair for it and choose the vpc and public subnet we created. Also, Enable the Auto-assign public IP.
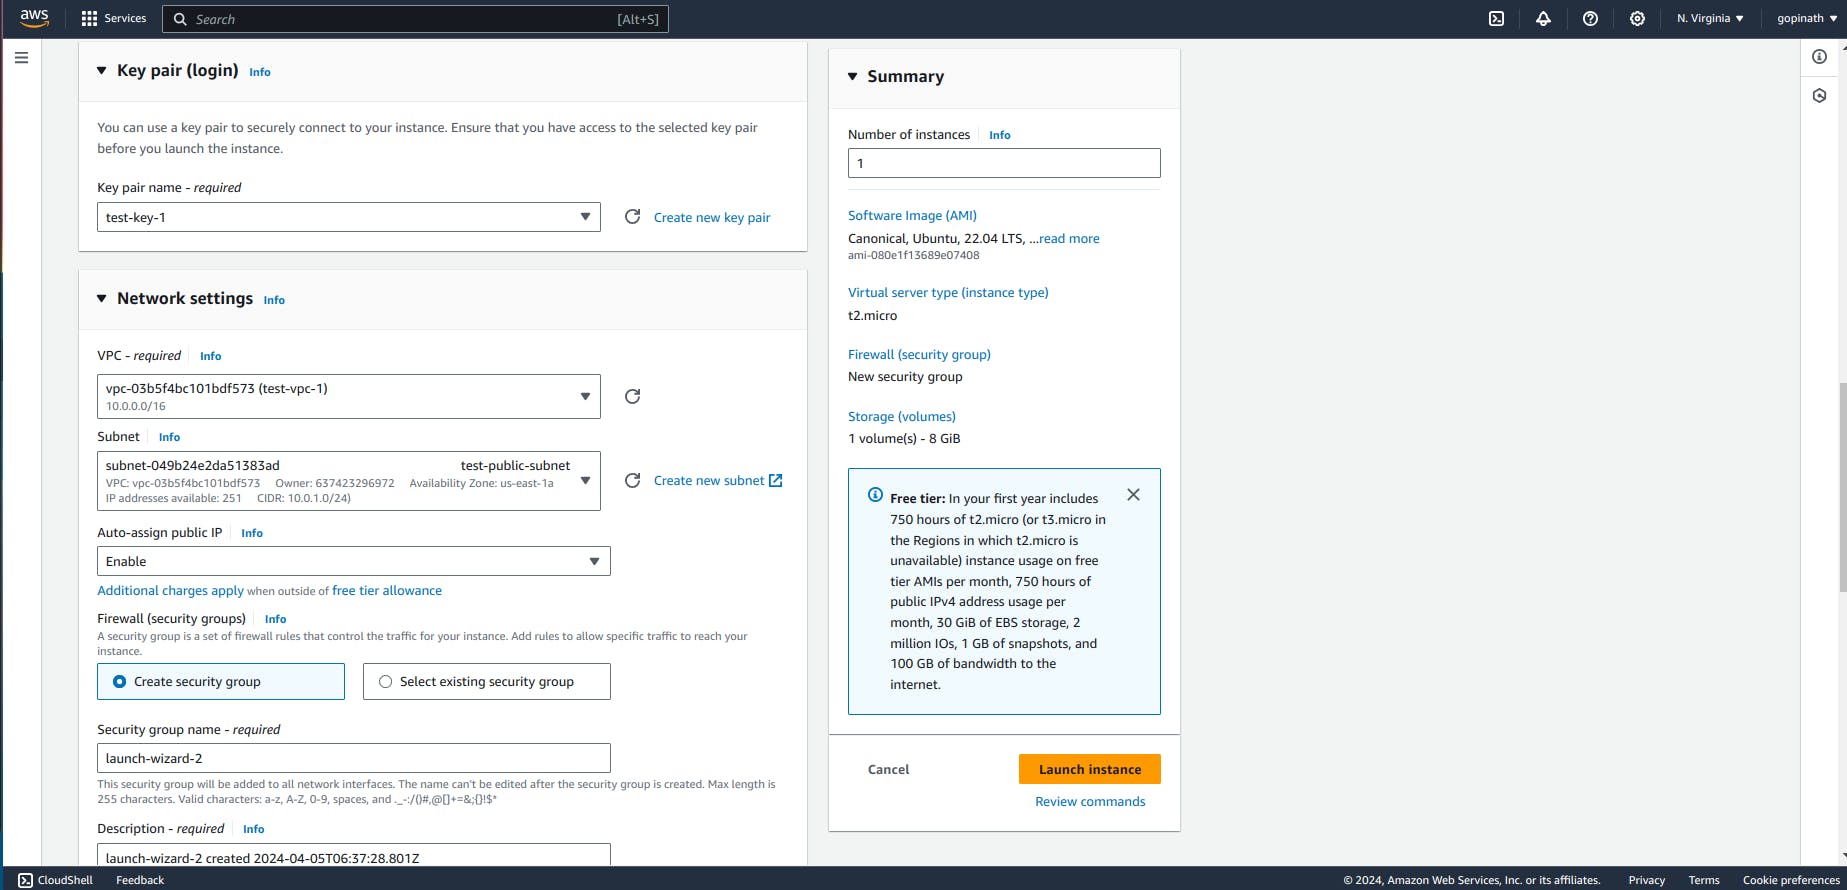
Create a security group and assign a name to it allow ssh and source type anywhere.
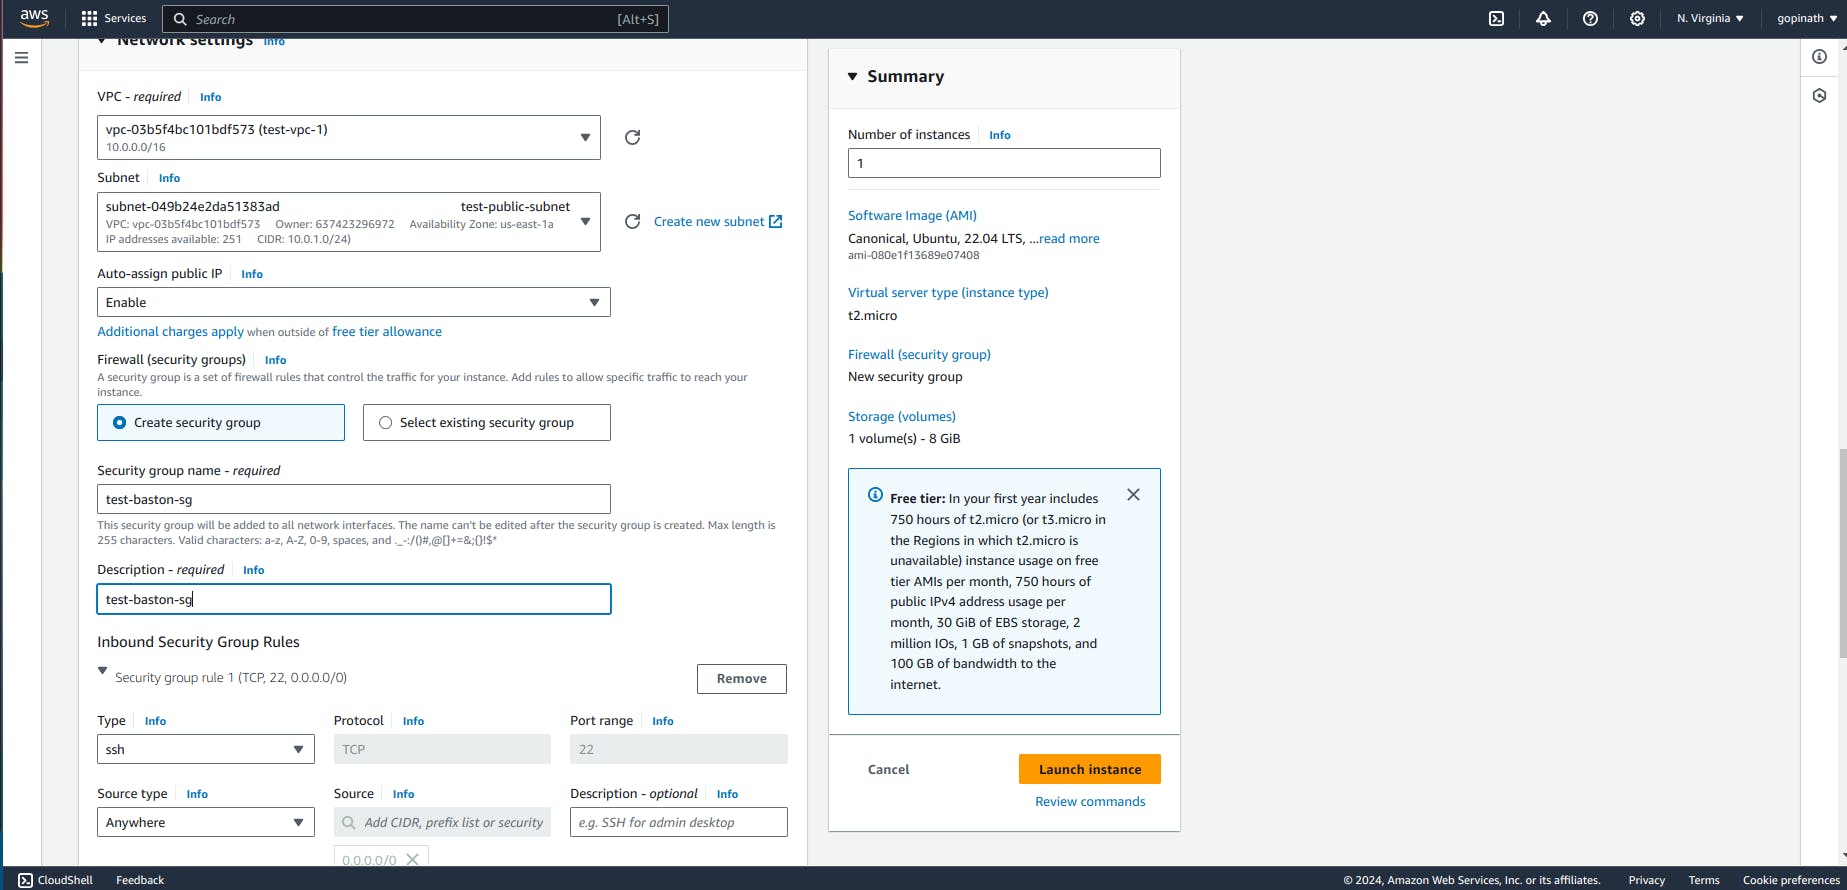
SSH - We are going to ssh into the EC2
Source Type - Anywhere (Request can come from anywhere, we need to allow them to access public subnet).
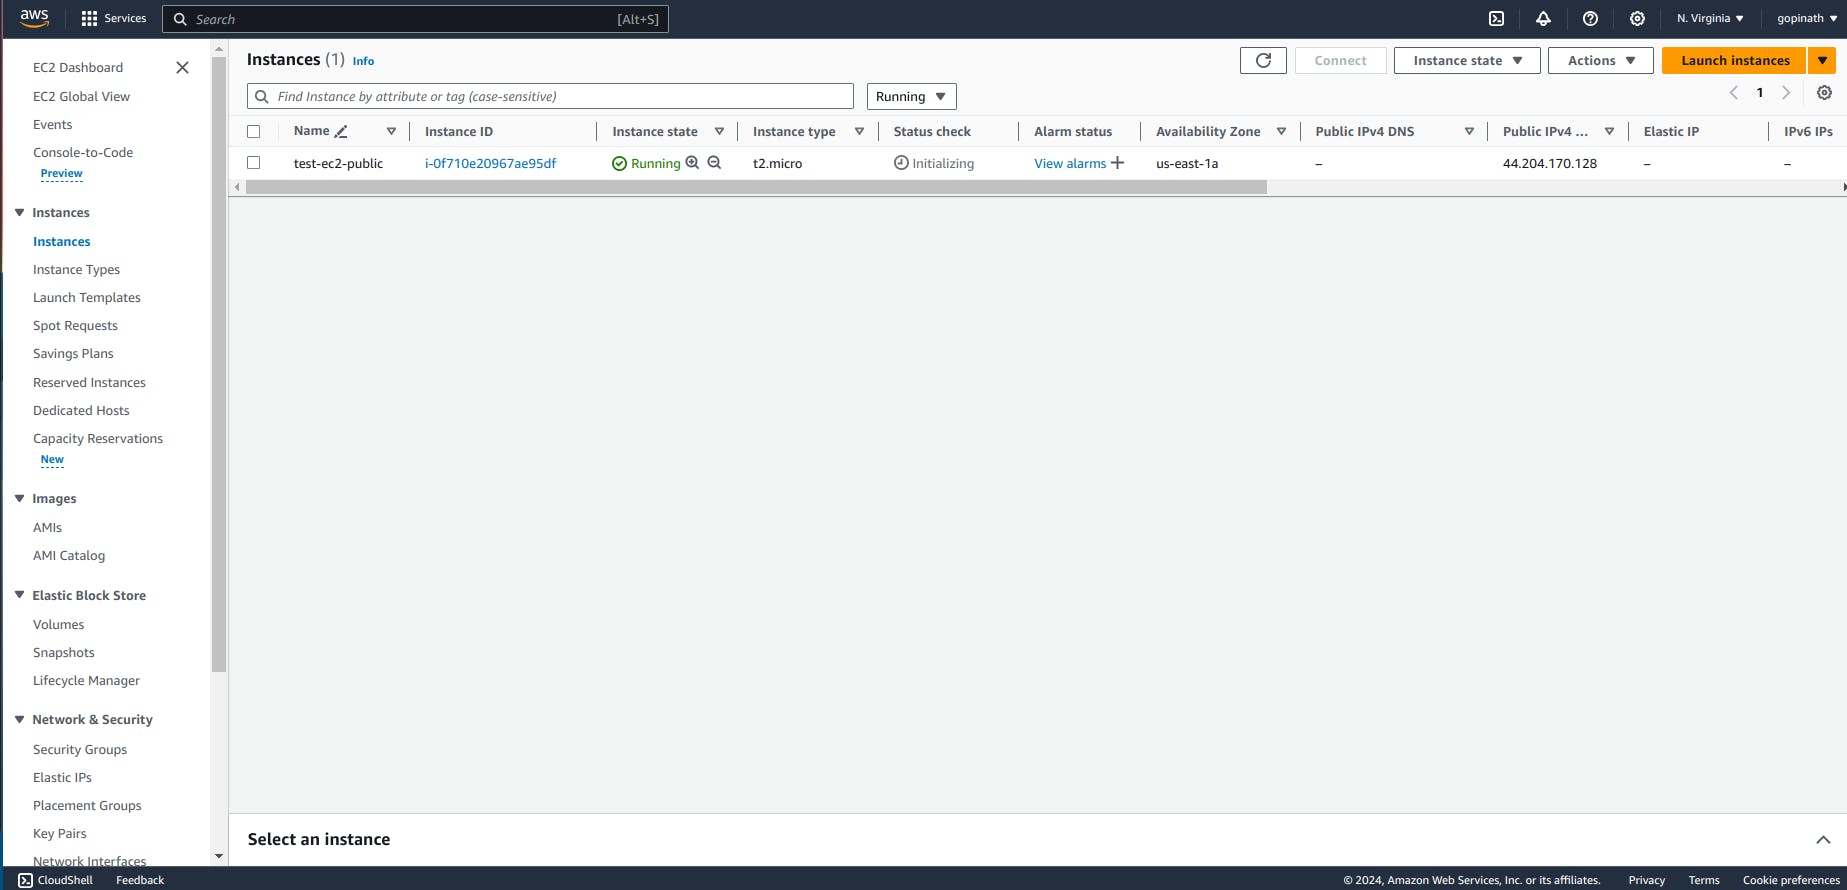
Now our public instance is created,
Create a private Instance,

Select the same key-pair we choose for public EC2.
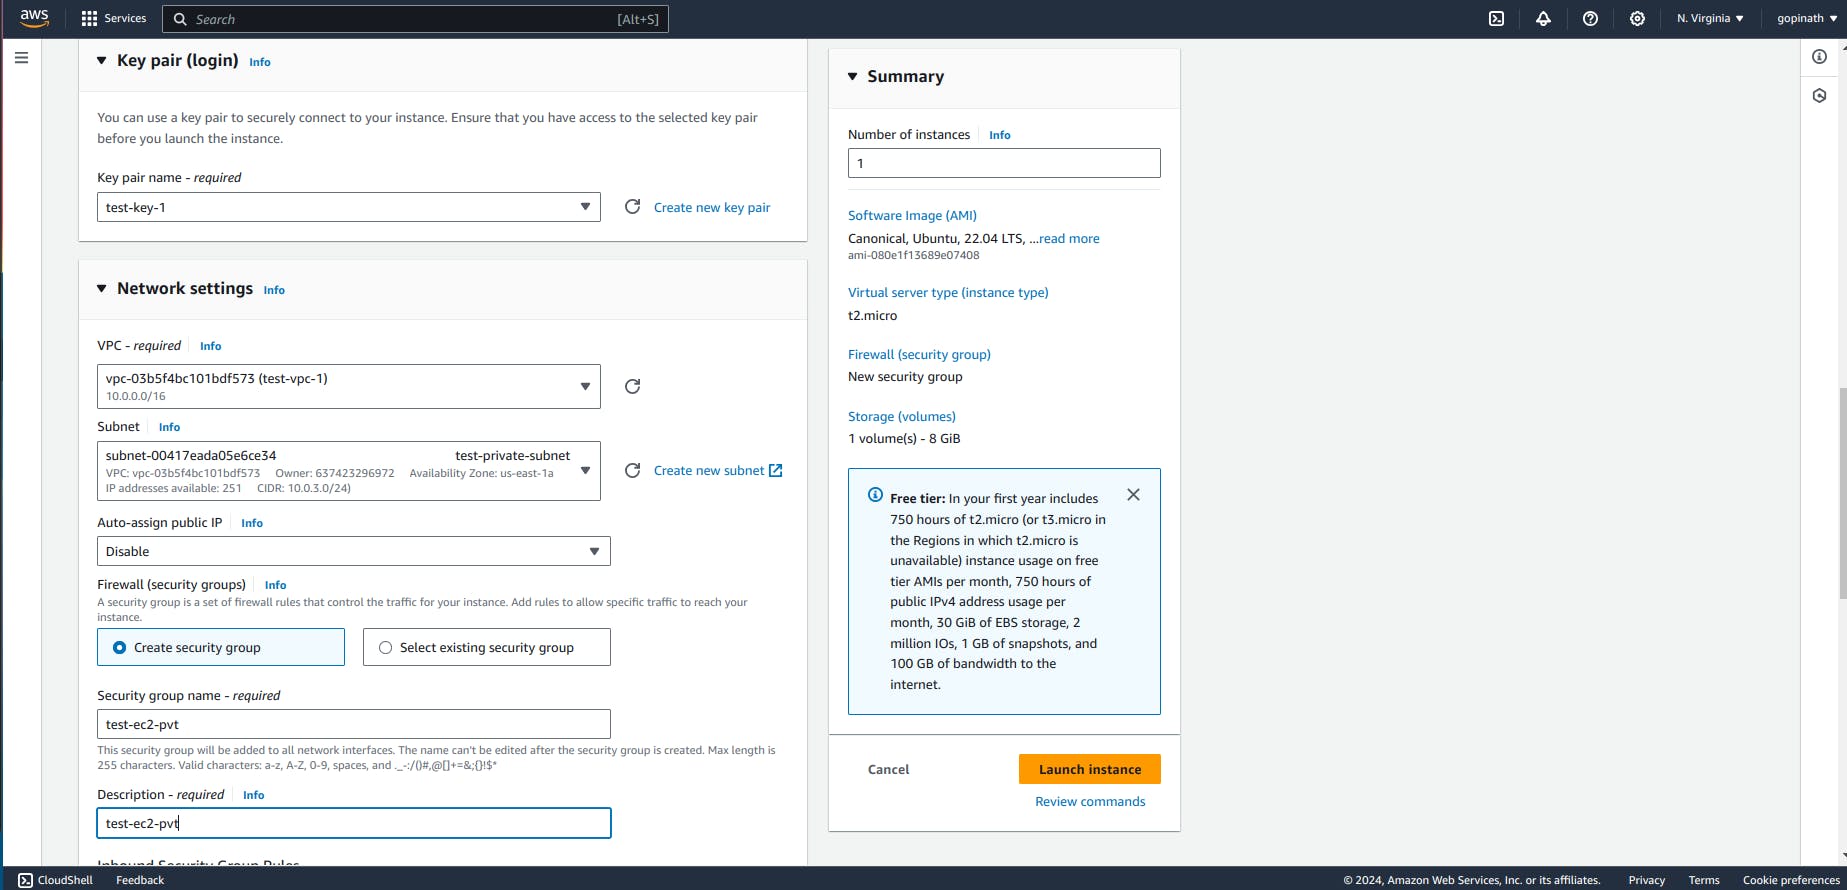
Select the VPC and private subnet.
Modify the security Group
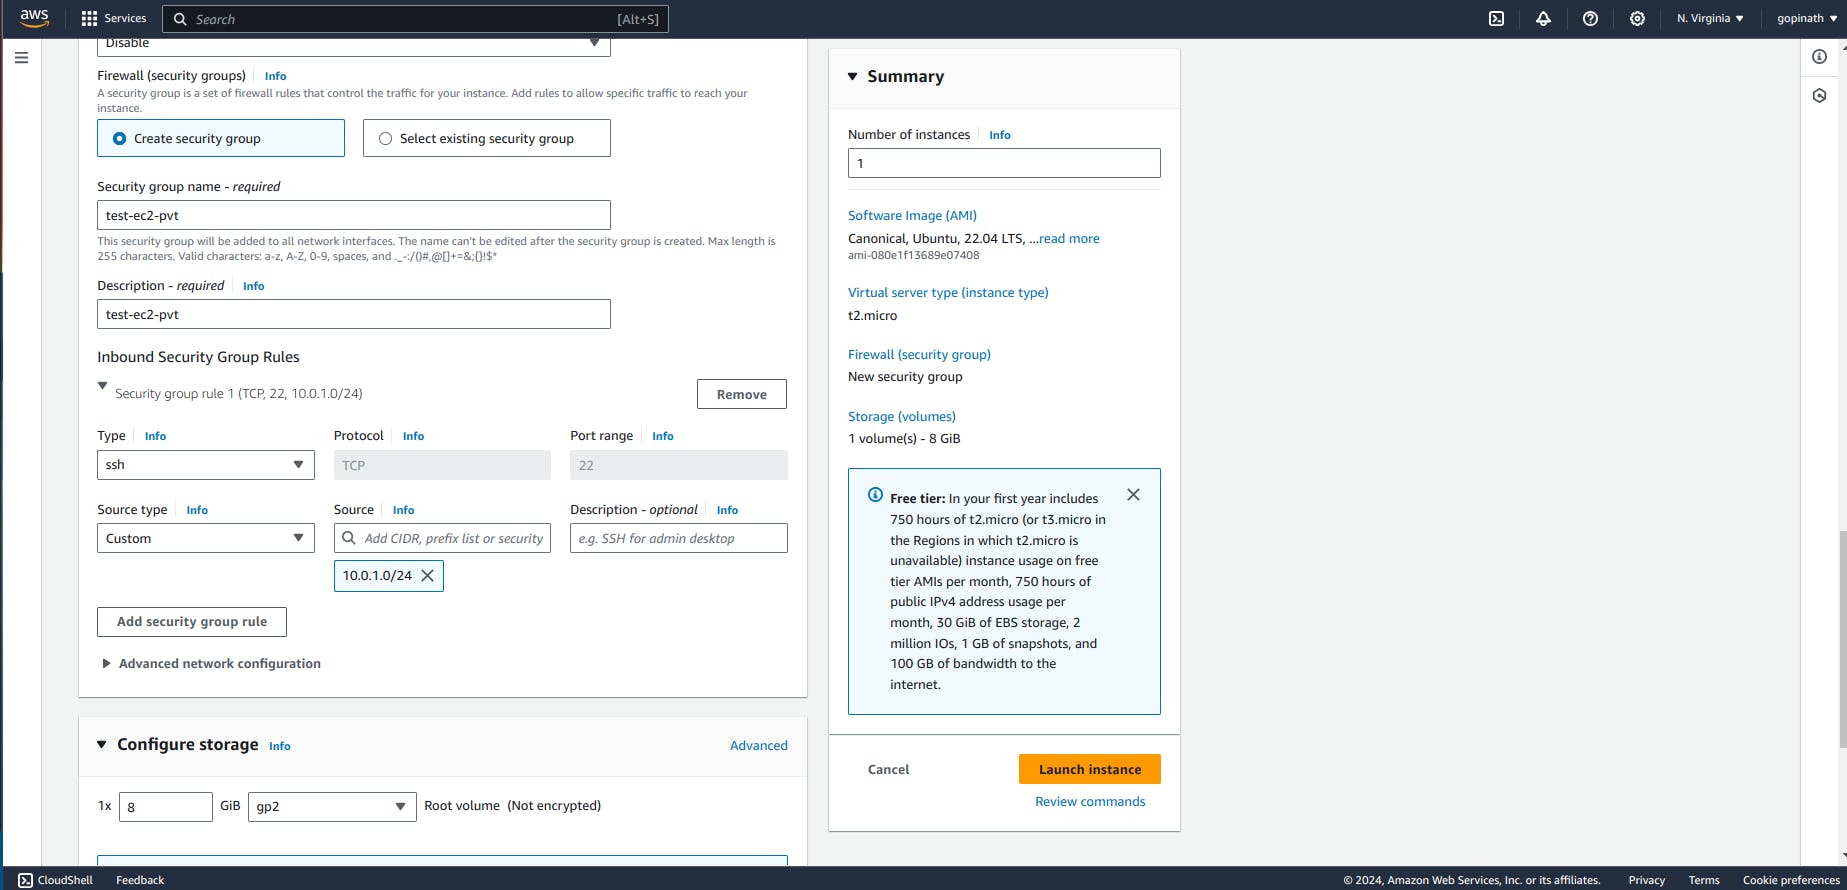
In the security group, allow only source from public subnet.
Now both Instance is created.
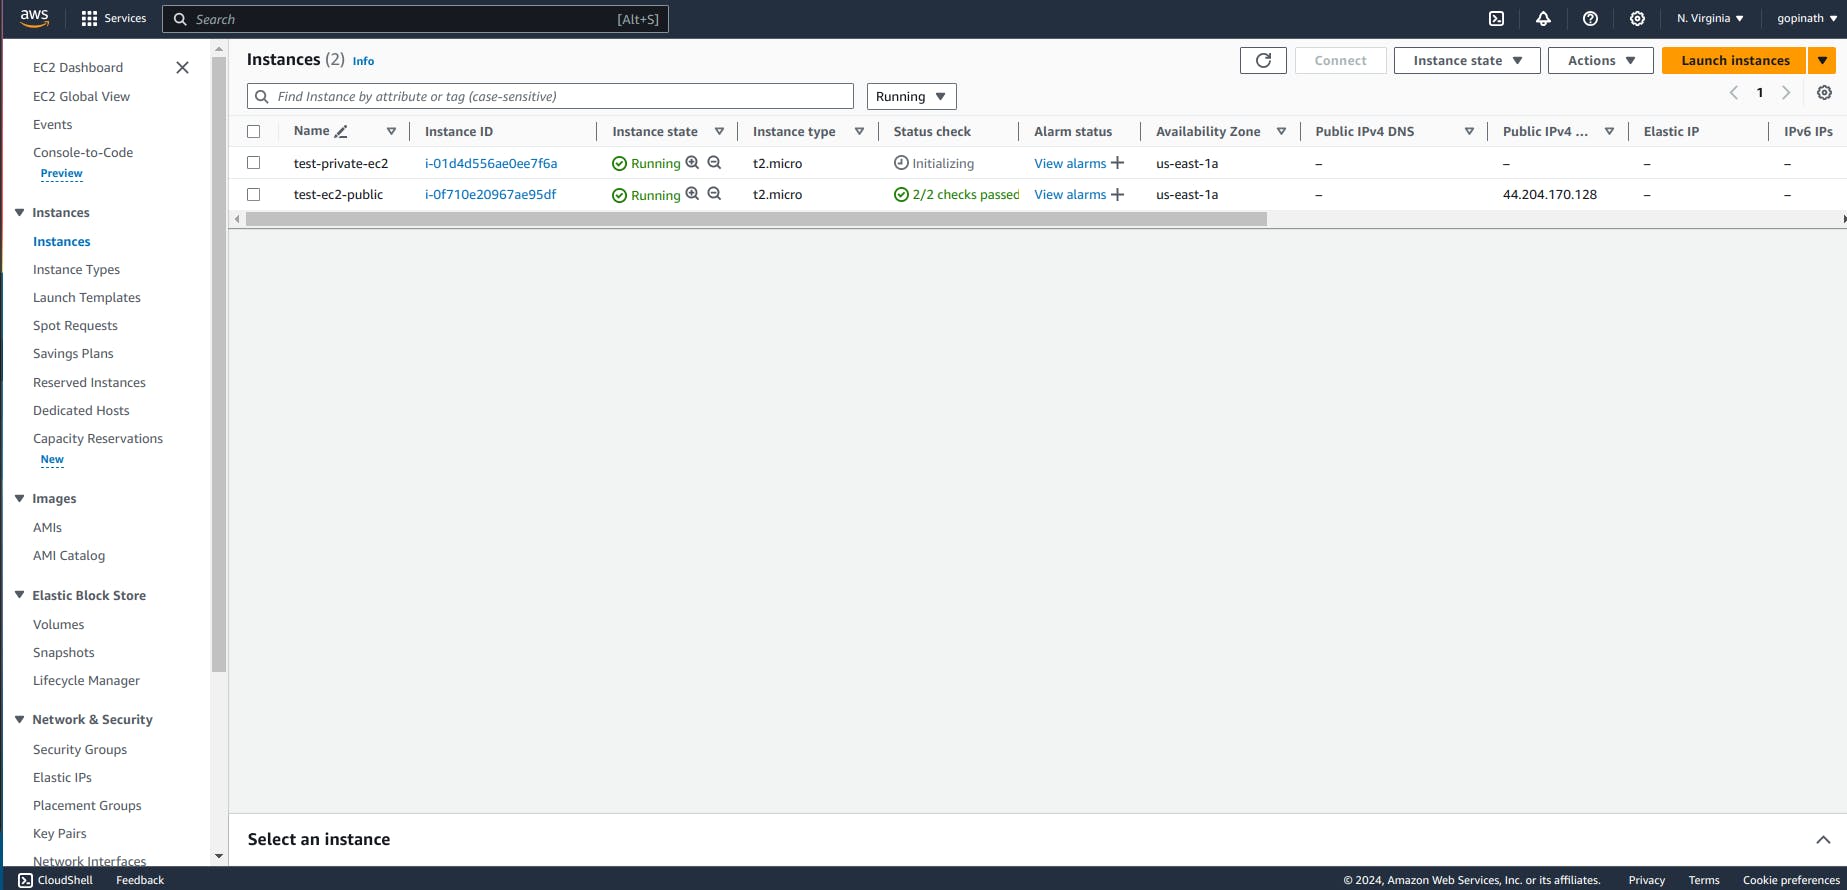
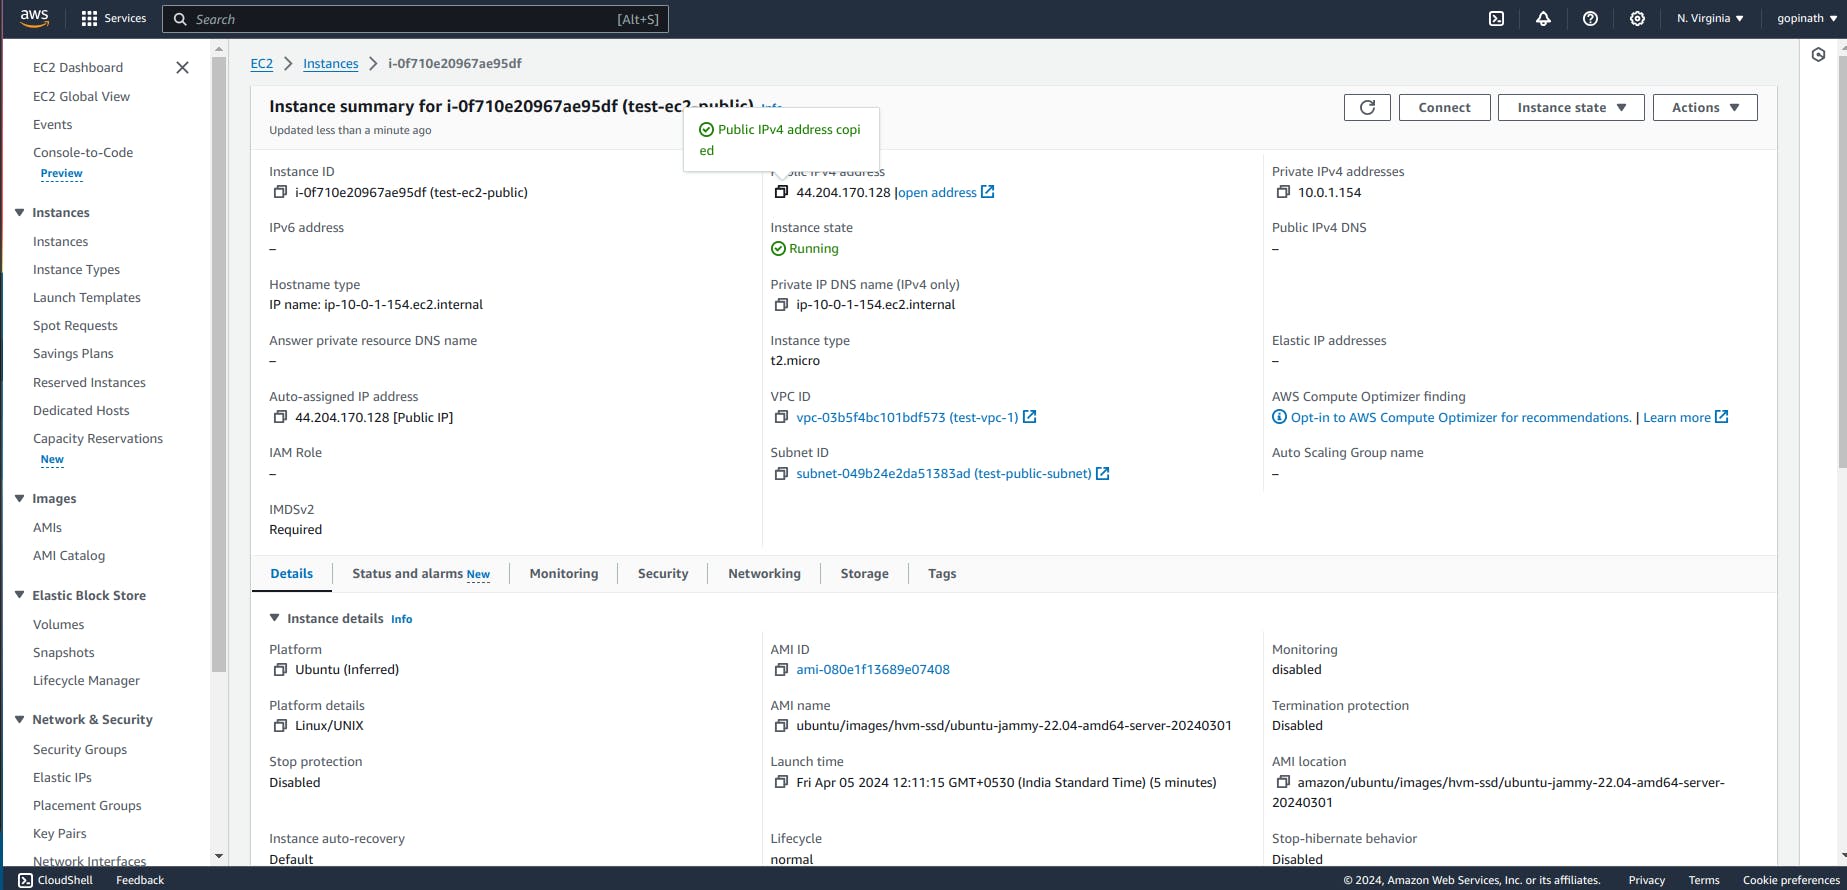
Open the public Instance(Bastion Host) and copy the public IP address.
Follow the process in connect option to connect to Ec2 using ssh.
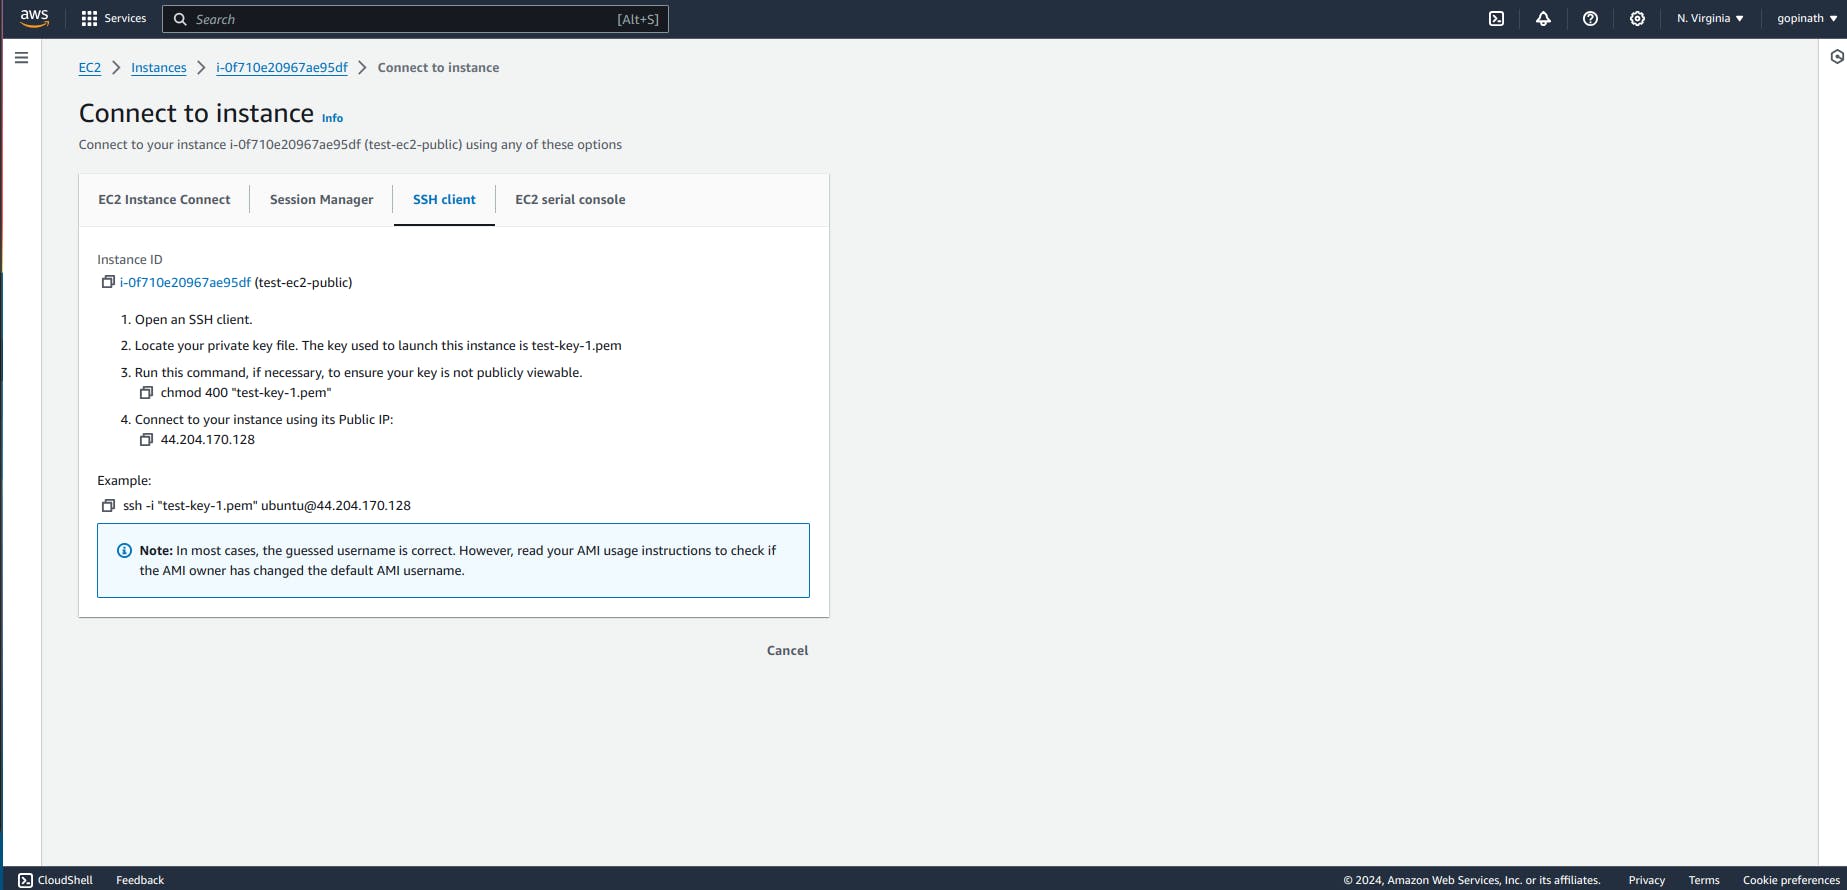
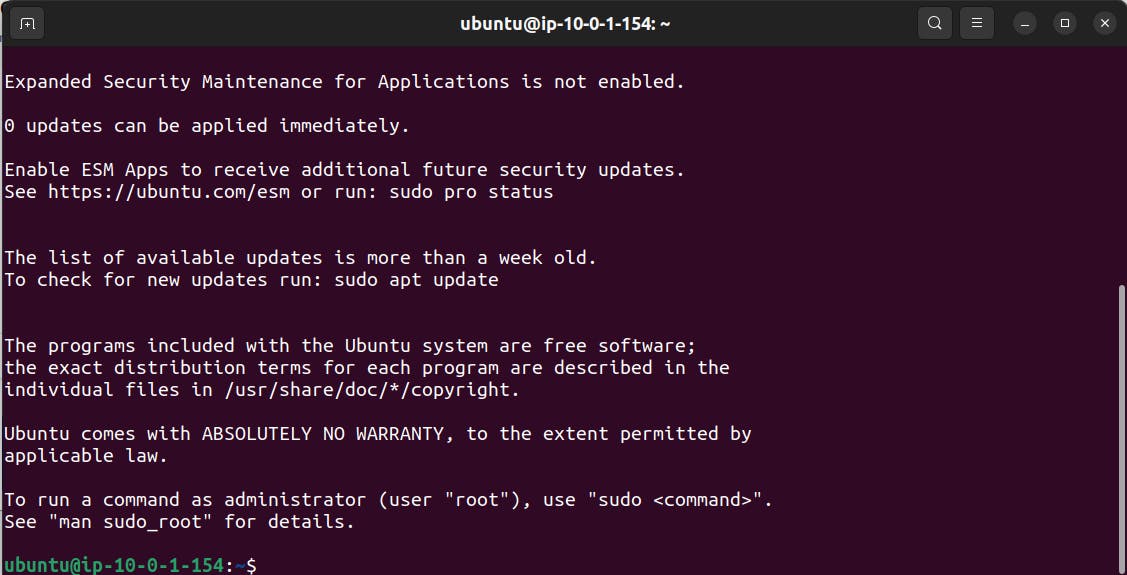
Enter into the instance

If you are successfully entered into the ec2, it will looks like this,
Now we need to copy the key-pair from local system to EC2(Bastion host)
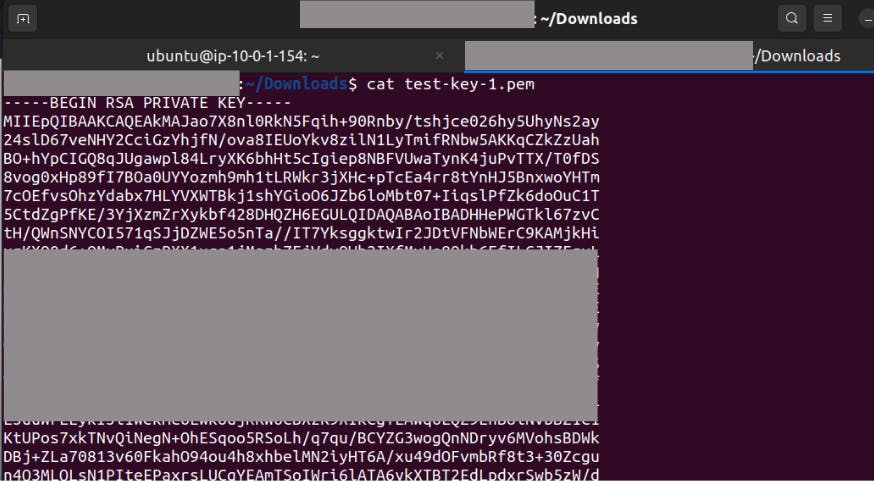
Copy the content of key-pair from local computer.
Create a folder in ec2 instance.
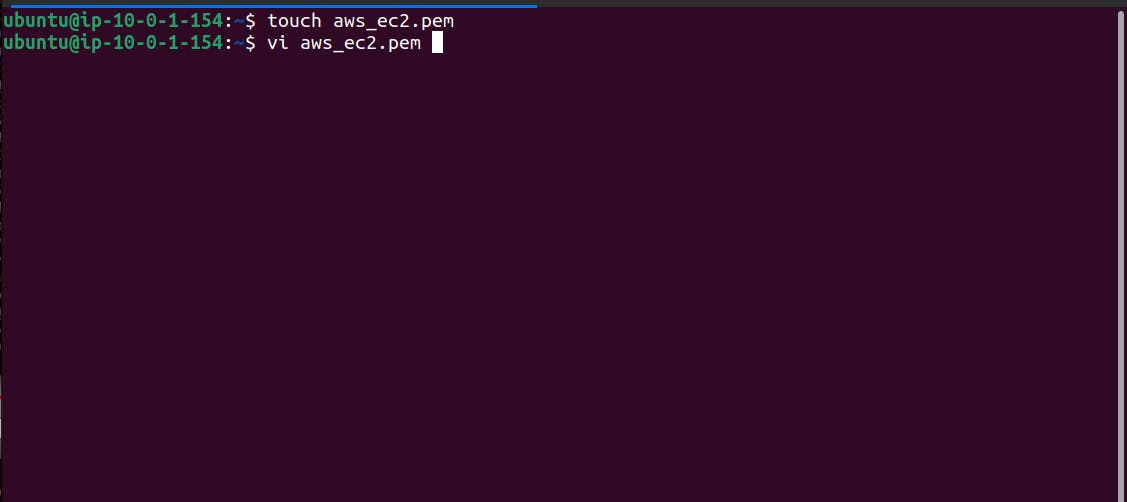
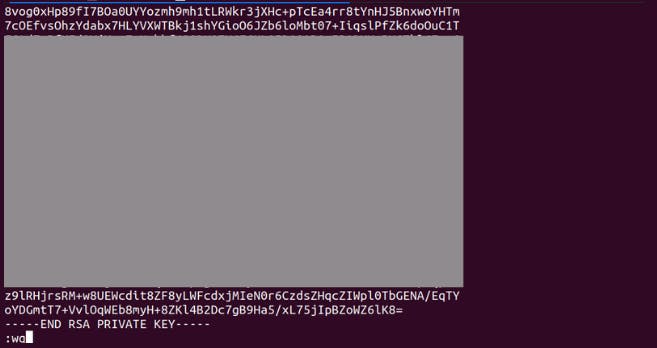
Use Vi command and paste the copied content from local computer to Ec2 Insatnce.
After pasting the content, give :wq will is to specify save and quit.
Change key permission and try ssh to connect to private instance

Specify the private Ip of the EC2 in ssh command.
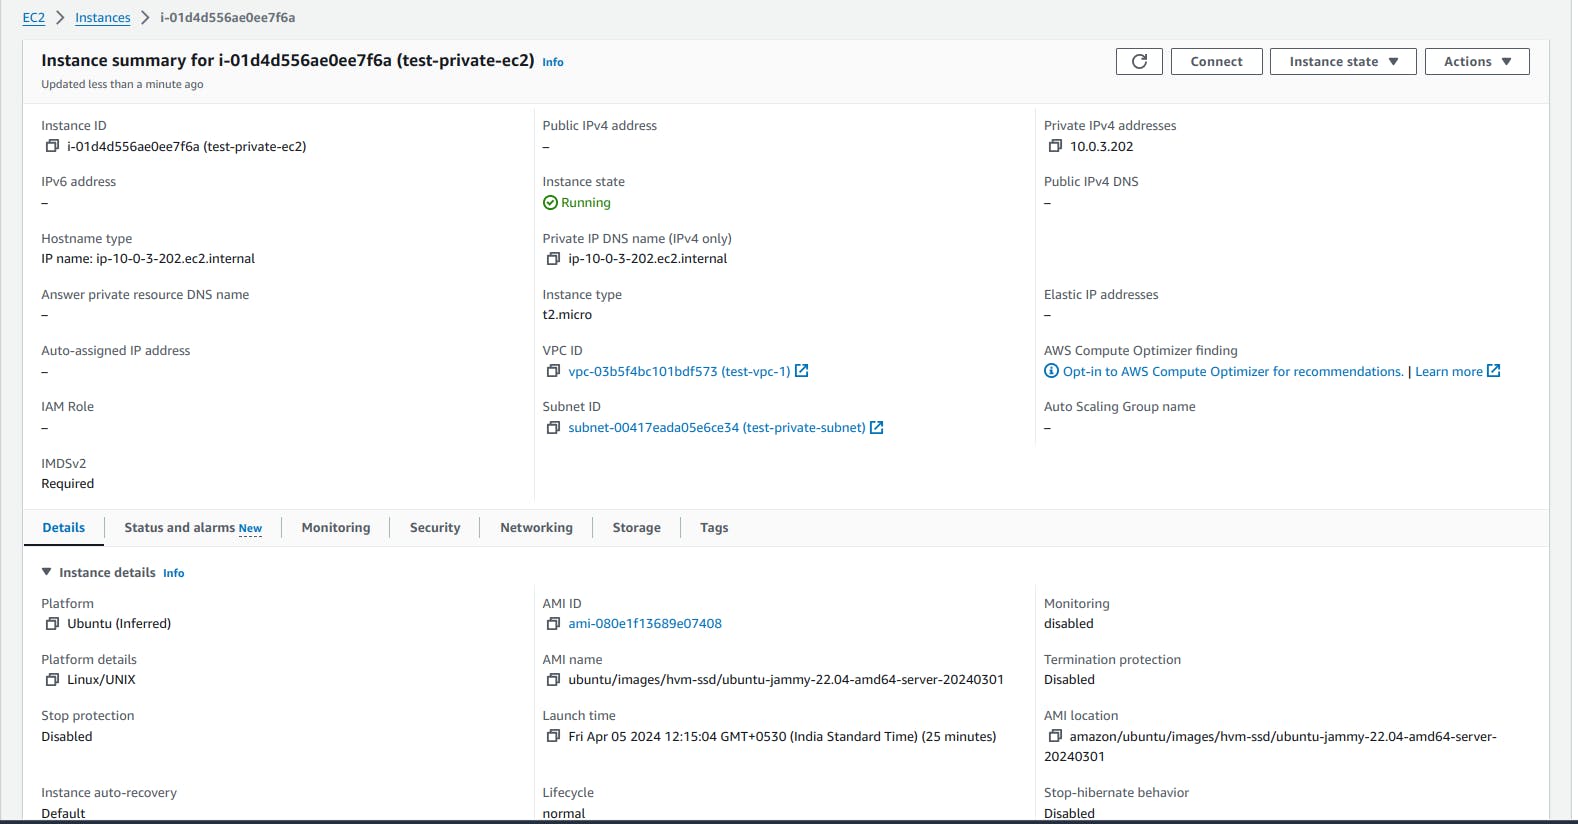
Private instance Ip will be visible if connected successfully.

We can verify this by opening the private Ec2 console and checking it private IP is same as our IP in terminal.
Conclusion :
In conclusion, Bastion host acts as a security gateway for the private resources.It helps to protect the sensitive internal resources from external threads and it is essential component for well designed network security stratergy.